Popular Woodworking 2005-08 № 149, страница 53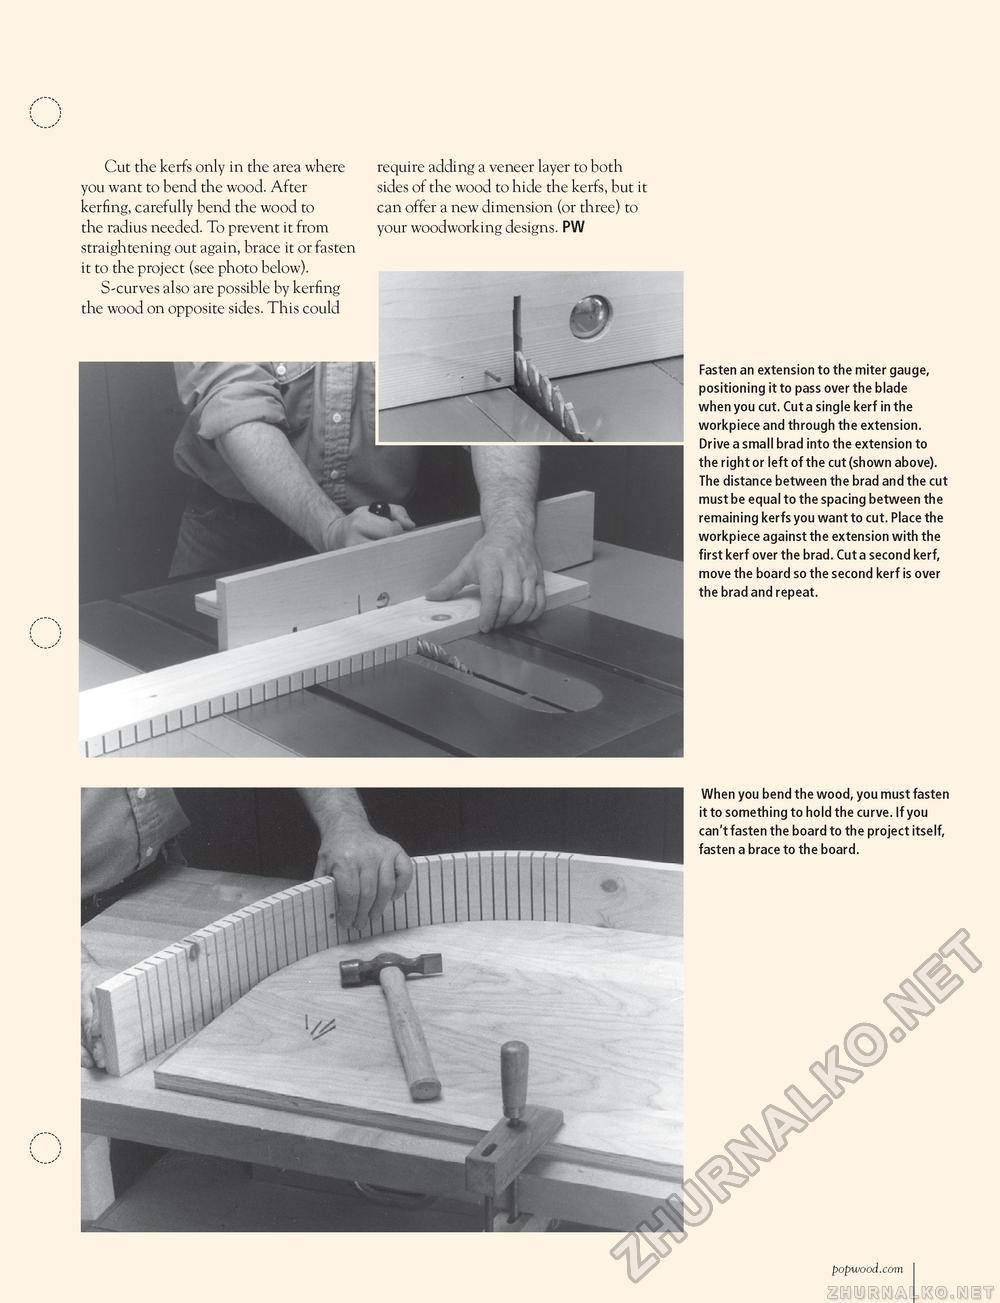
Cut the kerfs only in the area where you want to bend the wood. After kerfing, carefully bend the wood to the radius needed. To prevent it from straightening out again, brace it or fasten it to the project (see photo below). S-curves also are possible by kerfing the wood on opposite sides. This could require adding a veneer layer to both sides of the wood to hide the kerfs, but it can offer a new dimension (or three) to your woodworking designs. PW Fasten an extension to the miter gauge, positioning it to pass over the blade when you cut. Cut a single kerf in the workpiece and through the extension. Drive a small brad into the extension to the right or left of the cut (shown above). The distance between the brad and the cut must be equal to the spacing between the remaining kerfs you want to cut. Place the workpiece against the extension with the first kerf over the brad. Cut a second kerf, move the board so the second kerf is over the brad and repeat. When you bend the wood, you must fasten it to something to hold the curve. If you can't fasten the board to the project itself, fasten a brace to the board. popwood.com I 53 |


