Popular Woodworking 2005-08 № 149, страница 57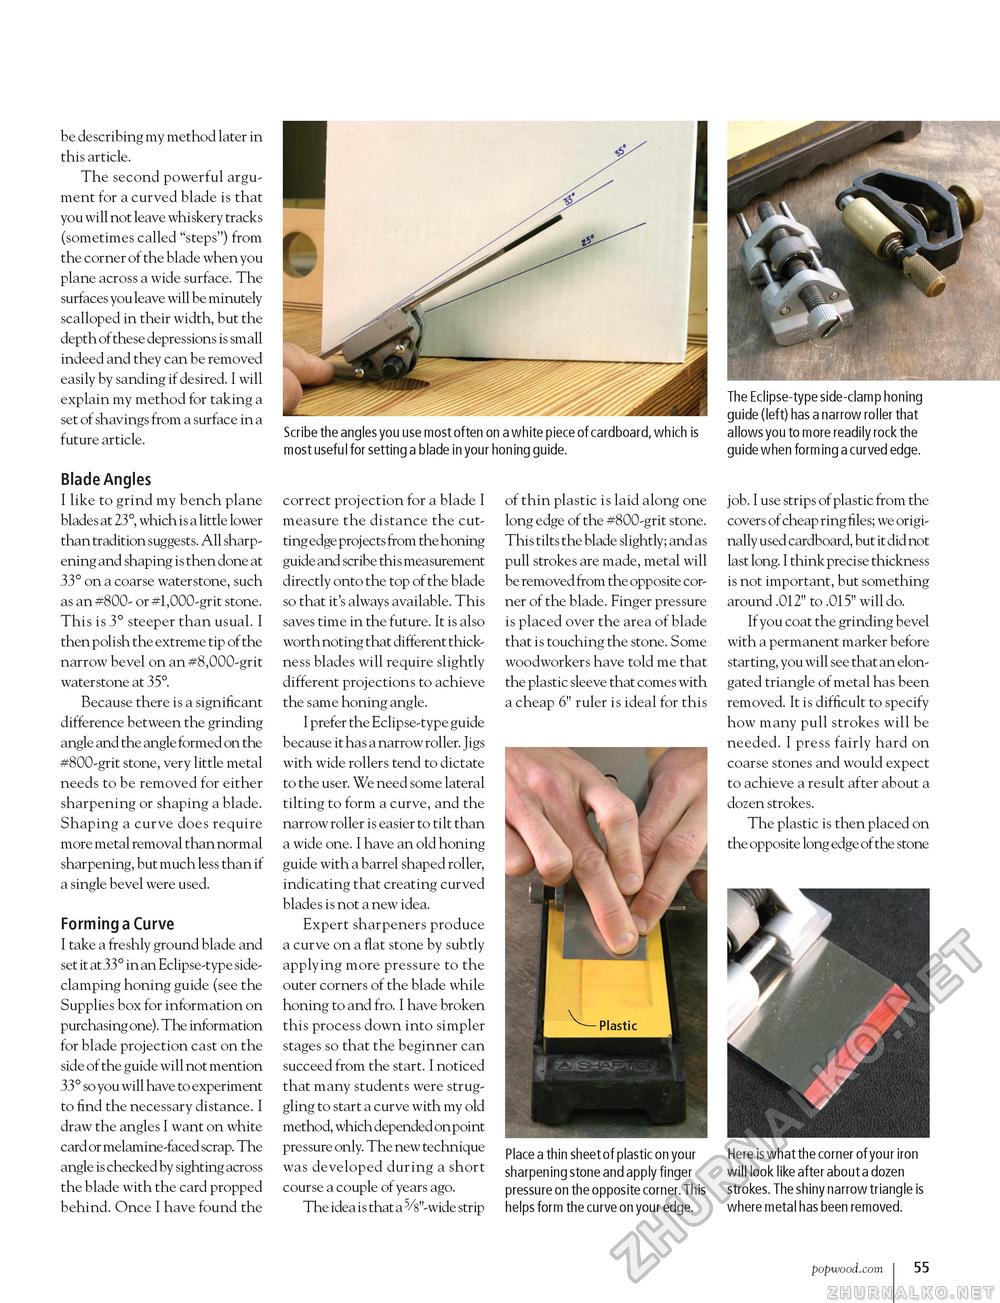
Scribe the angles you use most often on a white piece of cardboard, wh ich is most useful for setting a blade in your honing guide. be describing my method later in this article. The second powerful argument for a curved blade is that you will not leave whiskery tracks (sometimes called "steps") from the corner of the blade when you plane across a wide surface. The surfaces you leave will be minutely scalloped in their width, but the depth of these depressions is small indeed and they can be removed easily by sanding if desired. I will explain my method for taking a set of shavings from a surface in a future article. Blade Angles I like to grind my bench plane blades at 23°, which is a little lower than tradition suggests. All sharpening and shaping is then done at 33° on a coarse waterstone, such as an #800- or #1,000-grit stone. This is 3° steeper than usual. I then polish the extreme tip of the narrow bevel on an #8,000-grit waterstone at 35°. Because there is a significant difference between the grinding angle and the angle formed on the #800-grit stone, very little metal needs to be removed for either sharpening or shaping a blade. Shaping a curve does require more metal removal than normal sharpening, but much less than if a single bevel were used. Forming a Curve I take a freshly ground blade and set it at 33° in an Eclipse-type side-clamping honing guide (see the Supplies box for information on purchasing one). The information for blade projection cast on the side of the guide will not mention 33° so you will have to experiment to find the necessary distance. I draw the angles I want on white card or melamine-faced scrap. The angle is checked by sighting across the blade with the card propped behind. Once I have found the correct projection for a blade I measure the distance the cutting edge proj ects from the honing guide and scribe this measurement directly onto the top of the blade so that it's always available. This saves time in the future. It is also worth noting that different thickness blades will require slightly different projections to achieve the same honing angle. I prefer the Eclipse-type guide because it has a narrow roller. Jigs with wide rollers tend to dictate to the user. We need some lateral tilting to form a curve, and the narrow roller is easier to tilt than a wide one. I have an old honing guide with a barrel shaped roller, indicating that creating curved blades is not a new idea. Expert sharpeners produce a curve on a flat stone by subtly applying more pressure to the outer corners of the blade while honing to and fro. I have broken this process down into simpler stages so that the beginner can succeed from the start. I noticed that many students were struggling to start a curve with my old method, which depended on point pressure only. The new technique was developed during a short course a couple of years ago. The idea is that a 5/8"-wide strip of thin plastic is laid along one long edge of the #800-grit stone. This tilts the blade slightly; and as pull strokes are made, metal will be removed from the opposite corner of the blade. Finger pressure is placed over the area of blade that is touching the stone. Some woodworkers have told me that the plastic sleeve that comes with a cheap 6" ruler is ideal for this Place a thin sheet of plastic on your sharpening stone and apply finger pressure on the opposite corner. This helps form the curve on your edge. The Eclipse-type side-clamp honing guide (left) has a narrow roller that allows you to more readily rock the guide when forming a curved edge. job. I use strips of plastic from the covers of cheap ring files; we originally used cardboard, but it did not last long. I think precise thickness is not important, but something around .012" to .015" will do. If you coat the grinding bevel with a permanent marker before starting, you will see that an elongated triangle of metal has been removed. It is difficult to specify how many pull strokes will be needed. I press fairly hard on coarse stones and would expect to achieve a result after about a dozen strokes. The plastic is then placed on the opposite long edge of the stone Here is what the corner of your iron will look like after about a dozen strokes. The shiny narrow triangle is where metal has been removed. popwood.com I 55 |


