Popular Woodworking 2005-08 № 149, страница 59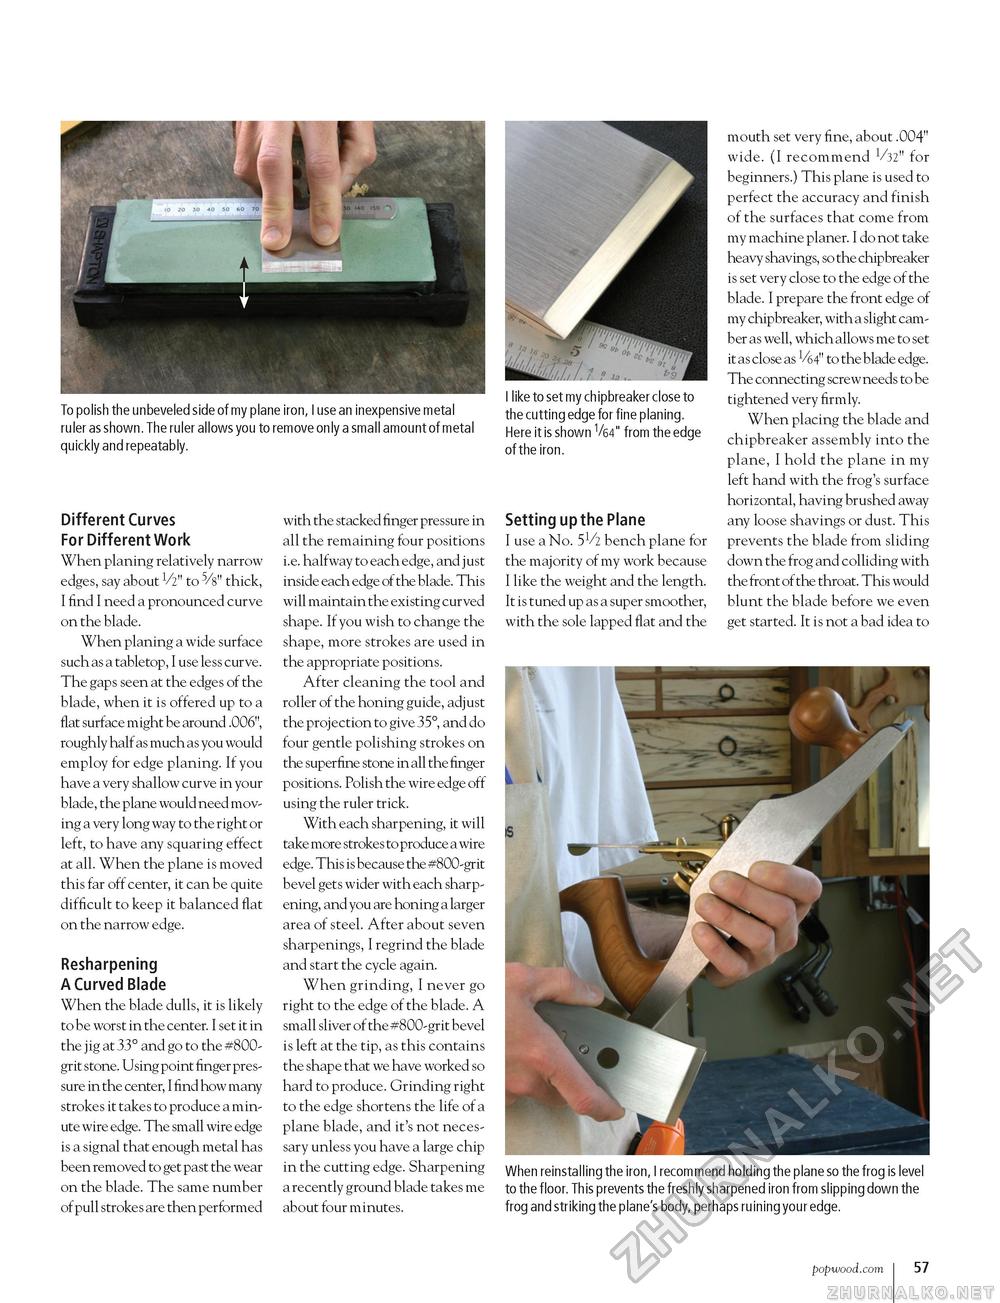
To polish the unbeveled side of my plane iron, I use an inexpensive metal ruler as shown. The ruler allows you to remove only a small amount of metal quickly and repeatably. Different Curves For Different Work When planing relatively narrow edges, say about V2" to 5/8" thick, I find I need a pronounced curve on the blade. When planing a wide surface such as a tabletop, I use less curve. The gaps seen at the edges of the blade, when it is offered up to a flat surface might be around .006", roughly half as much as you would employ for edge planing. If you have a very shallow curve in your blade, the plane would need moving a very long way to the right or left, to have any squaring effect at all. When the plane is moved this far off center, it can be quite difficult to keep it balanced flat on the narrow edge. Resharpening A Curved Blade When the blade dulls, it is likely to be worst in the center. I set it in the jig at 33° and go to the #800-grit stone. Using point finger pressure in the center, I find how many strokes it takes to produce a minute wire edge. The small wire edge is a signal that enough metal has been removed to get past the wear on the blade. The same number of pull stroke s are then performed with the stacked finger pressure in all the remaining four positions i.e. halfway to each edge, and just inside each edge of the blade. This will maintain the existing curved shape. If you wish to change the shape, more strokes are used in the appropriate positions. After cleaning the tool and roller of the honing guide, adjust the projection to give 35°, and do four gentle polishing strokes on the superfine stone in all the finger positions. Polish the wire edge off using the ruler trick. With each sharpening, it will take more stroke s to produce a wire edge. This is because the #800-grit bevel gets wider with each sharpening, and you are honing a larger area of steel. After about seven sharpenings, I regrind the blade and start the cycle again. When grinding, I never go right to the edge of the blade. A small sliver of the #800-grit bevel is left at the tip, as this contains the shape that we have worked so hard to produce. Grinding right to the edge shortens the life of a plane blade, and it's not necessary unless you have a large chip in the cutting edge. Sharpening a recently ground blade takes me about four minutes. mouth set very fine, about .004" wide. (I recommend 1/32" for beginners.) This plane is used to perfect the accuracy and finish of the surfaces that come from my machine planer. I do not take heavy shavings, so the chipbreaker is set very close to the edge of the blade. I prepare the front edge of my chipbreaker, with a slight camber as well, which allows me to set it as close as V64" to the blade edge. The connecting screw needs to be tightened very firmly. When placing the blade and chipbreaker assembly into the plane, I hold the plane in my left hand with the frog's surface horizontal, having brushed away any loose shavings or dust. This prevents the blade from sliding down the frog and colliding with the front of the throat. This would blunt the blade before we even get started. It is not a bad idea to When reinstalling the iron, I recommend holding the plane so the frog is level to the floor. This prevents the freshly sharpened iron from slipping down the frog and striking the plane's body, perhaps ruining your edge. I like to set my chipbreaker close to the cutting edge for fine planing. Here it is shown V64" from the edge of the iron. Setting up the Plane I use a No. 5V2 bench plane for the majority of my work because I like the weight and the length. It is tuned up as a super smoother, with the sole lapped flat and the popwood.com I 57 |


