Popular Woodworking 2005-08 № 149, страница 79
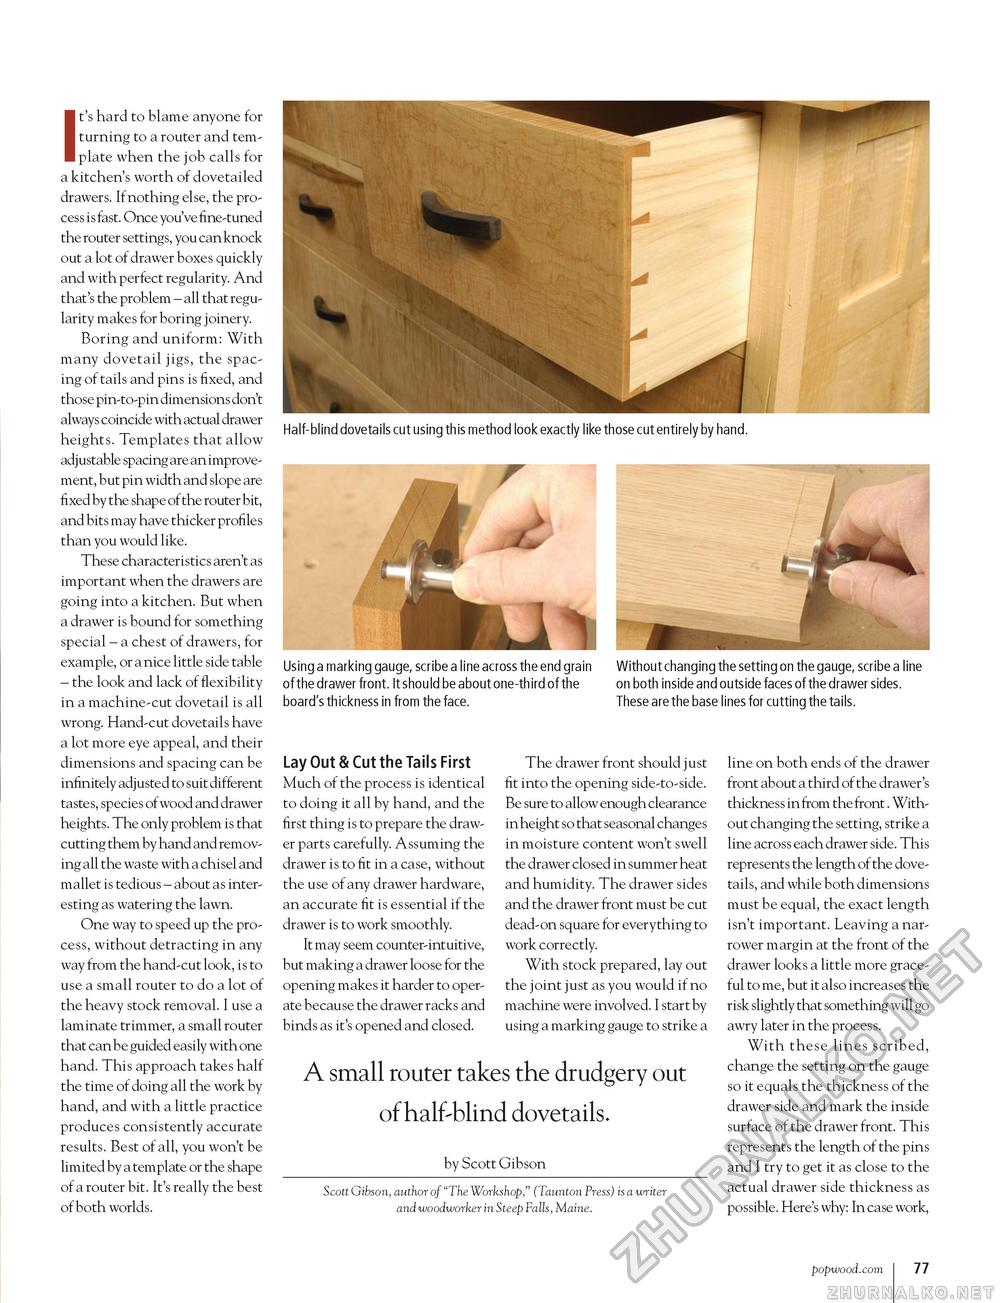
It's hard to blame anyone for turning to a router and template when the job calls for a kitchen's worth of dovetailed drawers. If nothing else, the process is fast. Once you've fine-tuned the router settings, you can knock out a lot of drawer boxes quickly and with perfect regularity. And that's the problem - all that regularity makes for boring joinery. Boring and uniform: With many dovetail jigs, the spacing of tails and pins is fixed, and those pin-to-pin dimensions don't always coincide with actual drawer heights. Templates that allow adjustable spacing are an improvement, but pin width and slope are fixed by the shape of the router bit, and bits may have thicker profiles than you would like. These characteristics aren't as important when the drawers are going into a kitchen. But when a drawer is bound for something special - a chest of drawers, for example, or a nice little side table - the look and lack of flexibility in a machine-cut dovetail is all wrong. Hand-cut dovetails have a lot more eye appeal, and their dimensions and spacing can be infinitely adjusted to suit different tastes, species ofwood and drawer heights. The only problem is that cutting them by hand and removing all the waste with a chisel and mallet is tedious - about as interesting as watering the lawn. One way to speed up the process, without detracting in any way from the hand-cut look, is to use a small router to do a lot of the heavy stock removal. I use a laminate trimmer, a small router that can be guided easily with one hand. This approach takes half the time of doing all the work by hand, and with a little practice produces consistently accurate results. Best of all, you won't be limited by a template or the shape of a router bit. It's really the best of both worlds. Half-blind dovetails cut using this method look exactly like those cut entirely by hand. / Without changing the setting on the gauge, scribe a line on both inside and outside faces of the drawer sides. These are the base lines for cutting the tails. Using a marking gauge, scribe a line across the end grain of the drawer front. It should be about one-third of the board's thickness in from the face. Lay Out & Cut the Tails First Much of the process is identical to doing it all by hand, and the first thing is to prepare the drawer parts carefully. Assuming the drawer is to fit in a case, without the use of any drawer hardware, an accurate fit is essential if the drawer is to work smoothly. It may seem counter-intuitive, but making a drawer loose for the opening makes it harder to operate because the drawer racks and binds as it's opened and closed. The drawer front should just fit into the opening side-to-side. Be sure to allow enough clearance in height so that seasonal changes in moisture content won't swell the drawer closed in summer heat and humidity. The drawer sides and the drawer front must be cut dead-on square for everything to work correctly. With stock prepared, lay out the joint just as you would if no machine were involved. I start by using a marking gauge to strike a line on both ends of the drawer front about a third of the drawer's thickness in from the front . Without changing the setting, strike a line across each drawer side. This represents the length of the dovetails, and while both dimensions must be equal, the exact length isn't important. Leaving a narrower margin at the front of the drawer looks a little more graceful to me, but it also increases the risk slightly that something will go awry later in the process. With these lines scribed, change the setting on the gauge so it equals the thickness of the drawer side and mark the inside surface of the drawer front. This represents the length of the pins and I try to get it as close to the actual drawer side thickness as possible. Here's why: In case work, A small router takes the drudgery out of half-blind dovetails. by Scott Gibson Scott Gibson, author of "The Workshop," (Taunton Press) is a writer and woodworker in Steep Falls, Maine. popwood.com I 77 |


