Popular Woodworking 2005-11 № 151, страница 83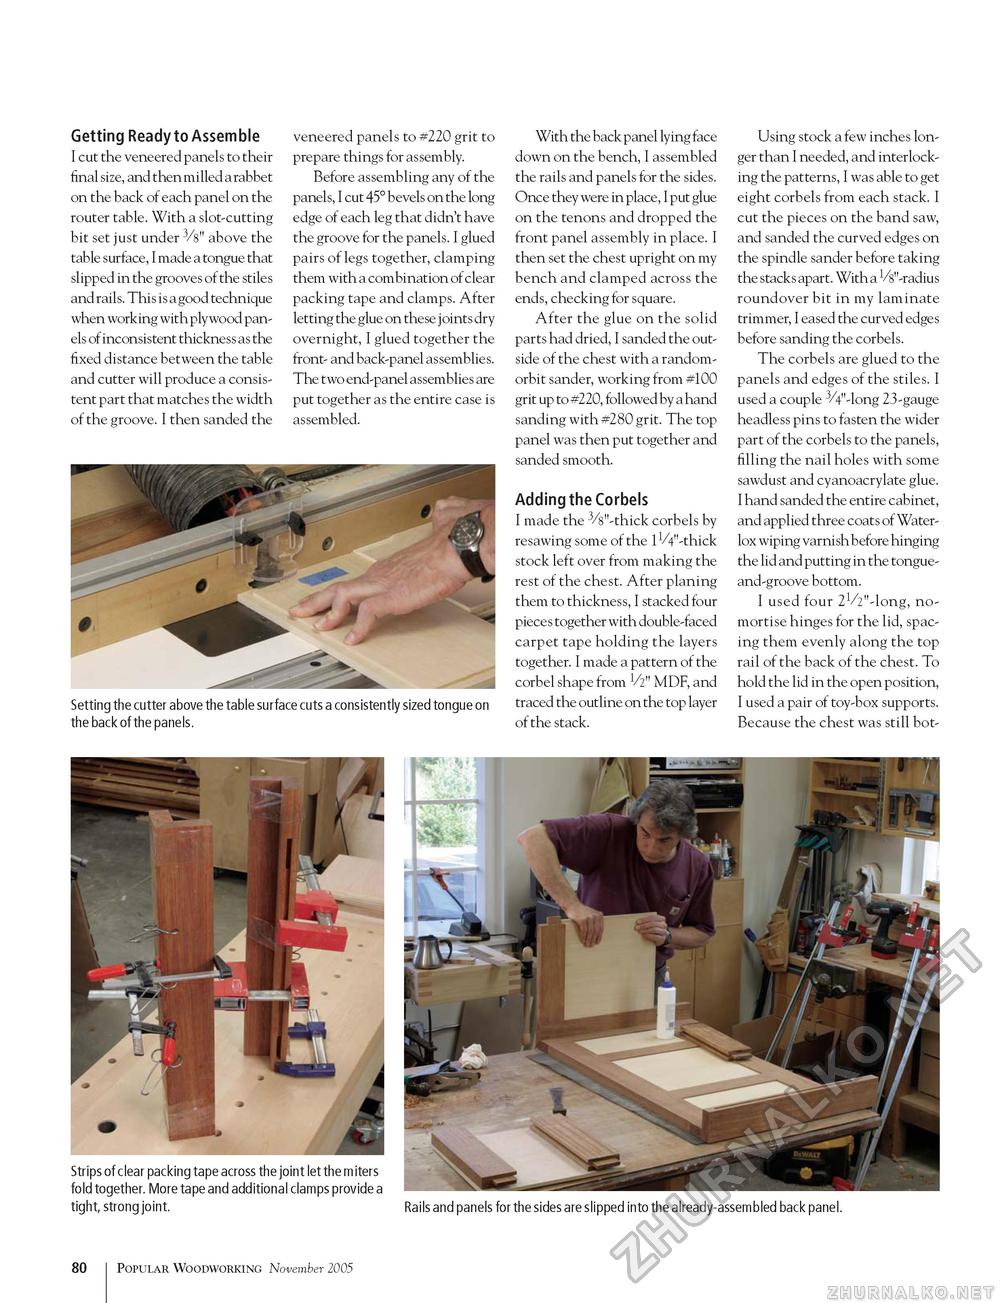
Getting Ready to Assemble I cut the veneered panels to their final size, and then milled a rabbet on the back of each panel on the router table. With a slot-cutting bit set just under 3/8" above the table surface, I made a tongue that slipped in the grooves of the stiles and rails. This is a good technique when working with plywood panels of inconsistent thickness as the fixed distance between the table and cutter will produce a consistent part that matches the width of the groove. I then sanded the veneered panels to #220 grit to prepare things for assembly. Before assembling any of the panels, I cut 45° bevels on the long edge of each leg that didn't have the groove for the panels. I glued pairs of legs together, clamping them with a combination of clear packing tape and clamps. After letting the glue on these joints dry overnight, I glued together the front- and back-panel assemblies. The two end-panel assemblies are put together as the entire case is assembled. Setting the cutter above the table surface cuts a consistently sized tongue on the back of the panels. With the back panel lying face down on the bench, I assembled the rails and panels for the sides. Once they were in place, I put glue on the tenons and dropped the front panel assembly in place. I then set the chest upright on my bench and clamped across the ends, checking for square. After the glue on the solid parts had dried, I sanded the outside of the chest with a random-orbit sander, working from #100 grit up to #220, followed by a hand sanding with #280 grit. The top panel was then put together and sanded smooth. Adding the Corbels I made the 3/8"-thick corbels by resawing some of the ^/V'-thick stock left over from making the rest of the chest. After planing them to thickness, I stacked four pieces together with double-faced carpet tape holding the layers together. I made a pattern of the corbel shape from V2" MDF, and traced the outline on the top layer of the stack. Using stock a few inches longer than I needed, and interlocking the patterns, I was able to get eight corbels from each stack. I cut the pieces on the band saw, and sanded the curved edges on the spindle sander before taking the stacks apart. With a 18"-radius roundover bit in my laminate trimmer, I eased the curved edges before sanding the corbels. The corbels are glued to the panels and edges of the stiles. I used a couple 3/4"-long 23-gauge headless pins to fasten the wider part of the corbels to the panels, filling the nail holes with some sawdust and cyanoacrylate glue. I hand sanded the entire cabinet, and applied three coats of Water-lox wiping varnish before hinging the lid and putting in the tongue-and-groove bottom. I used four 21/2"-long, no-mortise hinges for the lid, spacing them evenly along the top rail of the back of the chest. To hold the lid in the open position, I used a pair of toy-box supports. Because the chest was still bot- Strips of clear packing tape across the joint let the miters fold together. More tape and additional clamps provide a tight, strong joint. Rails and panels for the sides are slipped into the already-assembled back panel. 80 Popular Woodworking November 2005 |


