Popular Woodworking 2006-02 № 153, страница 47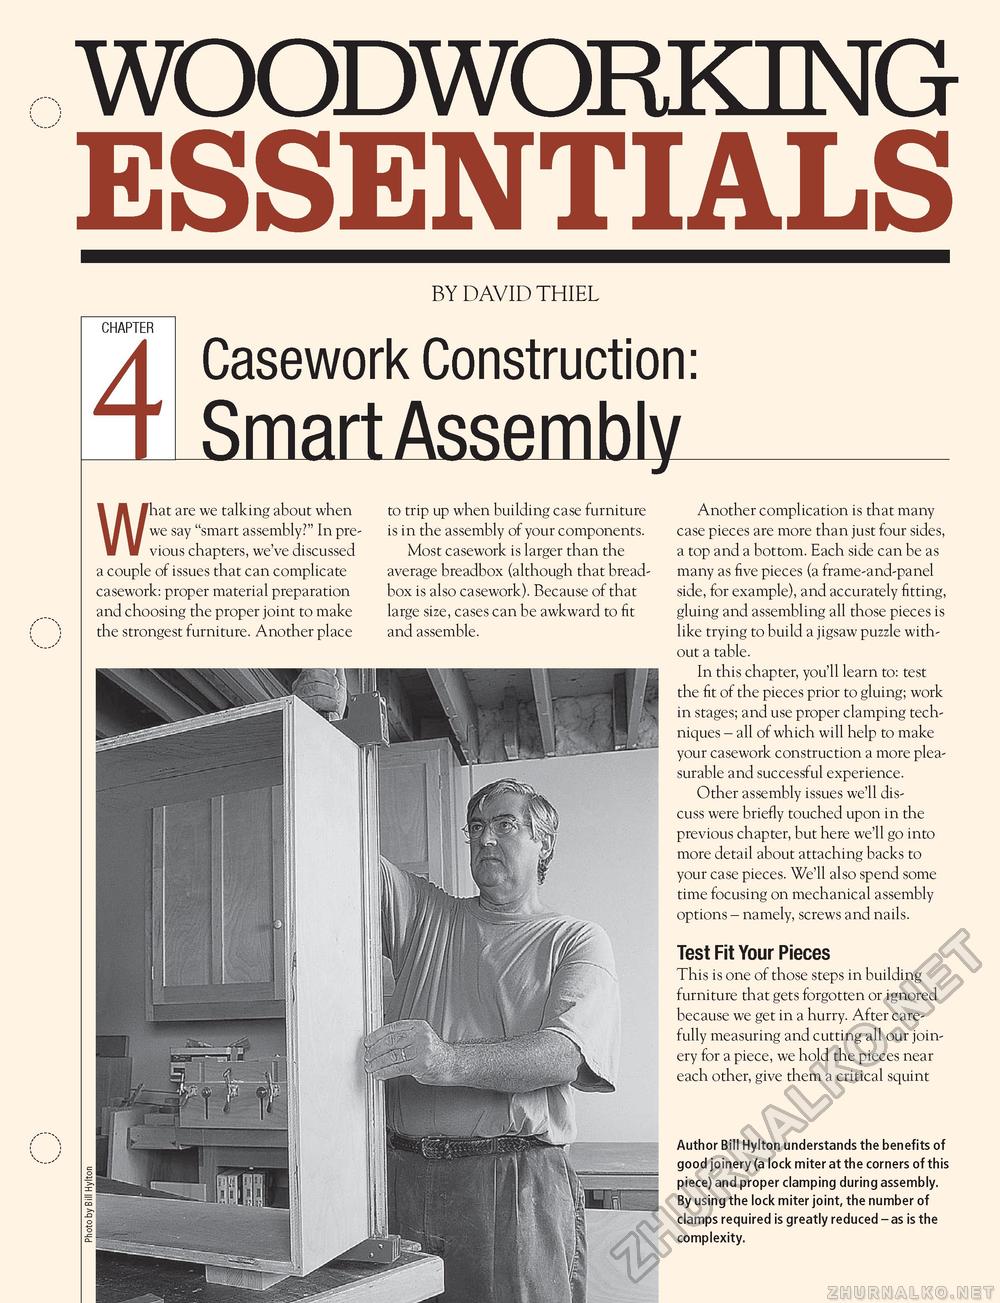
WOODWORKINGESSENTIALSBY DAVID THIEL Casework Construction Smart Assembly Ww v hat are we talking about when we say "smart assembly?" In previous chapters, we've discussed a couple of issues that can complicate casework: proper material preparation and choosing the proper joint to make the strongest furniture. Another place to trip up when building case furniture is in the assembly of your components. Most casework is larger than the average breadbox (although that bread-box is also casework). Because of that large size, cases can be awkward to fit and assemble. Another complication is that many case pieces are more than just four sides, a top and a bottom. Each side can be as many as five pieces (a frame-and-panel side, for example), and accurately fitting, gluing and assembling all those pieces is like trying to build a jigsaw puzzle without a table. In this chapter, you'll learn to: test the fit of the pieces prior to gluing; work in stages; and use proper clamping techniques - all of which will help to make your casework construction a more pleasurable and successful experience. Other assembly issues we'll discuss were briefly touched upon in the previous chapter, but here we'll go into more detail about attaching backs to your case pieces. We'll also spend some time focusing on mechanical assembly options - namely, screws and nails. Test Fit Your Pieces This is one of those steps in building furniture that gets forgotten or ignored because we get in a hurry. After carefully measuring and cutting all our joinery for a piece, we hold the pieces near each other, give them a critical squint Author Bill Hylton understands the benefits of good joinery (a lock miter at the corners of this piece) and proper clamping during assembly. By using the lock miter joint, the number of clamps required is greatly reduced - as is the complexity. |


