Popular Woodworking 2006-02 № 153, страница 49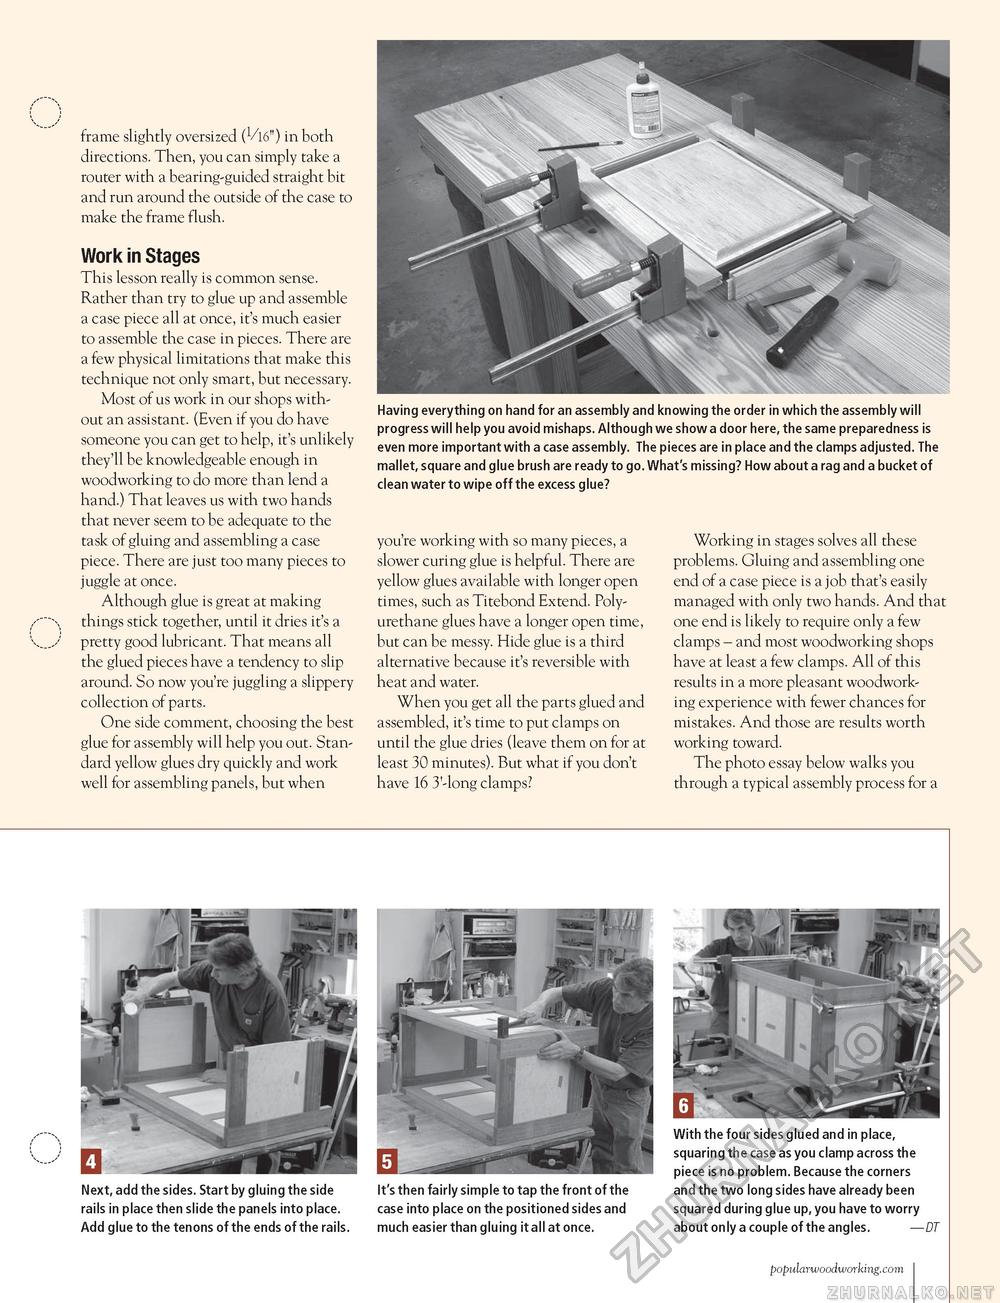
Having everything on hand for an assembly and knowing the order in which the assembly will progress will help you avoid mishaps. Although we show a door here, the same preparedness is even more important with a case assembly. The pieces are in place and the clamps adjusted. The mallet, square and glue brush are ready to go. What's missing? How about a rag and a bucket of clean water to wipe off the excess glue? frame slightly oversized (^//16") in both directions. Then, you can simply take a router with a bearing-guided straight bit and run around the outside of the case to make the frame flush. Work in Stages This lesson really is common sense. Rather than try to glue up and assemble a case piece all at once, it's much easier to assemble the case in pieces. There are a few physical limitations that make this technique not only smart, but necessary. Most of us work in our shops without an assistant. (Even if you do have someone you can get to help, it's unlikely they'll be knowledgeable enough in woodworking to do more than lend a hand.) That leaves us with two hands that never seem to be adequate to the task of gluing and assembling a case piece. There are just too many pieces to juggle at once. Although glue is great at making things stick together, until it dries it's a pretty good lubricant. That means all the glued pieces have a tendency to slip around. So now you're juggling a slippery collection of parts. One side comment, choosing the best glue for assembly will help you out. Standard yellow glues dry quickly and work well for assembling panels, but when Next, add the sides. Start by gluing the side rails in place then slide the panels into place. Add glue to the tenons of the ends of the rails. you're working with so many pieces, a slower curing glue is helpful. There are yellow glues available with longer open times, such as Titebond Extend. Poly-urethane glues have a longer open time, but can be messy. Hide glue is a third alternative because it's reversible with heat and water. When you get all the parts glued and assembled, it's time to put clamps on until the glue dries (leave them on for at least 30 minutes). But what if you don't have 16 3'-long clamps? It's then fairly simple to tap the front of the case into place on the positioned sides and much easier than gluing it all at once. Working in stages solves all these problems. Gluing and assembling one end of a case piece is a job that's easily managed with only two hands. And that one end is likely to require only a few clamps - and most woodworking shops have at least a few clamps. All of this results in a more pleasant woodworking experience with fewer chances for mistakes. And those are results worth working toward. The photo essay below walks you through a typical assembly process for a With the four sides glued and in place, squaring the case as you clamp across the piece is no problem. Because the corners and the two long sides have already been squared during glue up, you have to worry about only a couple of the angles. —DT popularwoodworking.com I 103 |


