Popular Woodworking 2006-02 № 153, страница 64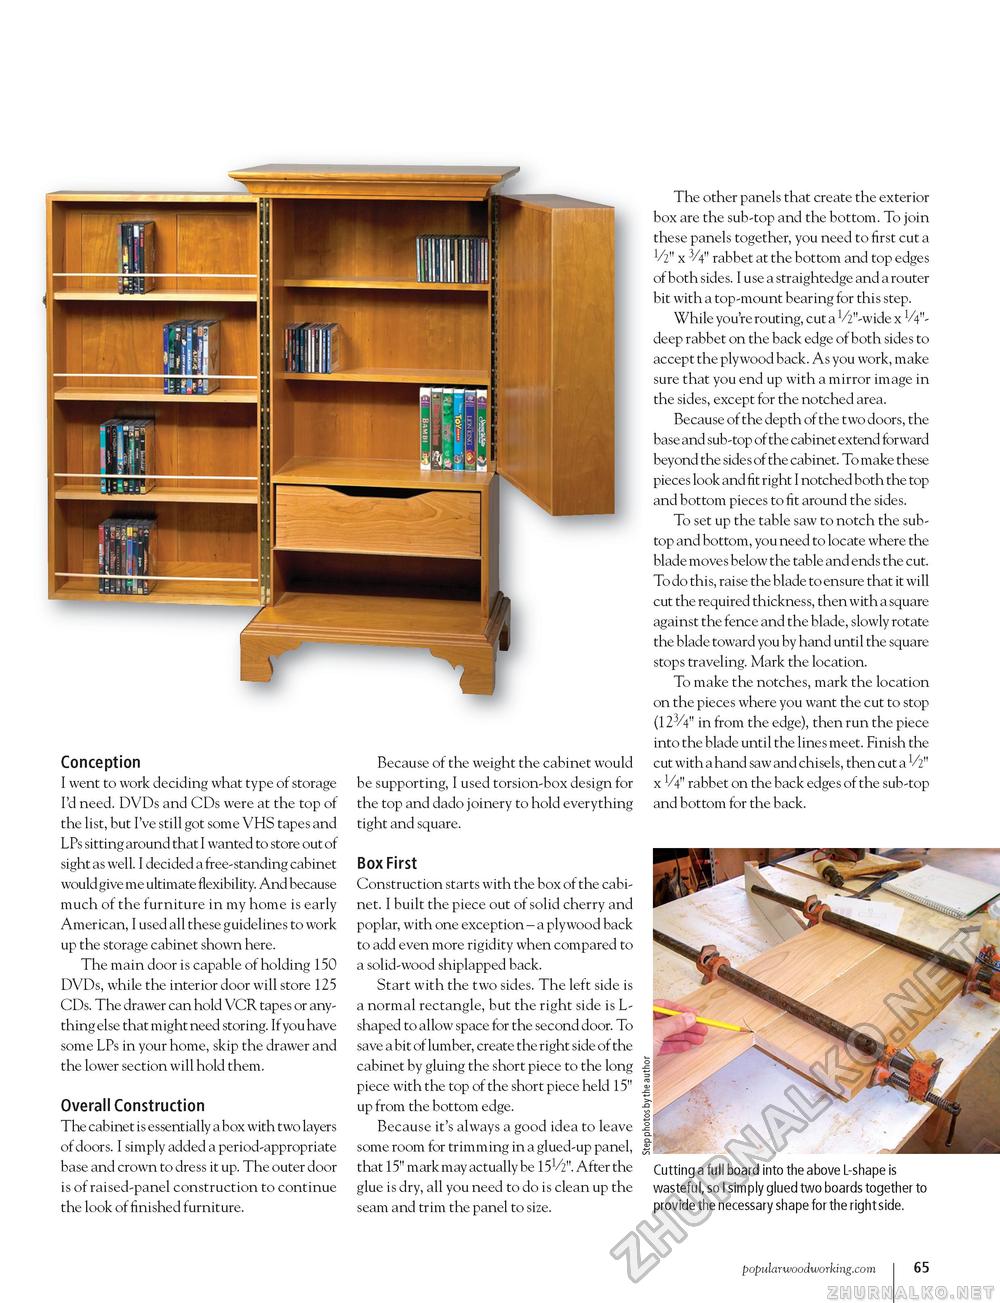
Conception I went to work deciding what type of storage I'd need. DVDs and CDs were at the top of the list, but I've still got some VHS tapes and LPs sitting around that I wanted to store out of sight as well. I decided a free-standing cabinet would give me ultimate flexibility. And because much of the furniture in my home is early American, I used all these guidelines to work up the storage cabinet shown here. The main door is capable of holding 150 DVDs, while the interior door will store 125 CDs. The drawer can hold VCR tapes or anything else that might need storing. If you have some LPs in your home, skip the drawer and the lower section will hold them. Overall Construction The cabinet is essentially a box with two layers of doors. I simply added a period-appropriate base and crown to dress it up. The outer door is of raised-panel construction to continue the look of finished furniture. Because of the weight the cabinet would be supporting, I used torsion-box design for the top and dado joinery to hold everything tight and square. Box First Construction starts with the box of the cabinet. I built the piece out of solid cherry and poplar, with one exception - a plywood back to add even more rigidity when compared to a solid-wood shiplapped back. Start with the two sides. The left side is a normal rectangle, but the right side is L-shaped to allow space for the second door. To save a bit of lumber, create the right side of the cabinet by gluing the short piece to the long piece with the top of the short piece held 15" up from the bottom edge. Because it's always a good idea to leave some room for trimming in a glued-up panel, that 15" mark may actually be 15V2". After the glue is dry, all you need to do is clean up the seam and trim the panel to size. The other panels that create the exterior box are the sub-top and the bottom. To join these panels together, you need to first cut a V2" x 3/4" rabbet at the bottom and top edges of both sides. I use a straightedge and a router bit with a top-mount bearing for this step. While you're routing, cut a V2"-wide x V4"-deep rabbet on the back edge of both sides to accept the plywood back. As you work, make sure that you end up with a mirror image in the sides, except for the notched area. Because of the depth of the two doors, the base and sub-top of the cabinet extend forward beyond the sides of the cabinet. To make these pieces look and fit right I notched both the top and bottom pieces to fit around the sides. To set up the table saw to notch the sub-top and bottom, you need to locate where the blade moves below the table and ends the cut. To do this, raise the blade to ensure that it will cut the required thickness, then with a square against the fence and the blade, slowly rotate the blade toward you by hand until the square stops traveling. Mark the location. To make the notches, mark the location on the pieces where you want the cut to stop (12)/4" in from the edge), then run the piece into the blade until the lines meet. Finish the cut with a hand saw and chisels, then cut a x 14" rabbet on the back edges of the sub-top and bottom for the back. Cutting a full board into the above L-shape is wastefu l, so I simply glued two boards together provide the necessary shape for the right side. to popularwoodworking.com I 103 |


