Popular Woodworking 2006-06 № 155, страница 38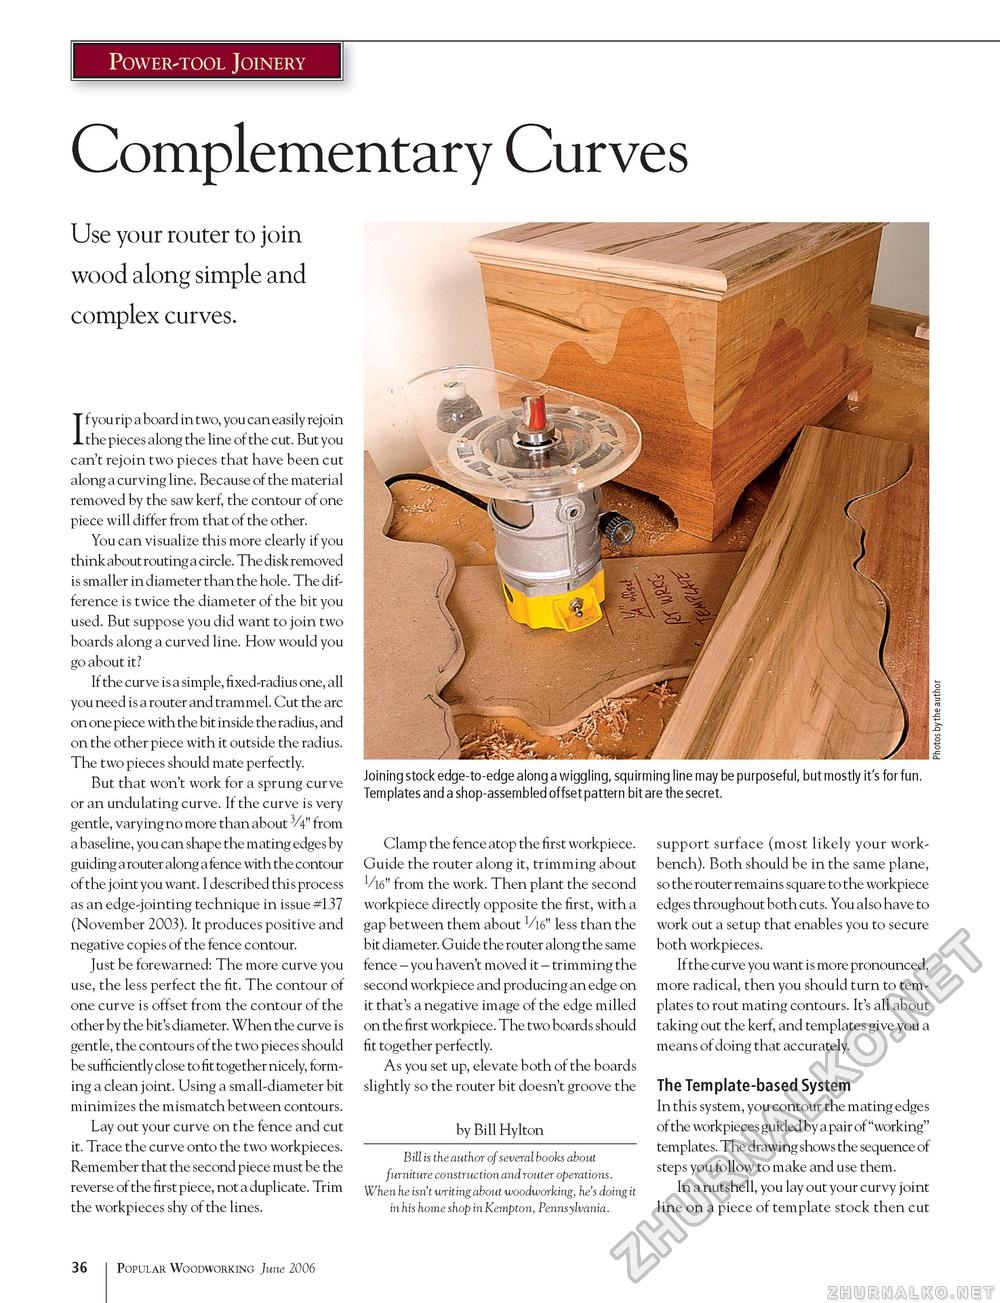
Power-tool Joinery Complementary Curves Use your router to join wood along simple and complex curves. If you rip a board in two, you can easily rej oin the pieces along the line of the cut. But you can't rejoin two pieces that have been cut along a curving line. Because of the material removed by the saw kerf, the contour of one piece will differ from that of the other. You can visualize this more clearly if you think about routing a circle. The disk removed is smaller in diameter than the hole. The difference is twice the diameter of the bit you used. But suppose you did want to join two boards along a curved line. How would you go about it? If the curve is a simple, fixed-radius one, all you need is a router and trammel. Cut the arc on one piece with the bit inside the radius, and on the other piece with it outside the radius. The two pieces should mate perfectly. But that won't work for a sprung curve or an undulating curve. If the curve is very gentle, varying no more than about 3/4" from a baseline, you can shape the mating edges by guiding a router along a fence with the contour of the joint you want. I described this process as an edge-jointing technique in issue #137 (November 2003). It produces positive and negative copies of the fence contour. Just be forewarned: The more curve you use, the less perfect the fit. The contour of one curve is offset from the contour of the other by the bit's diameter. When the curve is gentle, the contours of the two pieces should be sufficiently close to fit together nicely, forming a clean joint. Using a small-diameter bit minimizes the mismatch between contours. Lay out your curve on the fence and cut it. Trace the curve onto the two workpieces. Remember that the second piece must be the reverse of the first piece, not a duplicate. Trim the workpieces shy of the lines. Joining stock edge-to-edge along a wiggling, squirming line may be purposeful, but mostly it's for fun. Templates and a shop-assembled offset pattern bit are the secret. Clamp the fence atop the first workpiece. Guide the router along it, trimming about Vki" from the work. Then plant the second workpiece directly opposite the first, with a gap between them about V^" less than the bit diameter. Guide the router along the same fence - you haven't moved it - trimming the second workpiece and producing an edge on it that's a negative image of the edge milled on the first workpiece. The two boards should fit together perfectly. As you set up, elevate both of the boards slightly so the router bit doesn't groove the by Bill Hylton Bill is the author of several books about furniture construction and router operations. When he isn't writing about woodworking, he's doing it in his home shop in Kempton, Pennsylvania. support surface (most likely your workbench). Both should be in the same plane, so the router remains square to the workpiece edges throughout both cuts. You also have to work out a setup that enables you to secure both workpieces. If the curve you want is more pronounced, more radical, then you should turn to templates to rout mating contours. It's all about taking out the kerf, and templates give you a means of doing that accurately. The Template-based System In this system, you contour the mating edges of the workpieces guided by a pair of "working" templates. The drawing shows the sequence of steps you follow to make and use them. In a nutshell, you lay out your curvy joint line on a piece of template stock then cut 36 Popular Woodworking June 2006 |


