Popular Woodworking 2006-06 № 155, страница 40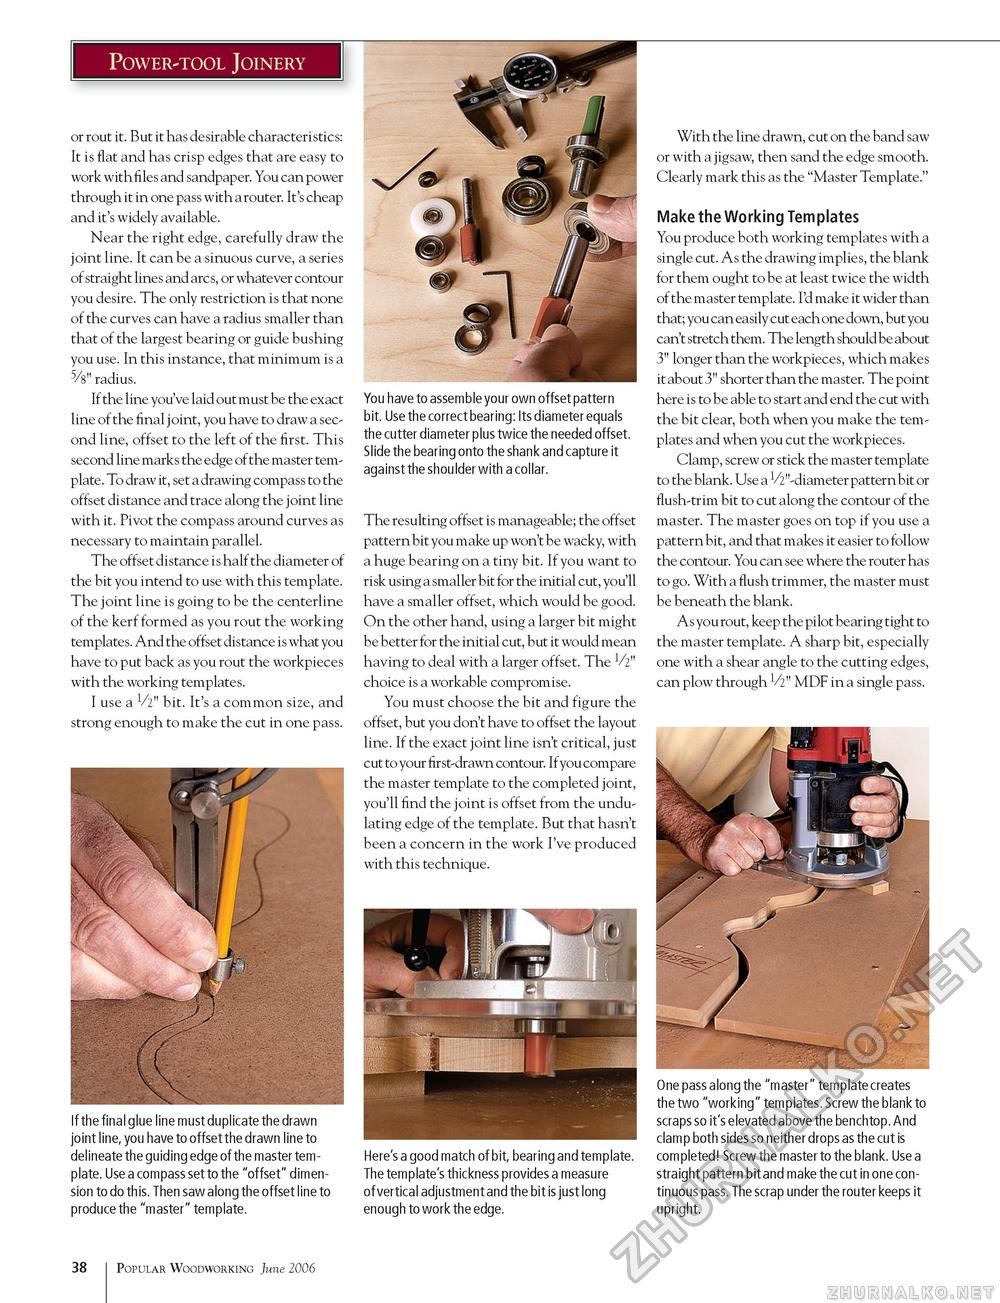
Power-tool Joinery or rout it. But it has desirable characteristics: It is flat and has crisp edges that are easy to work with files and sandpaper. You can power through it in one pass with a router. It's cheap and it's widely available. Near the right edge, carefully draw the joint line. It can be a sinuous curve, a series of straight lines and arcs, or whatever contour you desire. The only restriction is that none of the curves can have a radius smaller than that of the largest bearing or guide bushing you use. In this instance, that minimum is a radius. If the line you've laid out must be the exact line of the final j oint, you have to draw a second line, offset to the left of the first. This second line marks the edge of the master template. To draw it, set a drawing compass to the offset distance and trace along the joint line with it. Pivot the compass around curves as necessary to maintain parallel. The offset distance is half the diameter of the bit you intend to use with this template. The joint line is going to be the centerline of the kerf formed as you rout the working templates. And the offset distance is what you have to put back as you rout the workpieces with the working templates. I use a V2" bit. It's a common size, and strong enough to make the cut in one pass. If the final glue line must duplicate the drawn joint line, you have to offset the drawn line to delineate the guiding edge of the master template. Use a compass set to the "offset" dimension to do this. Then saw along the offset line to produce the "master" template. You have to assemble your own offset pattern bit. Use the correct bearing: Its diameter equals the cutter diameter plus twice the needed offset. Slide the bearing onto the shank and capture it against the shoulder with a collar. The resulting offset is manageable; the offset pattern bit you make up won't be wacky, with a huge bearing on a tiny bit. If you want to risk using a smaller bit for the initial cut, you'll have a smaller offset, which would be good. On the other hand, using a larger bit might be better for the initial cut, but it would mean having to deal with a larger offset. The V2" choice is a workable compromise. You must choose the bit and figure the offset, but you don't have to offset the layout line. If the exact joint line isn't critical, just cut to your first-drawn contour. If you compare the master template to the completed joint, you'll find the joint is offset from the undulating edge of the template. But that hasn't been a concern in the work I've produced with this technique. With the line drawn, cut on the band saw or with a jigsaw, then sand the edge smooth. Clearly mark this as the "Master Template." Make the Working Templates You produce both working templates with a single cut. As the drawing implies, the blank for them ought to be at least twice the width of the master template. I'd make it wider than that; you can easily cut each one down, but you can't stretch them. The length should be about 3" longer than the workpieces, which makes it about 3" shorter than the master. The point here is to be able to start and end the cut with the bit clear, both when you make the templates and when you cut the workpieces. Clamp, screw or stick the master template to the blank. Use a ^"-diameter pattern bit or flush-trim bit to cut along the contour of the master. The master goes on top if you use a pattern bit, and that makes it easier to follow the contour. You can see where the router has to go. With a flush trimmer, the master must be beneath the blank. As you rout, keep the pilot bearing tight to the master template. A sharp bit, especially one with a shear angle to the cutting edges, can plow through V2" MDF in a single pass. Here's a good match of bit, bearing and template. The template's thickness provides a measure of vertical adjustment and the bit is just long enough to work the edge. One pass along the "master" template creates the two "working" templates. Screw the blank to scraps so it's elevated above the benchtop. And clamp both sides so neither drops as the cut is completed! Screw the master to the blank. Use a straight pattern bit and make the cut in one continuous pass. The scrap under the router keeps it upright. 38 Popular Woodworking June 2006 |


