Popular Woodworking 2006-10 № 157, страница 56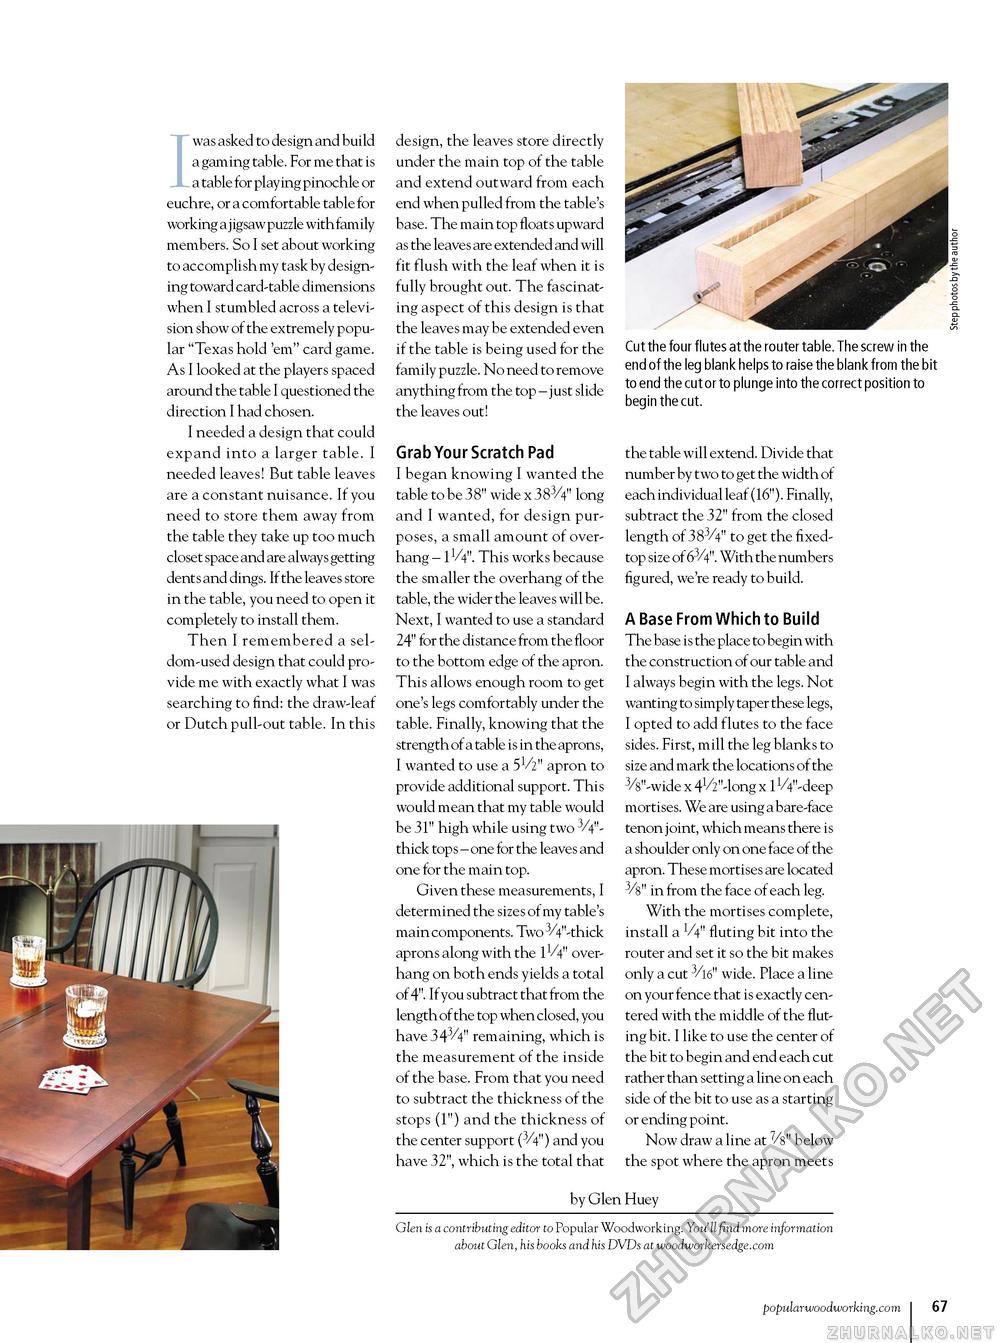
I was asked to design and build a gaming table. For me that is a table for playing pinochle or euchre, or a comfortable table for working a jigsaw puzzle with family members. So I set about working to accomplish my task by designing toward card-table dimensions when I stumbled across a television show of the extremely popular "Texas hold 'em" card game. As I looked at the players spaced around the table I questioned the direction I had chosen. I needed a design that could expand into a larger table. I needed leaves! But table leaves are a constant nuisance. If you need to store them away from the table they take up too much closet space and are always getting dents and dings. If the leaves store in the table, you need to open it completely to install them. Then I remembered a seldom-used design that could provide me with exactly what I was searching to find: the draw-leaf or Dutch pull-out table. In this design, the leaves store directly under the main top of the table and extend outward from each end when pulled from the table's base. The main top floats upward as the leaves are extended and will fit flush with the leaf when it is fully brought out. The fascinating aspect of this design is that the leaves may be extended even if the table is being used for the family puzzle. No need to remove anything from the top - just slide the leaves out! Cut the four flutes at the router table. The screw in the end of the leg blank helps to raise the blank from the bit to end the cut or to plunge into the correct position to begin the cut. Grab Your Scratch Pad I began knowing I wanted the table to be 38" wide x 383/4" long and I wanted, for design purposes, a small amount of overhang - lV4". This works because the smaller the overhang of the table, the wider the leaves will be. Next, I wanted to use a standard 24" for the distance from the floor to the bottom edge of the apron. This allows enough room to get one's legs comfortably under the table. Finally, knowing that the strength of a table is in the aprons, I wanted to use a 5V2" apron to provide additional support. This would mean that my table would be 31" high while using two 3/4"-thick tops - one for the leaves and one for the main top. Given these measurements, I determined the sizes of my table's main components. Two 3/4"-thick aprons along with the 1V4" overhang on both ends yields a total of 4". If you subtract that from the length of the top when closed, you have 343/4" remaining, which is the measurement of the inside of the base. From that you need to subtract the thickness of the stops (1") and the thickness of the center support (3/4") and you have 32", which is the total that the table will extend. Divide that number by two to get the width of each individual leaf (16"). Finally, subtract the 32" from the closed length of 383/4" to get the fixed-top size of 63/4". With the numbers figured, we're ready to build. A Base From Which to Build The base is the place to begin with the construction of our table and I always begin with the legs. Not wanting to simply taper these legs, I opted to add flutes to the face sides. First, mill the leg blanks to size and mark the locations of the 3/8"-wide x 41/2"-long x 1 VV'-deep mortises. We are using a bare-face tenon joint, which means there is a shoulder only on one face of the apron. These mortises are located 3/8" in from the face of each leg. With the mortises complete, install a V4" fluting bit into the router and set it so the bit makes only a cut 3/16" wide. Place a line on your fence that is exactly centered with the middle of the fluting bit. I like to use the center of the bit to begin and end each cut rather than setting a line on each side of the bit to use as a starting or ending point. Now draw a line at 7/8" below the spot where the apron meets by Glen Huey Glen is a contributing editor to Popular Woodworking. You ll find more information about Glen, his books and his DVDs at woodworkersedge.com popularwoodworking.com i 67 |


