Popular Woodworking 2007-02 № 160, страница 49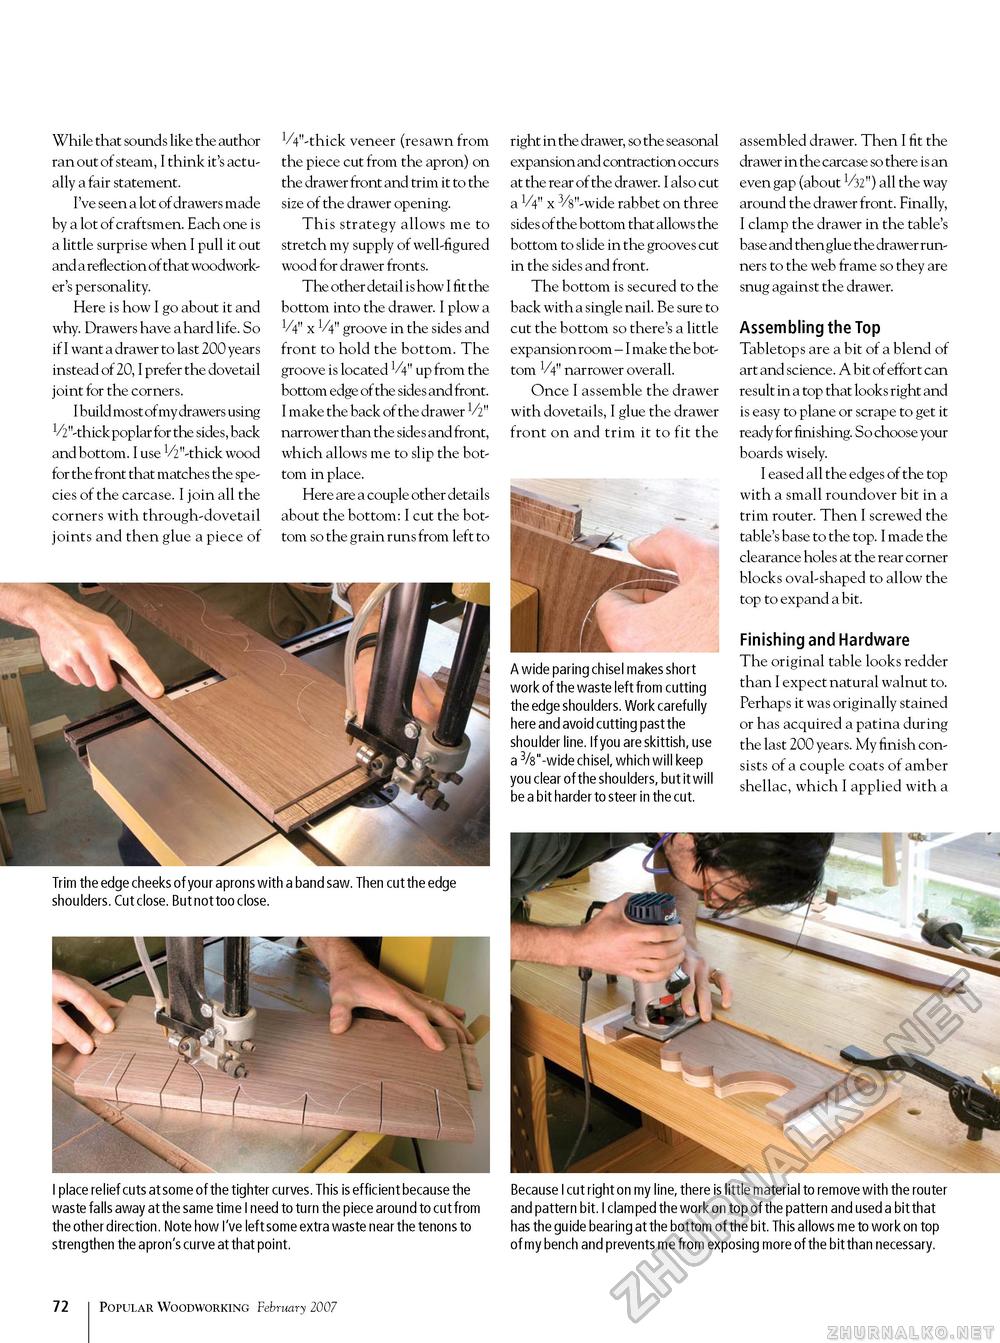
While that sounds like the author ran out of steam, I think it's actually a fair statement. I've seen a lot of drawers made by a lot of craftsmen. Each one is a little surprise when I pull it out and a reflection of that woodworker's personality. Here is how I go about it and why. Drawers have a hard life. So if I want a drawer to last 200 years instead of 20, I prefer the dovetail joint for the corners. I build most of my drawers using V2"-thick poplar for the sides, back and bottom. I use V2"-thick wood for the front that matches the species of the carcase. I join all the corners with through-dovetail joints and then glue a piece of W'-thick veneer (resawn from the piece cut from the apron) on the drawer front and trim it to the size of the drawer opening. This strategy allows me to stretch my supply of well-figured wood for drawer fronts. The other detail is how I fit the bottom into the drawer. I plow a 1/4" x V4" groove in the sides and front to hold the bottom. The groove is located V4" up from the bottom edge of the sides and front. I make the back of the drawer V2" narrower than the side s and front, which allows me to slip the bottom in place. Here are a couple other details about the bottom: I cut the bottom so the grain runs from left to right in the drawer, so the seasonal expansion and contraction occurs at the rear of the drawer. I also cut a 1/4" x 3/8"-wide rabbet on three sides of the bottom that allows the bottom to slide in the grooves cut in the sides and front. The bottom is secured to the back with a single nail. Be sure to cut the bottom so there's a little expansion room - I make the bottom V4" narrower overall. Once I assemble the drawer with dovetails, I glue the drawer front on and trim it to fit the A wide paring chisel makes short work of the waste left from cutting the edge shoulders. Work carefully here and avoid cutting past the shoulder line. If you are skittish, use a 3/8"-wide chisel, which will keep you clear of the shoulders, but it will be a bit harder to steer in the cut. assembled drawer. Then I fit the drawer in the carcase so there is an even gap (about V32") all the way around the drawer front. Finally, I clamp the drawer in the table's base and then glue the drawer runners to the web frame so they are snug against the drawer. Assembling the Top Tabletops are a bit of a blend of art and science. A bit of effort can result in a top that looks right and is easy to plane or scrape to get it ready for finishing. So choose your boards wisely. I eased all the edges of the top with a small roundover bit in a trim router. Then I screwed the table's base to the top. I made the clearance holes at the rear corner blocks oval-shaped to allow the top to expand a bit. Finishing and Hardware The original table looks redder than I expect natural walnut to. Perhaps it was originally stained or has acquired a patina during the last 200 years. My finish consists of a couple coats of amber shellac, which I applied with a Trim the edge cheeks of your aprons with a band saw. Then cut the edge shoulders. Cut close. But not too close. I place relief cuts at some of the tighter curves. This is efficient because the waste falls away at the same time I need to turn the piece around to cut from the other direction. Note how I've left some extra waste near the tenons to strengthen the apron's curve at that point. Because I cut right on my line, there is little material to remove with the router and pattern bit. I clamped the work on top of the pattern and used a bit that has the guide bearing at the bottom of the bit. This allows me to work on top of my bench and prevents me from exposing more of the bit than necessary. 10 Popular Woodworking February 2007 |


