Popular Woodworking 2007-04 № 161, страница 27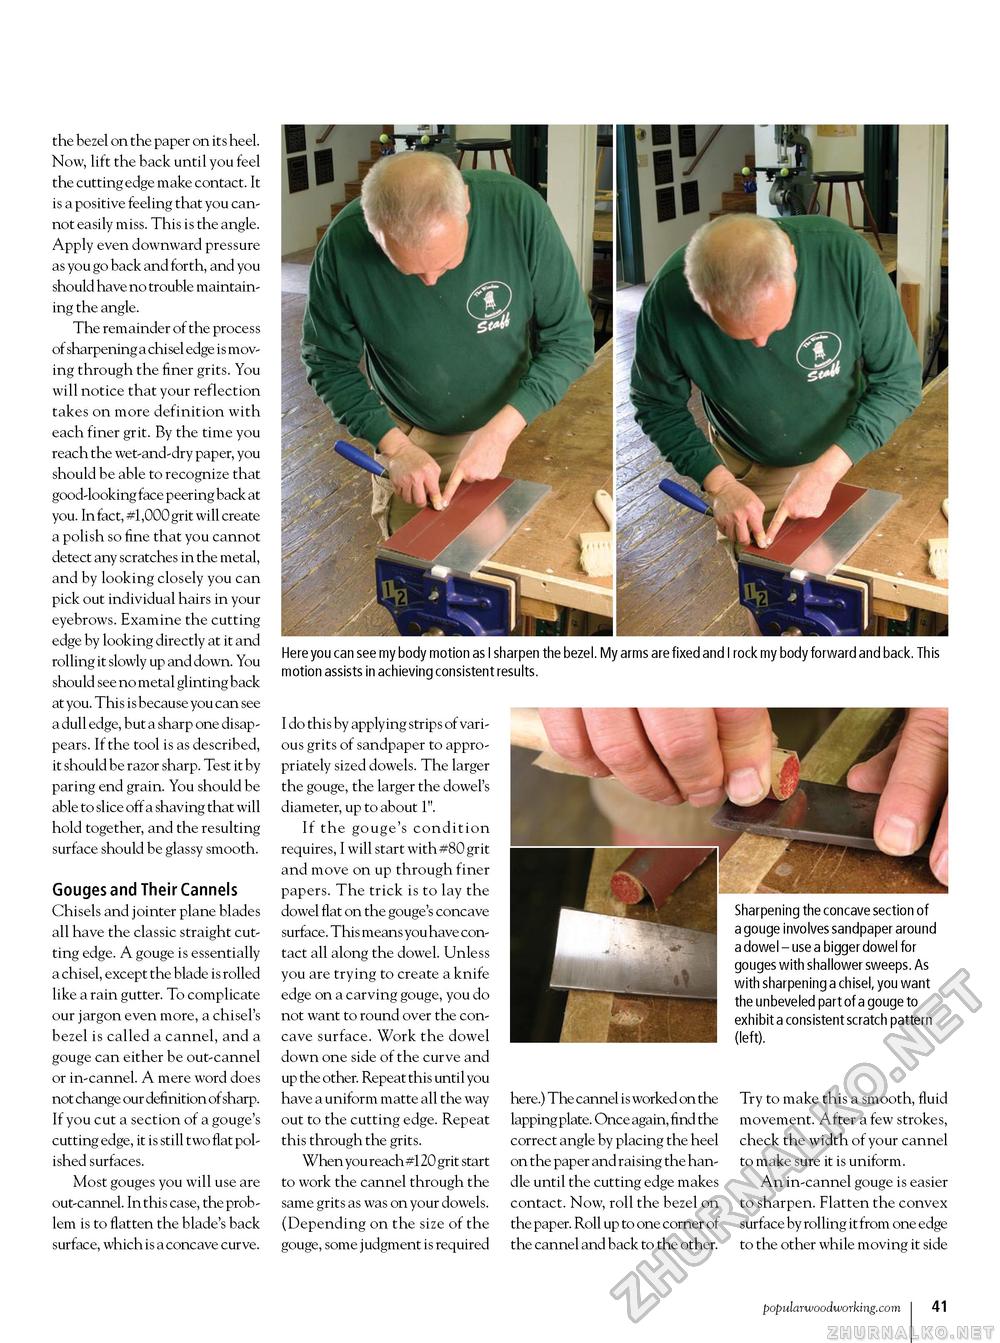
the bezel on the paper on its heel. Now, lift the back until you feel the cutting edge make contact. It is a positive feeling that you cannot easily miss. This is the angle. Apply even downward pressure as you go back and forth, and you should have no trouble maintaining the angle. The remainder of the process of sharpening a chisel edge is moving through the finer grits. You will notice that your reflection takes on more definition with each finer grit. By the time you reach the wet-and-dry paper, you should be able to recognize that good-looking face peering back at you. In fact, #1,000 grit will create a polish so fine that you cannot detect any scratches in the metal, and by looking closely you can pick out individual hairs in your eyebrows. Examine the cutting edge by looking directly at it and rolling it slowly up and down. You should see no metal glinting back at you. This is because you can see a dull edge, but a sharp one disappears. If the tool is as described, it should be razor sharp. Test it by paring end grain. You should be able to slice off a shaving that will hold together, and the resulting surface should be glassy smooth. Gouges and Their Cannels Chisels and jointer plane blades all have the classic straight cutting edge. A gouge is essentially a chisel, except the blade is rolled like a rain gutter. To complicate our jargon even more, a chisel's bezel is called a cannel, and a gouge can either be out-cannel or in-cannel. A mere word does not change our definition of sharp. If you cut a section of a gouge's cutting edge, it is still two flat polished surfaces. Most gouges you will use are out-cannel. In this case, the problem is to flatten the blade's back surface, which is a concave curve. Here you can see my body motion as I sharpen the bezel. My arms are fixed and I rock my body forward and back. This motion assists in achieving consistent results. I do this by applying strips of various grits of sandpaper to appropriately sized dowels. The larger the gouge, the larger the dowel's diameter, up to about 1". If the gouge's condition requires, I will start with #80 grit and move on up through finer papers. The trick is to lay the dowel flat on the gouge's concave surface. This means you have contact all along the dowel. Unless you are trying to create a knife edge on a carving gouge, you do not want to round over the concave surface. Work the dowel down one side of the curve and up the other. Repeat this until you have a uniform matte all the way out to the cutting edge. Repeat this through the grits. When you reach #120 grit start to work the cannel through the same grits as was on your dowels. (Depending on the size of the gouge, some judgment is required here.) The cannel is worked on the lapping plate. Once again, find the correct angle by placing the heel on the paper and raising the handle until the cutting edge makes contact. Now, roll the bezel on the paper. Roll up to one corner of the cannel and back to the other. Sharpening the concave section of a gouge involves sandpaper around a dowel - use a bigger dowel for gouges with shallower sweeps. As with sharpening a chisel, you want the unbeveled part of a gouge to exhibit a consistent scratch pattern (left). Try to make this a smooth, fluid movement. After a few strokes, check the width of your cannel to make sure it is uniform. An in-cannel gouge is easier to sharpen. Flatten the convex surface by rolling it from one edge to the other while moving it side popularwoodworking.com I 41 |


