Popular Woodworking 2007-04 № 161, страница 58
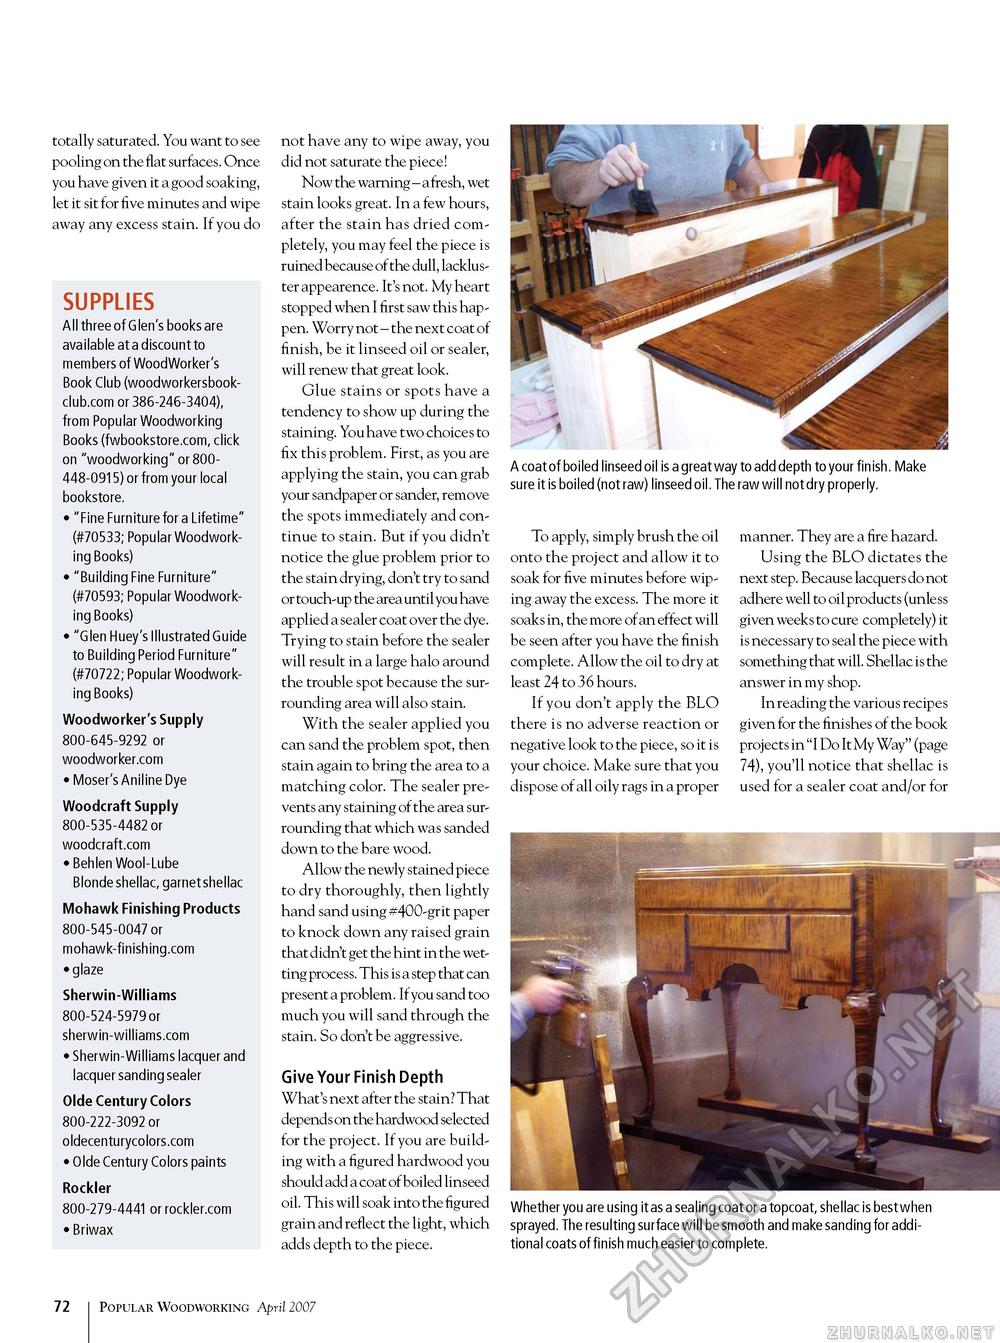
totally saturated. You want to see pooling on the flat surfaces. Once you have given it a good soaking, let it sit for five minutes and wipe away any excess stain. If you do SUPPLIES All three of G len's books are available at a discount to members of Woodworker's Book Club (woodworkersbook-club.com or 386-246-3404), from Popular Woodworking Books (fwbookstore.com, click on "woodworking" or 800448-0915) or from your local bookstore. • "Fine Furniture for a Lifetime" (#70533; Popular Woodworking Books) • "Building Fine Furniture" (#70593; Popular Woodworking Books) • "Glen Huey's Illustrated Guide to Building Period Furniture" (#70722; Popular Woodworking Books) Woodworker's Supply 800-645-9292 or woodworker.com • Moser's Aniline Dye Woodcraft Supply 800-535-4482 or woodcraft.com • Behlen Wool-Lube Blonde shellac, garnet shellac Mohawk Finishing Products 800-545-0047 or mohawk-finishing.com • glaze Sherwin-Williams 800-524-5979 or sherwin-williams.com • Sherwin-Williams lacquer and lacquer sanding sealer Olde Century Colors 800-222-3092 or oldecenturycolors.com • Olde Century Colors paints Rockler 800-279-4441 or rockler.com • Briwax not have any to wipe away, you did not saturate the piece! Now the warning - a fresh, wet stain looks great. In a few hours, after the stain has dried completely, you may feel the piece is ruined because of the dull, lackluster appearence. It's not. My heart stopped when I first saw this happen. Worry not - the next coat of finish, be it linseed oil or sealer, will renew that great look. Glue stains or spots have a tendency to show up during the staining. You have two choices to fix this problem. First, as you are applying the stain, you can grab your sandpaper or sander, remove the spots immediately and continue to stain. But if you didn't notice the glue problem prior to the stain drying, don't try to sand or touch-up the area until you have applied a sealer coat over the dye. Trying to stain before the sealer will result in a large halo around the trouble spot because the surrounding area will also stain. With the sealer applied you can sand the problem spot, then stain again to bring the area to a matching color. The sealer prevents any staining of the area surrounding that which was sanded down to the bare wood. Allow the newly stained piece to dry thoroughly, then lightly hand sand using #400-grit paper to knock down any raised grain that didn't get the hint in the wetting process. This is a step that can present a problem. If you sand too much you will sand through the stain. So don't be aggressive. Give Your Finish Depth What's next after the stain? That depends on the hardwood selected for the project. If you are building with a figured hardwood you should add a coat of boiled linseed oil. This will soak into the figured grain and reflect the light, which adds depth to the piece. A coat of boiled linseed oil is a great way to add depth to your finish. Make sure it is boiled (not raw) linseed oil. The raw will not dry properly. To apply, simply brush the oil onto the project and allow it to soak for five minutes before wiping away the excess. The more it soaks in, the more of an effect will be seen after you have the finish complete. Allow the oil to dry at least 24 to 36 hours. If you don't apply the BLO there is no adverse reaction or negative look to the piece, so it is your choice. Make sure that you dispose of all oily rags in a proper manner. They are a fire hazard. Using the BLO dictates the next step. Because lacquers do not adhere well to oil products (unless given weeks to cure completely) it is necessary to seal the piece with something that will. Shellac is the answer in my shop. In reading the various recipes given for the finishes of the book projects in ""I Do It My Way" (page 74), you'll notice that shellac is used for a sealer coat and/or for Whether you are using it as a sealing coat or a topcoat, shellac is best when sprayed. The resulting surface will be smooth and make sanding for additional coats of finish much easier to complete. 72 Popular Woodworking April 2007 |


