Popular Woodworking 2007-04 № 161, страница 59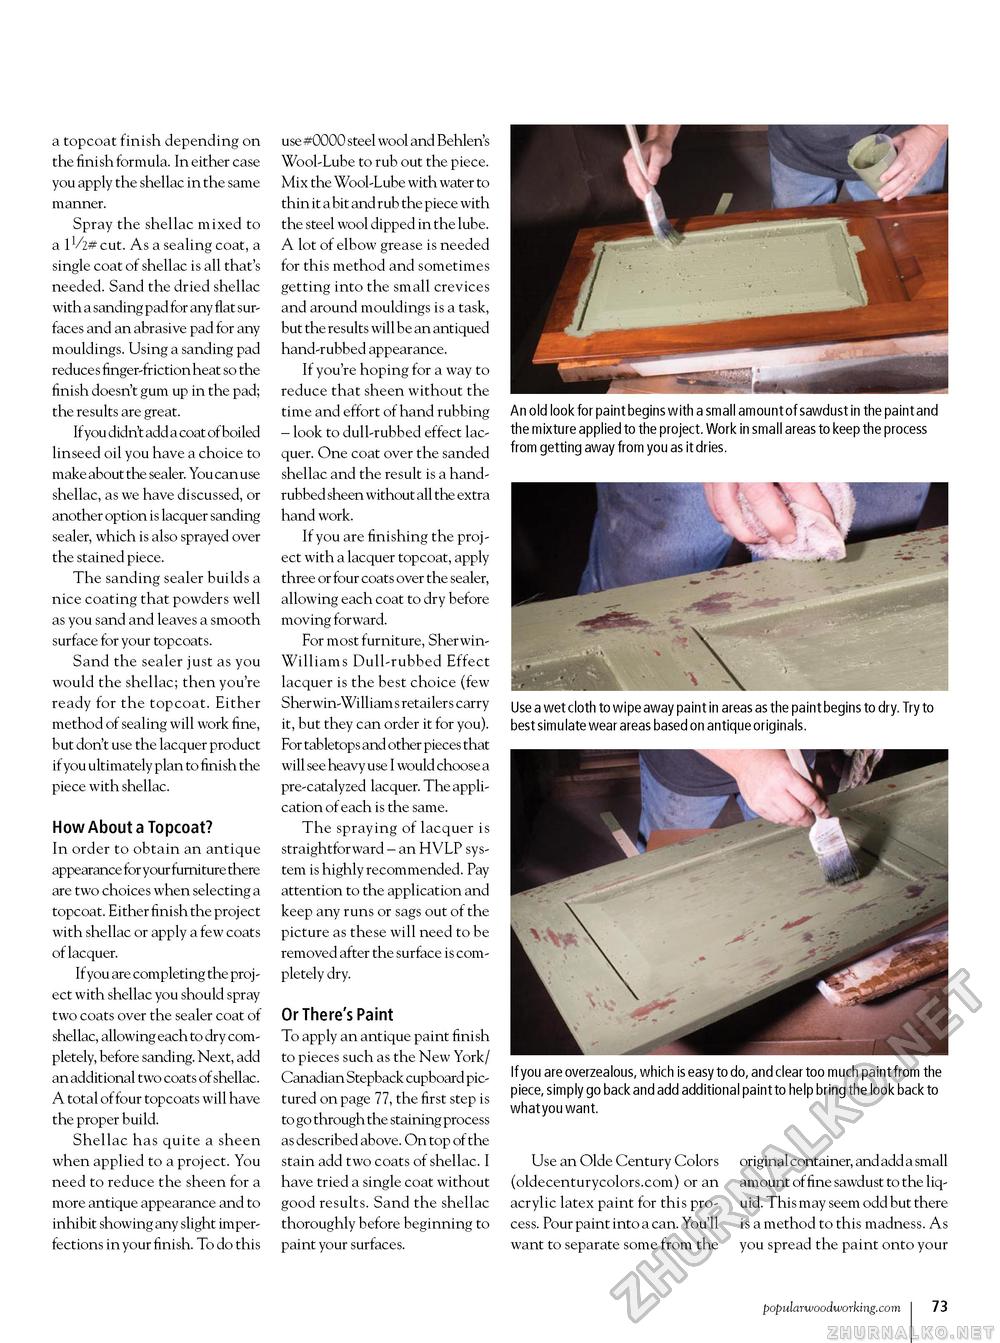
a topcoat finish depending on the finish formula. In either case you apply the shellac in the same manner. Spray the shellac mixed to a 1V2# cut. As a sealing coat, a single coat of shellac is all that's needed. Sand the dried shellac with a sanding pad for any flat surfaces and an abrasive pad for any mouldings. Using a sanding pad reduces finger-friction heat so the finish doesn't gum up in the pad; the results are great. If you didn't add a coat of boiled linseed oil you have a choice to make about the sealer. You can use shellac, as we have discussed, or another option is lacquer sanding sealer, which is also sprayed over the stained piece. The sanding sealer builds a nice coating that powders well as you sand and leaves a smooth surface for your topcoats. Sand the sealer just as you would the shellac; then you're ready for the topcoat. Either method of sealing will work fine, but don't use the lacquer product if you ultimately plan to finish the piece with shellac. How About a Topcoat? In order to obtain an antique appearance for your furniture there are two choices when selecting a topcoat. Either finish the proj ect with shellac or apply a few coats of lacquer. If you are completing the project with shellac you should spray two coats over the sealer coat of shellac, allowing each to dry completely, before sanding. Next, add an additional two coats of shellac. A total of four topcoats will have the proper build. Shellac has quite a sheen when applied to a project. You need to reduce the sheen for a more antique appearance and to inhibit showing any slight imperfections in your finish. To do this use #0000 steel wool and Behlen's Wool-Lube to rub out the piece. Mix the Wool-Lube with water to thin it a bit and rub the piece with the steel wool dipped in the lube. A lot of elbow grease is needed for this method and sometimes getting into the small crevices and around mouldings is a task, but the results will be an antiqued hand-rubbed appearance. If you're hoping for a way to reduce that sheen without the time and effort of hand rubbing - look to dull-rubbed effect lacquer. One coat over the sanded shellac and the result is a hand-rubbed sheen without all the extra hand work. If you are finishing the project with a lacquer topcoat, apply three or four coats over the sealer, allowing each coat to dry before moving forward. For most furniture, Sherwin-Williams Dull-rubbed Effect lacquer is the best choice (few Sherwin-Williams retailers carry it, but they can order it for you). For tabletops and other pieces that will see heavy use I would choose a pre-catalyzed lacquer. The application of each is the same. The spraying of lacquer is straightforward - an HVLP system is highly recommended. Pay attention to the application and keep any runs or sags out of the picture as these will need to be removed after the surface is completely dry. Or There's Paint To apply an antique paint finish to pieces such as the New York/ Canadian Stepback cupboard pictured on page 77, the first step is to go through the staining process as described above. On top of the stain add two coats of shellac. I have tried a single coat without good results. Sand the shellac thoroughly before beginning to paint your surfaces. An old look for paint begins with a small amount of sawdust in the paint and the mixture applied to the project. Work in small areas to keep the process from getting away from you as it dries. Use a wet cloth to wipe away paint in areas as the paint begins to dry. Try to best simulate wear areas based on antique originals. If you are overzealous, which is easy to do, and clear too much paint from the piece, simply go back and add additional paint to help bring the look back to what you want. Use an Olde Century Colors (oldecenturycolors.com) or an acrylic latex paint for this process. Pour paint into a can. You'll want to separate some from the original container, and add a small amount of fine sawdust to the liquid. This may seem odd but there is a method to this madness. As you spread the paint onto your popularwoodworking.com I 73 |


