Popular Woodworking 2007-04 № 161, страница 60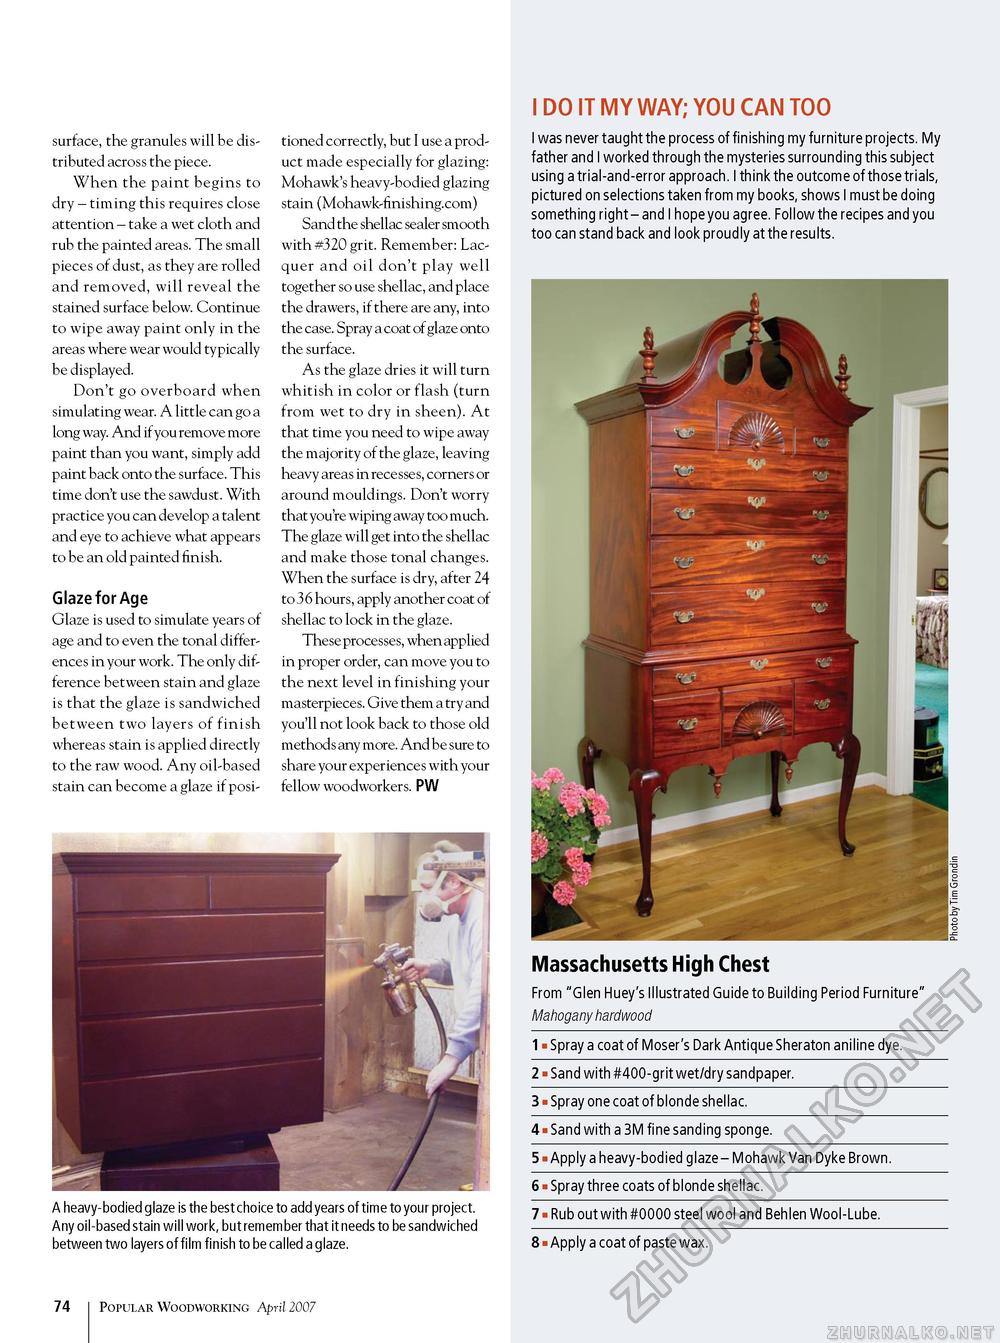
surface, the granules will be distributed across the piece. When the paint begins to dry - timing this requires close attention - take a wet cloth and rub the painted areas. The small pieces of dust, as they are rolled and removed, will reveal the stained surface below. Continue to wipe away paint only in the areas where wear would typically be displayed. Don't go overboard when simulating wear. A little can go a long way. And if you remove more paint than you want, simply add paint back onto the surface. This time don't use the sawdust. With practice you can develop a talent and eye to achieve what appears to be an old painted finish. Glaze for Age Glaze is used to simulate years of age and to even the tonal differences in your work. The only difference between stain and glaze is that the glaze is sandwiched between two layers of finish whereas stain is applied directly to the raw wood. Any oil-based stain can become a glaze if posi tioned correctly, but I use a product made especially for glazing: Mohawk's heavy-bodied glazing stain (Mohawk-finishing.com) Sand the shellac sealer smooth with #320 grit. Remember: Lacquer and oil don't play well together so use shellac, and place the drawers, if there are any, into the case. Spray a coat of glaze onto the surface. As the glaze dries it will turn whitish in color or flash (turn from wet to dry in sheen). At that time you need to wipe away the majority of the glaze, leaving heavy areas in recesses, corners or around mouldings. Don't worry that you're wiping away too much. The glaze will get into the shellac and make those tonal changes. When the surface is dry, after 24 to 36 hours, apply another coat of shellac to lock in the glaze. These processes, when applied in proper order, can move you to the next level in finishing your masterpieces. Give them a try and you'll not look back to those old methods any more. And be sure to share your experiences with your fellow woodworkers. PW I DO IT MY WAY; YOU CAN TOO I was never taught the process of finishing my furniture projects. My father and I worked through the mysteries surrounding this subject using a trial-and-error approach. I think the outcome of those trials, pictured on selections taken from my books, shows I must be doing something right - and I hope you agree. Follow the recipes and you too can stand back and look proudly at the results. A heavy-bodied glaze is the best choice to add years of time to your project. Any oil-based stain will work, but remember that it needs to be sandwiched between two layers of film finish to be called a glaze. Massachusetts High Chest From "Glen Huey's Illustrated Guide to Building Period Furniture" Mahogany hardwood 1 ■ Spray a coat of Moser's Dark Antique Sheraton aniline dye. 2 ■ Sand with #400-grit wet/dry sandpaper. 3 ■ Spray one coat of blonde shellac. 4 ■ Sand with a 3M fine sanding sponge. 5 ■ Apply a heavy-bodied glaze - Mohawk Van Dyke Brown. 6 ■ Spray three coats of blonde shellac. 7 ■ Rub out with #0000 steel wool and Behlen Wool-Lube. 8 ■ Apply a coat of paste wax. 74 Popular Woodworking April 2007 |


