Popular Woodworking 2007-06 № 162, страница 17
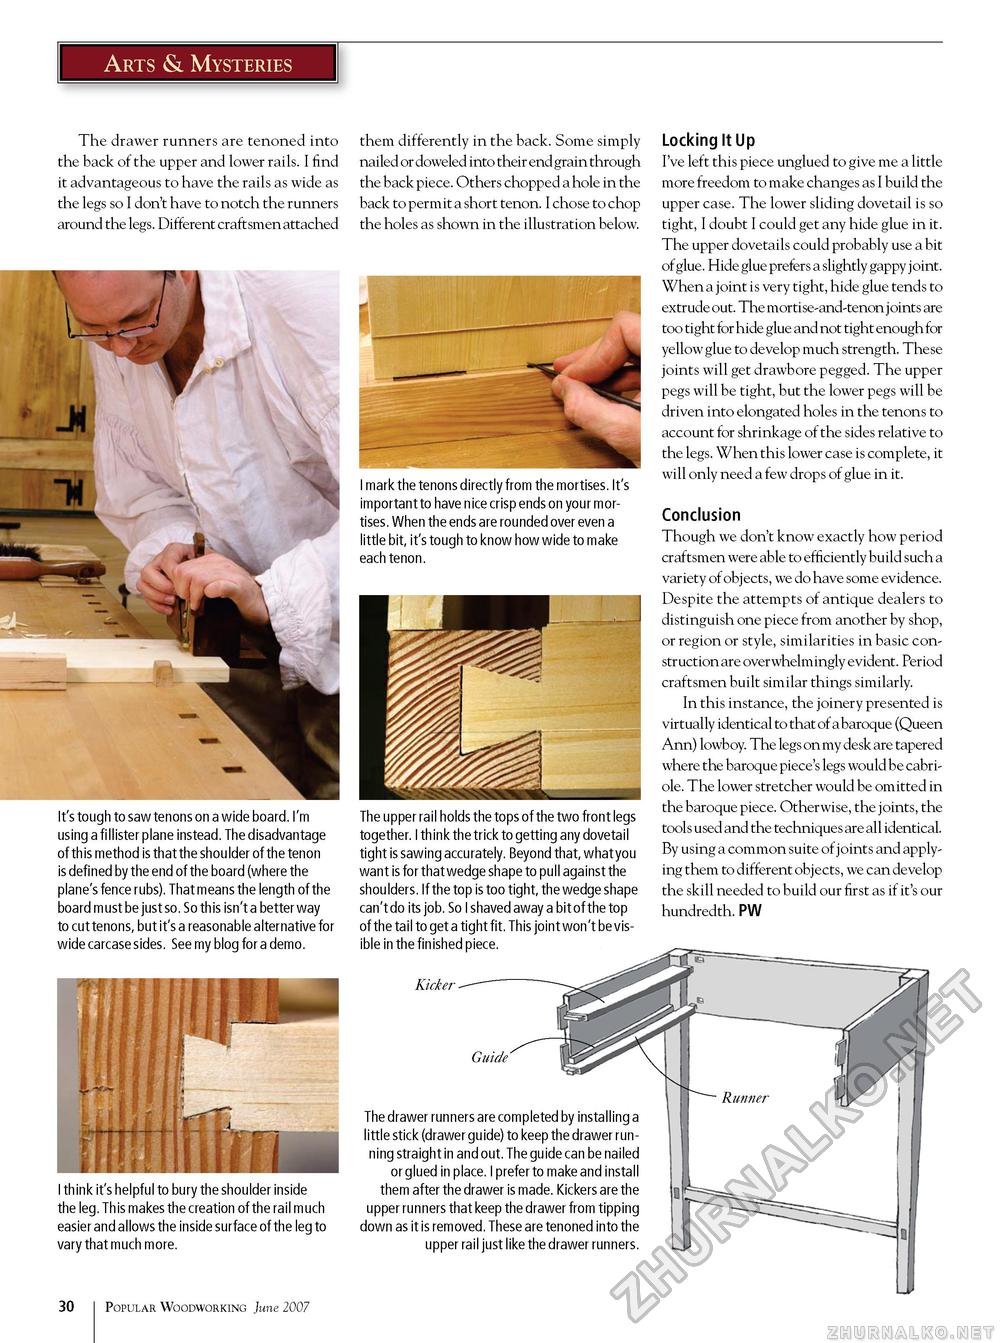
Arts & Mysteries The drawer runners are tenoned into the back of the upper and lower rails. I find it advantageous to have the rails as wide as the legs so I don't have to notch the runners around the legs. Different craftsmen attached It's tough to saw tenons on a wide board. I'm using a fillister plane instead. The disadvantage of th is method is that the shoulder of the tenon is defined by the end of the board (where the plane's fence rubs). That means the length of the board must be just so. So th is isn't a better way to cut tenons, but it's a reasonable alternative for wide carcase sides. See my blog for a demo. I think it's helpful to bury the shoulder inside the leg. This makes the creation of the rail much easier and allows the inside surface of the leg to vary that much more. them differently in the back. Some simply nailed or doweled into their end grain through the back piece. Others chopped a hole in the back to permit a short tenon. I chose to chop the holes as shown in the illustration below. I mark the tenons directly from the mortises. It's important to have nice crisp ends on your mortises. When the ends are rounded over even a little bit, it's tough to know how wide to make each tenon. The upper rail holds the tops of the two front legs together. I think the trick to getting any dovetail tight is sawing accurately. Beyond that, what you want is for that wedge shape to pull against the shoulders. If the top is too tight, the wedge shape can't do its job. So I shaved away a bit of the top of the tail to get a tight fit. This joint won't be visible in the finished piece. Kicker Locking It Up I've left this piece unglued to give me a little more freedom to make changes as I build the upper case. The lower sliding dovetail is so tight, I doubt I could get any hide glue in it. The upper dovetails could probably use a bit of glue. Hide glue prefers a slightly gappy joint. When a joint is very tight, hide glue tends to extrude out. The mortise-and-tenon joints are too tight for hide glue and not tight enough for yellow glue to develop much strength. These joints will get drawbore pegged. The upper pegs will be tight, but the lower pegs will be driven into elongated holes in the tenons to account for shrinkage of the sides relative to the legs. When this lower case is complete, it will only need a few drops of glue in it. Conclusion Though we don't know exactly how period craftsmen were able to efficiently build such a variety of objects, we do have some evidence. Despite the attempts of antique dealers to distinguish one piece from another by shop, or region or style, similarities in basic construction are overwhelmingly evident. Period craftsmen built similar things similarly. In this instance, the joinery presented is virtually identical to that of a baroque (Queen Ann) lowboy. The legs on my desk are tapered where the baroque piece's legs would be cabriole. The lower stretcher would be omitted in the baroque piece. Otherwise, the joints, the tools used and the techniques are all identical. By using a common suite of joints and applying them to different objects, we can develop the skill needed to build our first as if it's our hundredth. PW Guide The drawer runners are completed by installing a little stick (drawer guide) to keep the drawer running straight in and out. The guide can be nailed or glued in place. I prefer to make and install them after the drawer is made. Kickers are the upper runners that keep the drawer from tipping down as it is removed. These are tenoned into the upper rail just like the drawer runners. 10 Popular Woodworking June 2007 |


