Popular Woodworking 2007-06 № 162, страница 16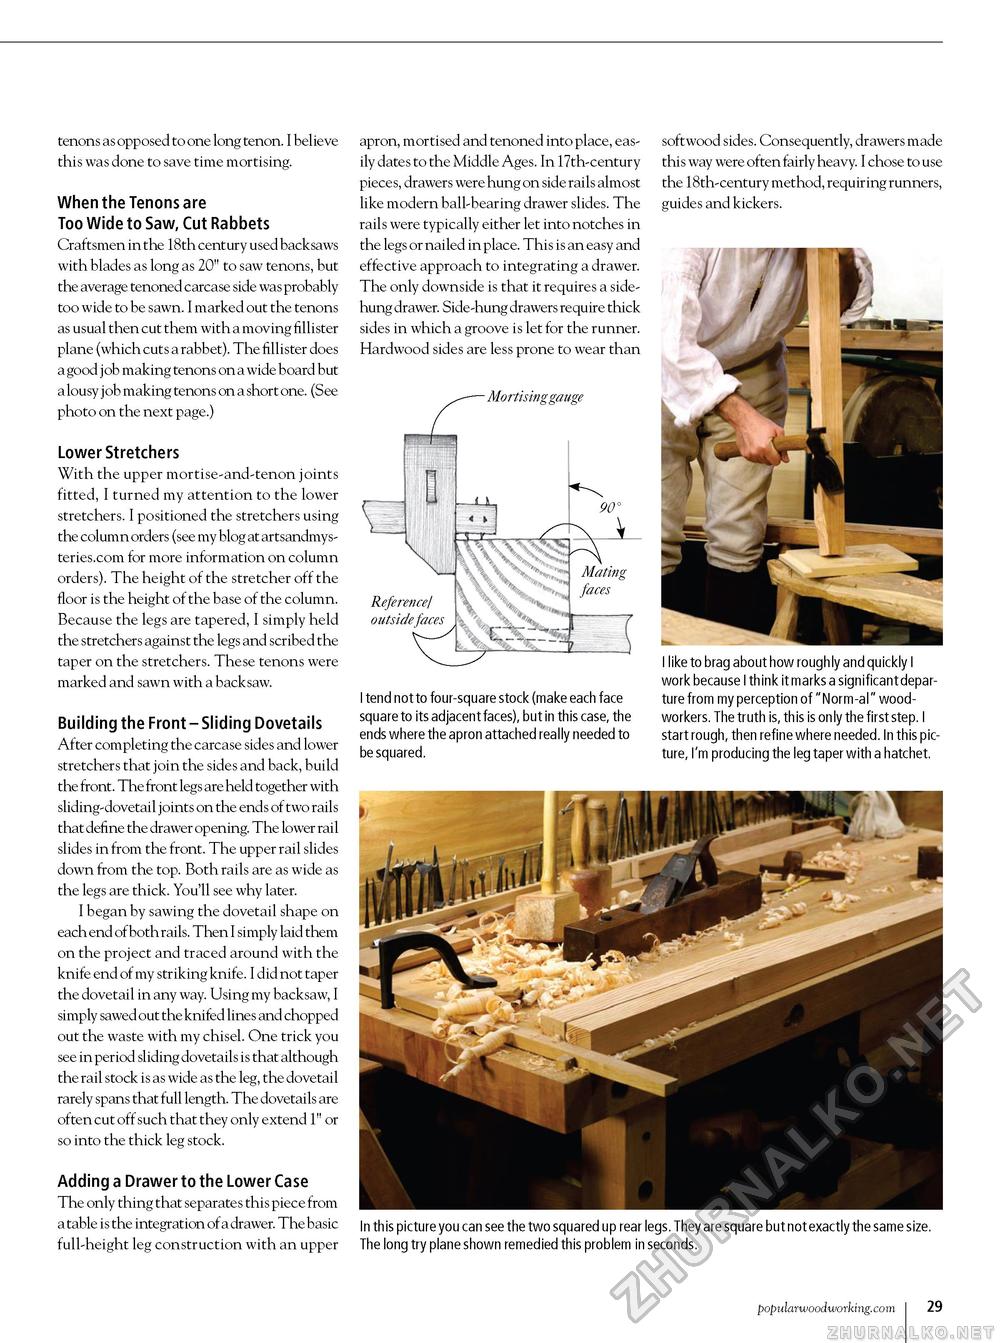
tenons as opposed to one long tenon. I believe this was done to save time mortising. When the Tenons are Too Wide to Saw, Cut Rabbets Craftsmen in the 18th century used backsaws with blades as long as 20" to saw tenons, but the average tenoned carcase side was probably too wide to be sawn. I marked out the tenons as usual then cut them with a moving fillister plane (which cuts a rabbet). The fillister does a good j ob making tenons on a wide board but a lousy job making tenons on a short one. (See photo on the next page.) Lower Stretchers With the upper mortise-and-tenon joints fitted, I turned my attention to the lower stretchers. I positioned the stretchers using the column orders (see my blog at artsandmys-teries.com for more information on column orders). The height of the stretcher off the floor is the height of the base of the column. Because the legs are tapered, I simply held the stretchers against the legs and scribed the taper on the stretchers. These tenons were marked and sawn with a backsaw. Building the Front - Sliding Dovetails After completing the carcase sides and lower stretchers that join the sides and back, build the front. The front legs are held together with sliding-dovetail joints on the ends of two rails that define the drawer opening. The lower rail slides in from the front. The upper rail slides down from the top. Both rails are as wide as the legs are thick. You'll see why later. I began by sawing the dovetail shape on each end of both rails. Then I simply laid them on the project and traced around with the knife end of my striking knife. I did not taper the dovetail in any way. Using my backsaw, I simply sawed out the knifed lines and chopped out the waste with my chisel. One trick you see in period sliding dovetails is that although the rail stock is as wide as the leg, the dovetail rarely spans that full length. The dovetails are often cut off such that they only extend 1" or so into the thick leg stock. Adding a Drawer to the Lower Case The only thing that separates this piece from a table is the integration of a drawer. The basic full-height leg construction with an upper apron, mortised and tenoned into place, easily dates to the Middle Ages. In 17th-century pieces, drawers were hung on side rails almost like modern ball-bearing drawer slides. The rails were typically either let into notches in the legs or nailed in place. This is an easy and effective approach to integrating a drawer. The only downside is that it requires a side-hung drawer. Side-hung drawers require thick sides in which a groove is let for the runner. Hardwood sides are less prone to wear than Mortisinggauge I tend not to four-square stock (make each face square to its adjacent faces), but in this case, the ends where the apron attached really needed to be squared. softwood sides. Consequently, drawers made this way were often fairly heavy. I chose to use the 18th-century method, requiring runners, guides and kickers. I like to brag about how roughly and quickly I work because I think it marks a significant departure from my perception of "Norm-al" woodworkers. The truth is, th is is on ly the first step. I start rough, then refine where needed. In this picture, I'm producing the leg taper with a hatchet. In this picture you can see the two squared up rear legs. They are square but not exactly the same size. The long try plane shown remedied this problem in seconds. popularwoodworking.com 23 |


