Popular Woodworking 2007-06 № 162, страница 43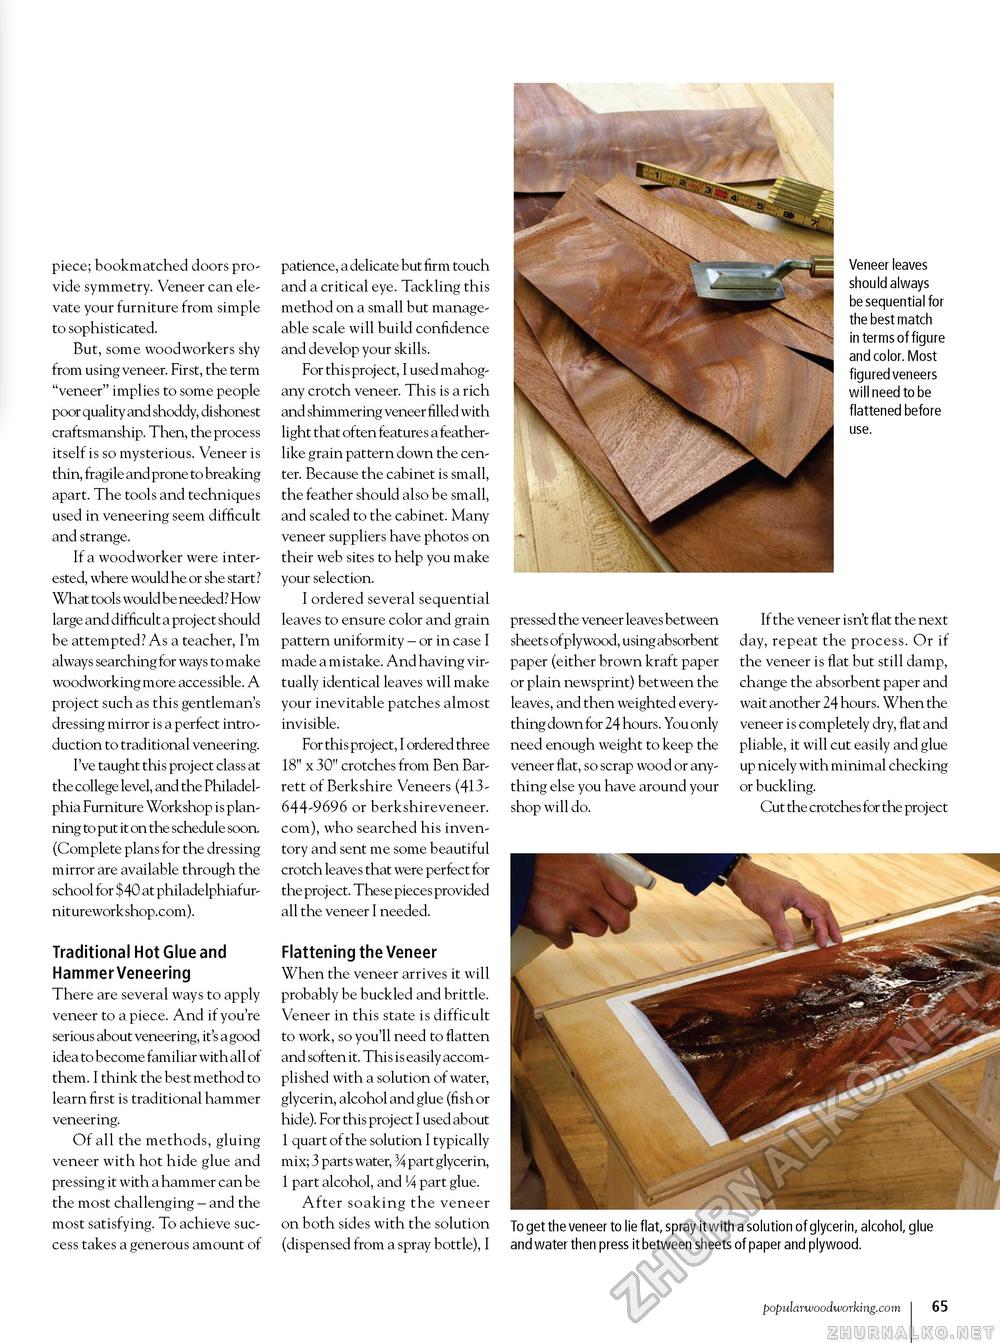
piece; bookmatched doors provide symmetry. Veneer can elevate your furniture from simple to sophisticated. But, some woodworkers shy from using veneer. First, the term "veneer" implies to some people poor quality and shoddy, dishonest craftsmanship. Then, the process itself is so mysterious. Veneer is thin, fragile and prone to breaking apart. The tools and techniques used in veneering seem difficult and strange. If a woodworker were interested, where would he or she start? What tools would be needed? How large and difficult a proj ect should be attempted? As a teacher, I'm always searching for ways to make woodworking more accessible. A project such as this gentleman's dressing mirror is a perfect introduction to traditional veneering. I've taught this project class at the college level, and the Philadelphia Furniture Workshop is planning to put it on the schedule soon. (Complete plans for the dressing mirror are available through the school for $40 at philadelphiafur-nitureworkshop.com). Traditional Hot Glue and Hammer Veneering There are several ways to apply veneer to a piece. And if you're serious about veneering, it's a good idea to become familiar with all of them. I think the best method to learn first is traditional hammer veneering. Of all the methods, gluing veneer with hot hide glue and pressing it with a hammer can be the most challenging - and the most satisfying. To achieve success takes a generous amount of patience, a delicate but firm touch and a critical eye. Tackling this method on a small but manageable scale will build confidence and develop your skills. For this project, I used mahogany crotch veneer. This is a rich and shimmering veneer filled with light that often feature s a featherlike grain pattern down the center. Because the cabinet is small, the feather should also be small, and scaled to the cabinet. Many veneer suppliers have photos on their web sites to help you make your selection. I ordered several sequential leaves to ensure color and grain pattern uniformity - or in case I made a mistake. And having virtually identical leaves will make your inevitable patches almost invisible. For this project, I ordered three 18" x 30" crotches from Ben Barrett of Berkshire Veneers (413644-9696 or berkshireveneer. com), who searched his inventory and sent me some beautiful crotch leave s that were perfect for the project. These pieces provided all the veneer I needed. Flattening the Veneer When the veneer arrives it will probably be buckled and brittle. Veneer in this state is difficult to work, so you'll need to flatten and soften it. This is easily accomplished with a solution of water, glycerin, alcohol and glue (fish or hide). For this project I used about 1 quart of the solution I typically mix; 3 parts water, 34 part glycerin, 1 part alcohol, and !4 part glue. After soaking the veneer on both sides with the solution (dispensed from a spray bottle), I Veneer leaves should always be sequential for the best match in terms of figure and color. Most figured veneers will need to be flattened before pressed the veneer leaves between sheets ofplywood, using absorbent paper (either brown kraft paper or plain newsprint) between the leaves, and then weighted everything down for 24 hours. You only need enough weight to keep the veneer flat, so scrap wood or anything else you have around your shop will do. If the veneer isn't flat the next day, repeat the process. Or if the veneer is flat but still damp, change the absorbent paper and wait another 24 hours. When the veneer is completely dry, flat and pliable, it will cut easily and glue up nicely with minimal checking or buckling. Cut the crotches for the proj ect To get the veneer to lie flat, spray it with a solution of glycerin, alcohol, glue and water then press it between sheets of paper and plywood. use. popularwoodworking.com 23 |


