Popular Woodworking 2007-08 № 163, страница 53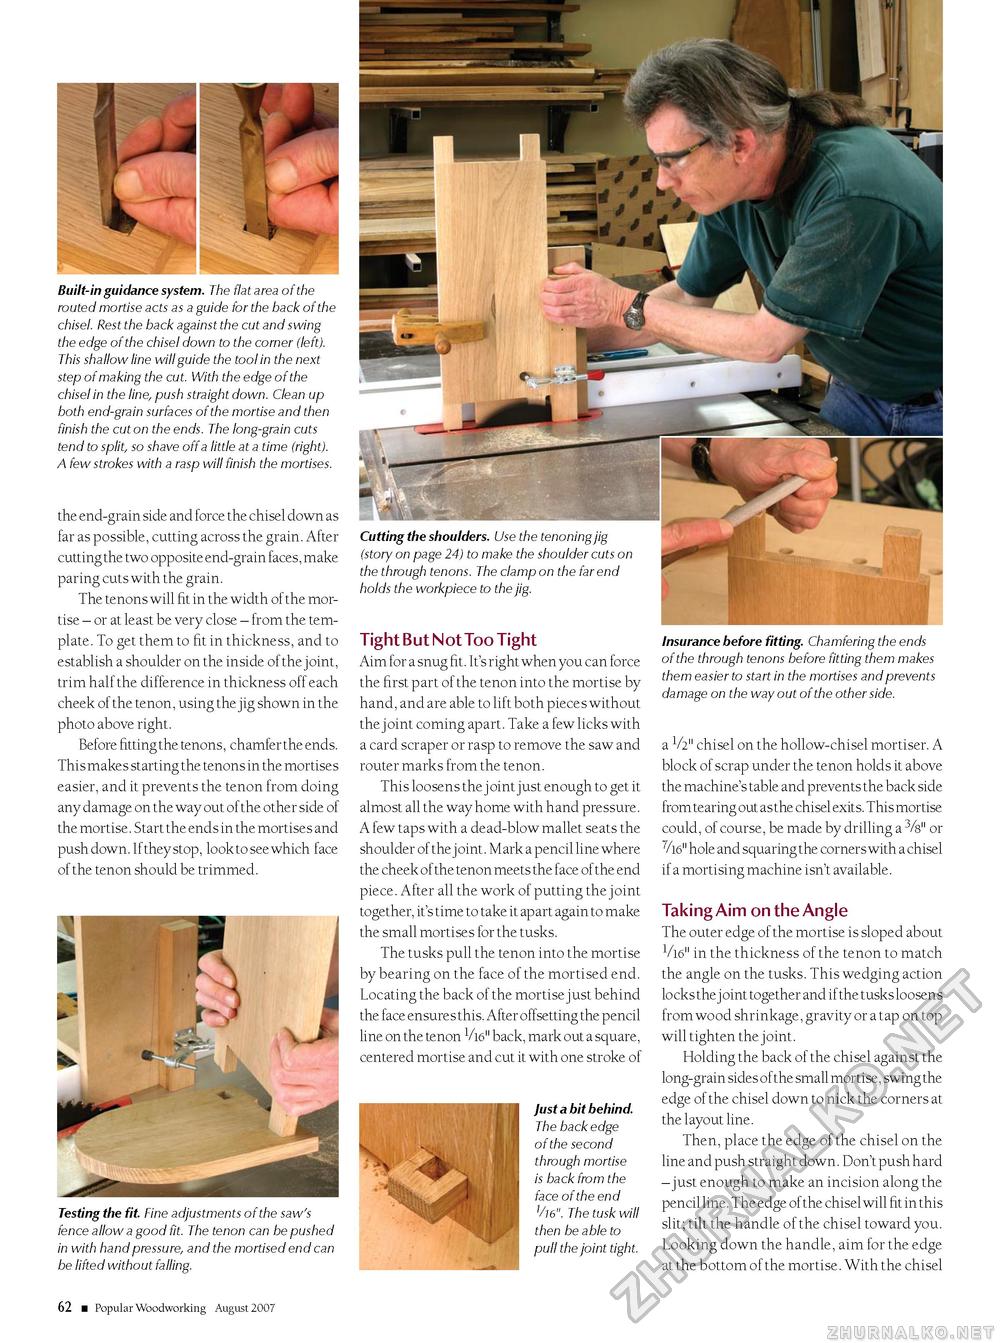
Built-in guidance system. The flat area of the routed mortise acts as a guide for the back of the chisel. Rest the back against the cut and swing the edge of the chisel down to the corner (left). This shallow line will guide the tool in the next step of making the cut. With the edge of the chisel in the line, push straight down. Clean up both end-grain surfaces of the mortise and then finish the cut on the ends. The long-grain cuts tend to split, so shave off a little at a time (right). A few strokes with a rasp will finish the mortises. the end-grain side and force the chisel down as far as possible, cutting across the grain. After cutting the two opposite end-grain faces, make paring cuts with the grain. The tenons will fit in the width of the mortise - or at least be very close - from the template. To get them to fit in thickness, and to establish a shoulder on the inside of the joint, trim half the difference in thickness off each cheek of the tenon, using the jig shown in the photo above right. Before fitting the tenons, chamfer the ends. This makes starting the tenons in the mortises easier, and it prevents the tenon from doing any damage on the way out of the other side of the mortise. Start the ends in the mortises and push down. Ifthey stop, look to see which face of the tenon should be trimmed. Testing the fit. Fine adjustments of the saw's fence allow a good fit. The tenon can be pushed in with hand pressure, and the mortised end can be lifted without falling. M ggl Cutting the shoulders. Use the tenoning jig (story on page 24) to make the shoulder cuts on the through tenons. The clamp on the far end holds the workpiece to the jig. Tight But Not Too Tight Aim for a snug fit. It's right when you can force the first part of the tenon into the mortise by hand, and are able to lift both pieces without the joint coming apart. Take a few licks with a card scraper or rasp to remove the saw and router marks from the tenon. This loosens the joint just enough to get it almost all the way home with hand pressure. A few taps with a dead-blow mallet seats the shoulder of the joint. Mark a pencil line where the cheek of the tenon meets the face of the end piece. After all the work of putting the joint together, it's time to take it apart again to make the small mortises for the tusks. The tusks pull the tenon into the mortise by bearing on the face of the mortised end. Locating the back of the mortise just behind the face ensures this. After offsetting the pencil line on the tenon Vi6" back, mark out a square, centered mortise and cut it with one stroke of Just a bit behind. The back edge of the second through mortise is back from the face of the end 1/16". The tusk will then be able to pull the joint tight. Insurance before fitting. Chamfering the ends of the through tenons before fitting them makes them easier to start in the mortises and prevents damage on the way out of the other side. a V2" chisel on the hollow-chisel mortiser. A block of scrap under the tenon holds it above the machine's table and prevents the back side from tearing out as the chisel exits. This mortise could, of course, be made by drilling a 3/8" or 7/16" hole and squaring the corners with a chisel if a mortising machine isn't available. Taking Aim on the Angle The outer edge of the mortise is sloped about V16" in the thickness of the tenon to match the angle on the tusks. This wedging action locks the j oint together and if the tusks loosens from wood shrinkage, gravity or a tap on top will tighten the j oint. Holding the back of the chisel against the long-grain sides of the small mortise, swing the edge of the chisel down to nick the corners at the layout line. Then, place the edge of the chisel on the line and push straight down. Don't push hard - just enough to make an incision along the pencil line. The edge of the chisel will fit in this slit; tilt the handle of the chisel toward you. Looking down the handle, aim for the edge at the bottom of the mortise. With the chisel 62 ■ Popular Woodworking August 2007 |


