Popular Woodworking 2007-08 № 163, страница 66
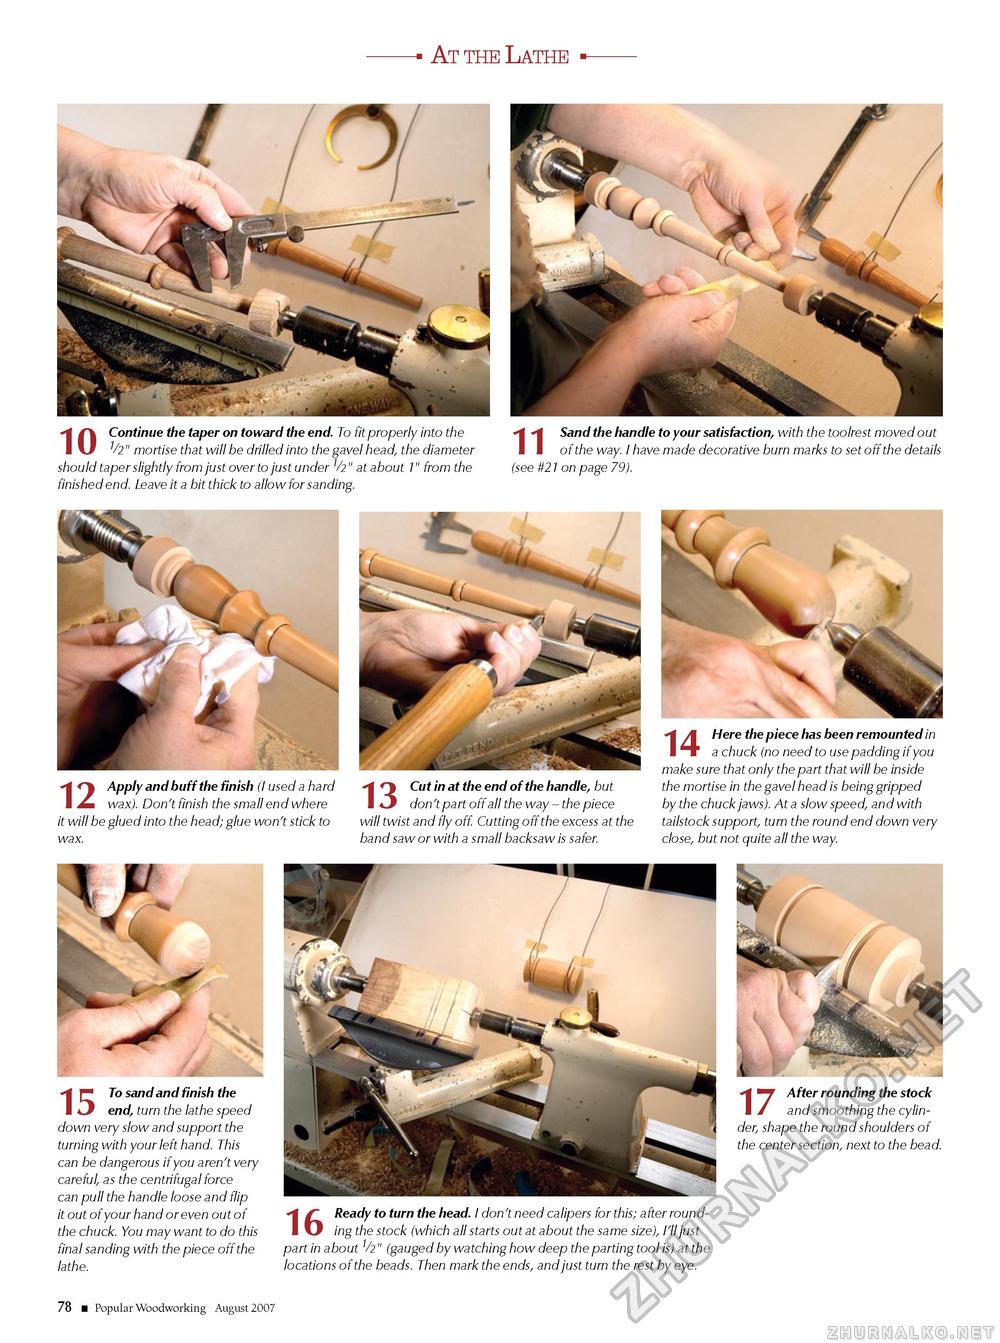
At the Lathe Continue the taper on toward the end. To fit properly into the V2" mortise that will be drilled into the gavel head, the diameter should taper slightly from just over to just under 1/2" at about 1" from the finished end. Leave it a bit thick to allow for sanding. Sand the handle to your satisfaction, with the toolrest moved out of the way. I have made decorative burn marks to set off the details (see #21 on page 79). Apply and buff the finish (I used a hard wax). Don't finish the small end where it will be glued into the head; glue won't stick to Cut in at the end of the handle, but don't part off all the way - the piece will twist and fly off. Cutting off the excess at the band saw or with a small backsaw is safer. Here the piece has been remounted in a chuck (no need to use padding if you make sure that only the part that will be inside the mortise in the gavel head is being gripped by the chuck jaws). At a slow speed, and with tailstock support, turn the round end down very close, but not quite all the way. To sand and finish the end, turn the lathe speed down very slow and support the turning with your left hand. This can be dangerous if you aren't very careful, as the centrifugal force can pull the handle loose and flip it out of your hand or even out of the chuck. You may want to do this final sanding with the piece off the lathe. 16 Ready to turn the head. I don't need calipers for this; after rounding the stock (which all starts out at about the same size), I'll just part in about ^2" (gauged by watching how deep the parting tool is) at the locations of the beads. Then mark the ends, and just turn the rest by eye. After rounding the stock and smoothing the cylinder, shape the round shoulders of the center section, next to the bead. 78 ■ Popular Woodworking August 2007 |


