Popular Woodworking 2007-10 № 164, страница 25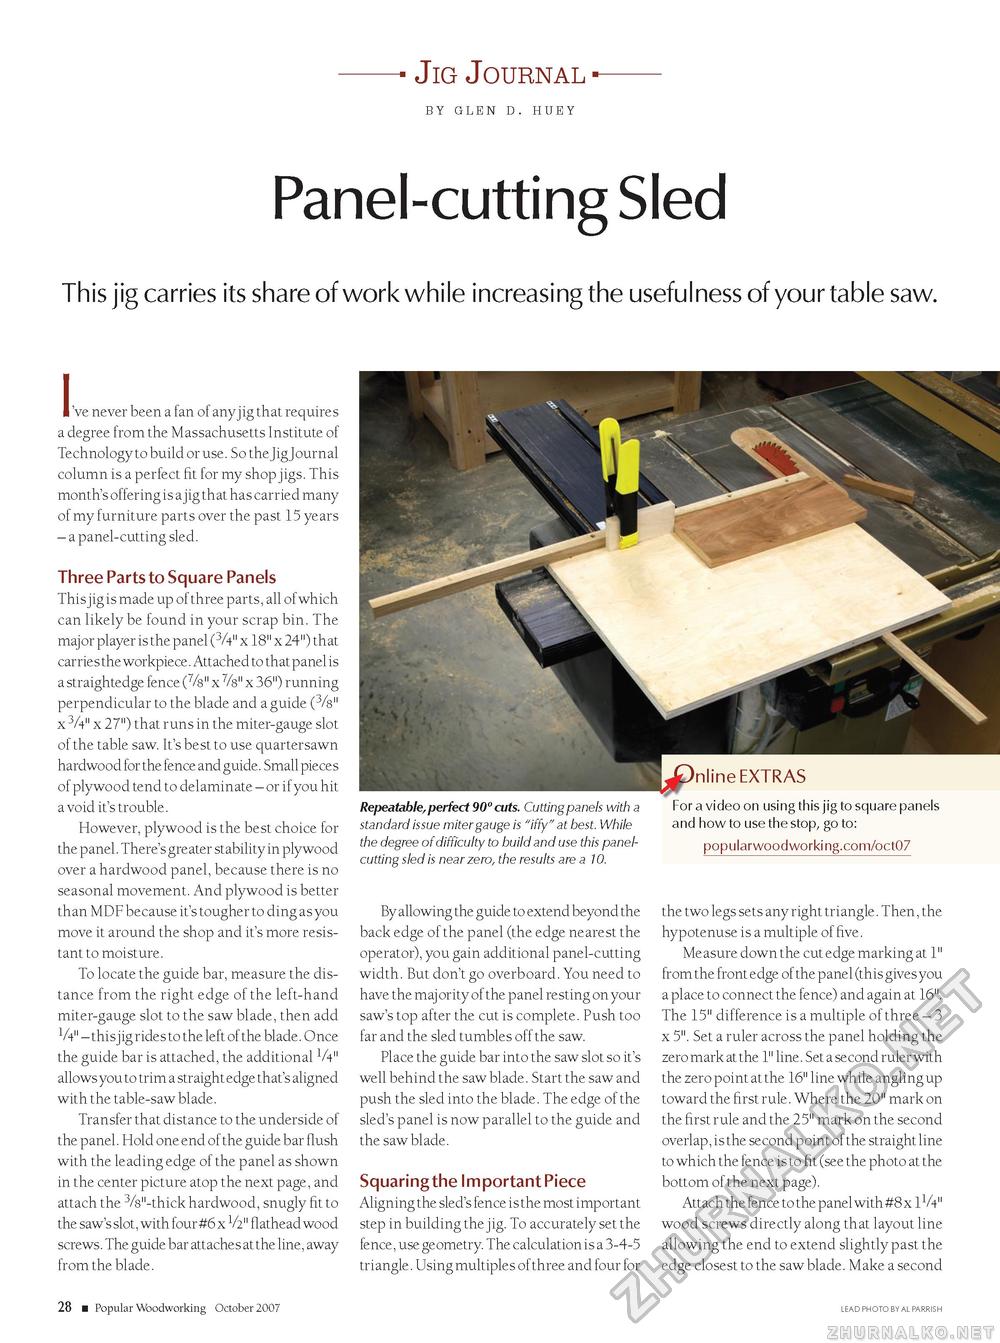
-- Jig Journal --by glen d. huey Panel-cutting SledThis jig carries its share of work while increasing the usefulness of your table saw. 've never been a fan of anyjig that requires a degree from the Massachusetts Institute of Technology to build or use. So the JigJournal column is a perfect fit for my shop jigs. This month's offering is a jig that has carried many of my furniture parts over the past 15 years - a panel-cutting sled. Three Parts to Square Panels This jig is made up of three parts, all of which can likely be found in your scrap bin. The major player is the panel (3A" x 18" x 24") that carries the workpiece. Attached to that panel is a straightedge fence (%" x %" x 36") running perpendicular to the blade and a guide (3/8" x 3A" x 27") that runs in the miter-gauge slot of the table saw. It's best to use quartersawn hardwood for the fence and guide. Small pieces of plywood tend to delaminate - or if you hit a void it's trouble. However, plywood is the best choice for the panel. There's greater stability in plywood over a hardwood panel, because there is no seasonal movement. And plywood is better than MDF because it's tougher to ding as you move it around the shop and it's more resistant to moisture. To locate the guide bar, measure the distance from the right edge of the left-hand miter-gauge slot to the saw blade, then add 1A" - thisjig rides to the left of the blade. Once the guide bar is attached, the additional 1/411 allows you to trim a straight edge that's aligned with the table-saw blade. Transfer that distance to the underside of the panel. Hold one end of the guide bar flush with the leading edge of the panel as shown in the center picture atop the next page, and attach the 3/8"-thick hardwood, snugly fit to the saw's slot, with four #6 x V2" flathead wood screws. The guide bar attaches at the line, away from the blade. Repeatable, perfect 90° cuts. Cutting panels with a For a video on using this jig to square panels standard issue miter gauge is "iffy" at best. While and how to use the stop, go to: the degree of difficultyto buildanduse this panel- popularwoodworking.com/oct07 cutting sled is near zero, the results are a 10. By allowing the guide to extend beyond the back edge of the panel (the edge nearest the operator), you gain additional panel-cutting width. But don't go overboard. You need to have the maj ority of the panel resting on your saw's top after the cut is complete. Push too far and the sled tumbles off the saw. Place the guide bar into the saw slot so it's well behind the saw blade. Start the saw and push the sled into the blade. The edge of the sled's panel is now parallel to the guide and the saw blade. Squaring the Important Piece Aligning the sled's fence is the most important step in building the j ig. To accurately set the fence, use geometry. The calculation is a 3-4-5 triangle. Using multiples of three and four for the two legs sets any right triangle. Then, the hypotenuse is a multiple of five. Measure down the cut edge marking at 1" from the front edge of the panel (this gives you a place to connect the fence) and again at 16". The 15" difference is a multiple of three - 3 x 5". Set a ruler across the panel holding the zero mark at the 1" line. Set a second ruler with the zero point at the 16" line while angling up toward the first rule. Where the 20" mark on the first rule and the 25" mark on the second overlap, is the second point of the straight line to which the fence is to fit (see the photo at the bottom of the next page). Attach the fence to the panel with #8 x 1V4" wood screws directly along that layout line allowing the end to extend slightly past the edge closest to the saw blade. Make a second 28 ■ Popular Woodworking October 2007 LEAD RHOTO BY AL RARRISH |


