Popular Woodworking 2007-11 № 165, страница 73
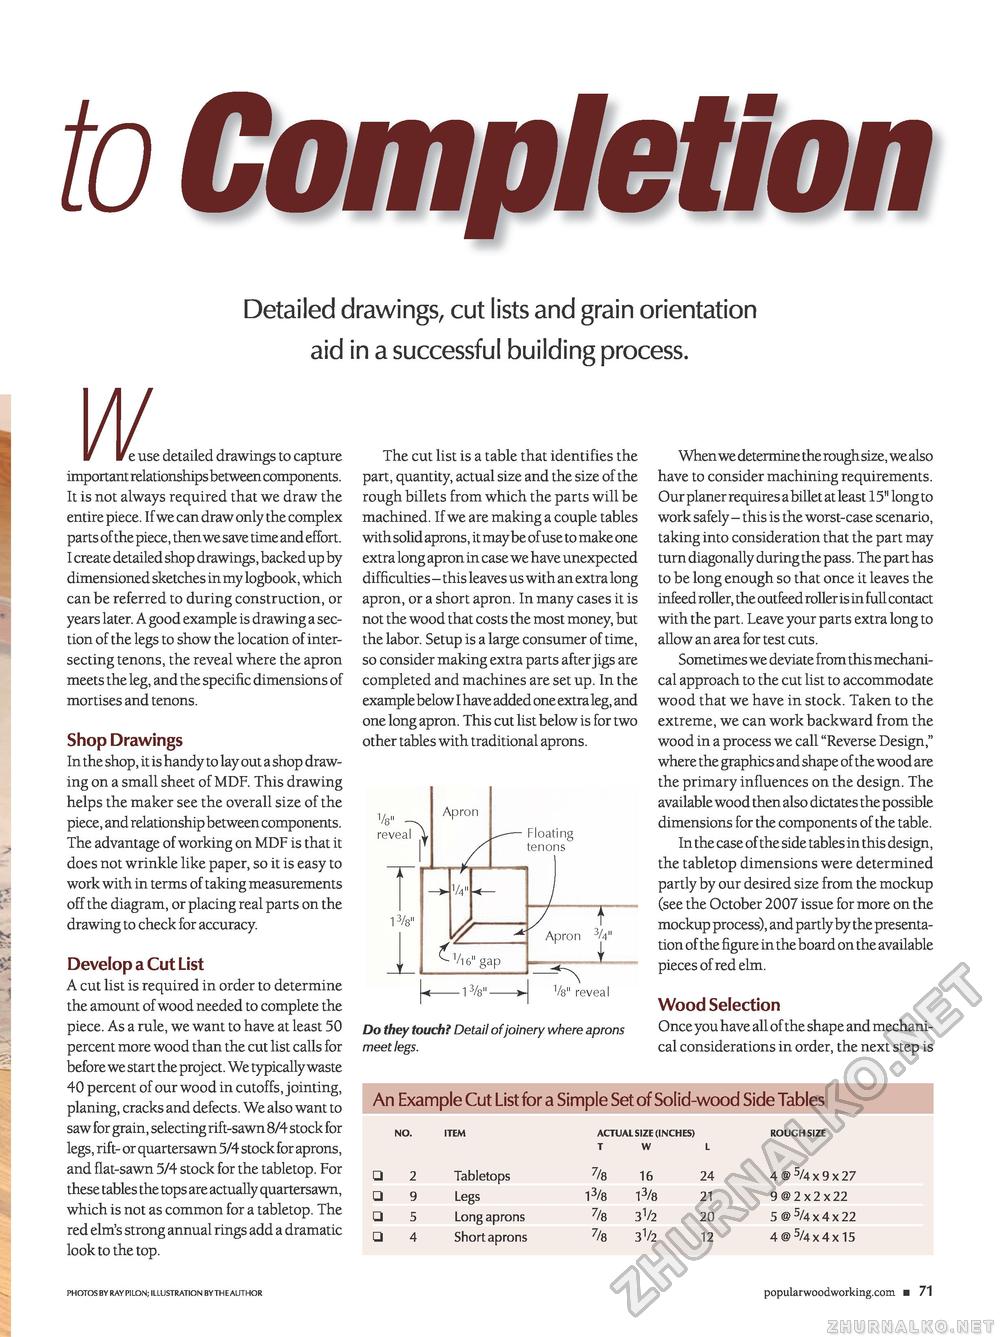
CompletionDetailed drawings, cut lists and grain orientation aid in a successful building process. W V reuse : use detailed drawings to capture important relationships between components. It is not always required that we draw the entire piece. If we can draw only the complex parts of the piece, then we save time and effort. I create detailed shop drawings, backed up by dimensioned sketches in my logbook, which can be referred to during construction, or years later. A good example is drawing a section of the legs to show the location of intersecting tenons, the reveal where the apron meets the leg, and the specific dimensions of mortises and tenons. Shop Drawings In the shop, it is handy to lay out a shop drawing on a small sheet of MDF. This drawing helps the maker see the overall size of the piece, and relationship between components. The advantage of working on MDF is that it does not wrinkle like paper, so it is easy to work with in terms of taking measurements off the diagram, or placing real parts on the drawing to check for accuracy. Develop a Cut List A cut list is required in order to determine the amount of wood needed to complete the piece. As a rule, we want to have at least 50 percent more wood than the cut list calls for before we start the project. We typically waste 40 percent of our wood in cutoffs, jointing, planing, cracks and defects. We also want to saw for grain, selecting rift-sawn 8/4 stock for legs, rift- or quartersawn 5/4 stock for aprons, and flat-sawn 5/4 stock for the tabletop. For these tables the tops are actually quartersawn, which is not as common for a tabletop. The red elm's strong annual rings add a dramatic look to the top. The cut list is a table that identifies the part, quantity, actual size and the size of the rough billets from which the parts will be machined. If we are making a couple tables with solid aprons, it maybe of use to make one extra long apron in case we have unexpected difficulties - this leaves us with an extra long apron, or a short apron. In many cases it is not the wood that costs the most money, but the labor. Setup is a large consumer of time, so consider making extra parts after jigs are completed and machines are set up. In the example below I have added one extra leg, and one long apron. This cut list below is for two other tables with traditional aprons. reveal 13/a" Apron ■ Floating tenons £ WL V16" gap -13s"- r— r Apron 34" P I V8" reveal Do they touch? Detail of joinery where aprons meet legs. When we determine the rough size, we also have to consider machining requirements. Our planer requires a billet at least 15" long to work safely - this is the worst-case scenario, taking into consideration that the part may turn diagonally during the pass. The part has to be long enough so that once it leaves the infeed roller, the outfeed roller is in full contact with the part. Leave your parts extra long to allow an area for test cuts. Sometimes we deviate from this mechanical approach to the cut list to accommodate wood that we have in stock. Taken to the extreme, we can work backward from the wood in a process we call "Reverse Design," where the graphics and shape of the wood are the primary influences on the design. The available wood then also dictates the possible dimensions for the components of the table. In the case of the side tables in this design, the tabletop dimensions were determined partly by our desired size from the mockup (see the October 2007 issue for more on the mockup process), and partly by the presentation of the figure in the board on the available pieces of red elm. Wood Selection Once you have all of the shape and mechanical considerations in order, the next step is An Example Cut List for a Simple Set of Solid-wood Side Tables
popularwoodworking.com ■ 71 PHOTOS BY RAYP1LON; ILLUSTRATION BYTHEAUTHOR popularwoodworking.com ■ 71 |
|||||||||||||||||||||||||||||||||||


