Popular Woodworking 2007-12 № 166, страница 18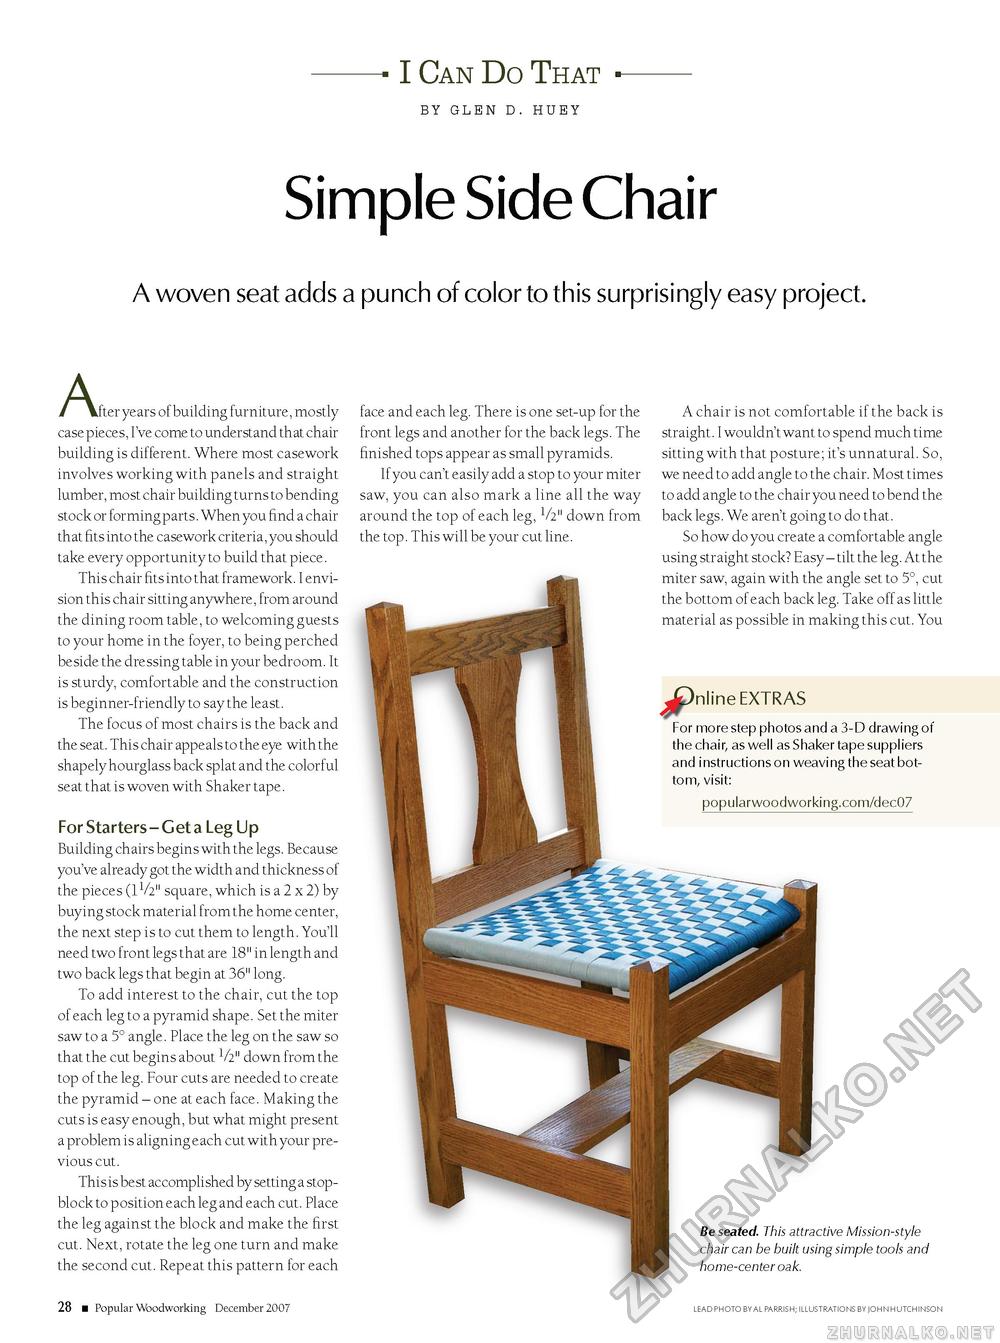
--1 Can Do That ■-BY GLEN D. HUEY Simple Side ChairA woven seat adds a punch of color to this surprisingly easy project.a fter years of building furniture, mostly case pieces, I've come to understand that chair building is different. Where most casework involves working with panels and straight lumber, most chair building turns to bending stock or forming parts. When you find a chair that fits into the casework criteria, you should take every opportunity to build that piece. This chair fits into that framework. I envision this chair sitting anywhere, from around the dining room table, to welcoming guests to your home in the foyer, to being perched beside the dressing table in your bedroom. It is sturdy, comfortable and the construction is beginner-friendly to say the least. The focus of most chairs is the back and the seat. This chair appeals to the eye with the shapely hourglass back splat and the colorful seat that is woven with Shaker tape. For Starters - Get a Leg Up Building chairs begins with the legs. Because you've already got the width and thickness of the pieces (IV211 square, which is a 2 x 2) by buying stock material from the home center, the next step is to cut them to length. You'll need two front legs that are 18" in length and two back legs that begin at 36" long. To add interest to the chair, cut the top of each leg to a pyramid shape. Set the miter saw to a 5° angle. Place the leg on the saw so that the cut begins about 1/2" down from the top of the leg. Four cuts are needed to create the pyramid - one at each face. Making the cuts is easy enough, but what might present a problem is aligning e ach cut with your previous cut. This is best accomplished by setting a stop-block to position each leg and each cut. Place the leg against the block and make the first cut. Next, rotate the leg one turn and make the second cut. Repeat this pattern for each face and each leg. There is one set-up for the front legs and another for the back legs. The finished tops appear as small pyramids. If you can't easily add a stop to your miter saw, you can also mark a line all the way around the top of each leg, V2" down from the top. This will be your cut line. A chair is not comfortable if the back is straight. I wouldn't want to spend much time sitting with that posture; it's unnatural. So, we need to add angle to the chair. Most times to add angle to the chair you need to bend the back legs. We aren't going to do that. So how do you create a comfortable angle using straight stock? Easy - tilt the leg. At the miter saw, again with the angle set to 5°, cut the bottom of each back leg. Take off as little material as possible in making this cut. You nline EXTRAS For more step photos and a 3-D drawing of the chair, as well as shaker tape suppliers and instructions on weaving the seat bottom, visit: popularwoodworking.com/dec07 Be seated. This attractive Mission-style chair can be built using simple tools and home-center oak. 28 ■ Popular Woodworking December 2007 lead photo by al parrish; illustrations by john hutchinson |


