Popular Woodworking 2007-12 № 166, страница 41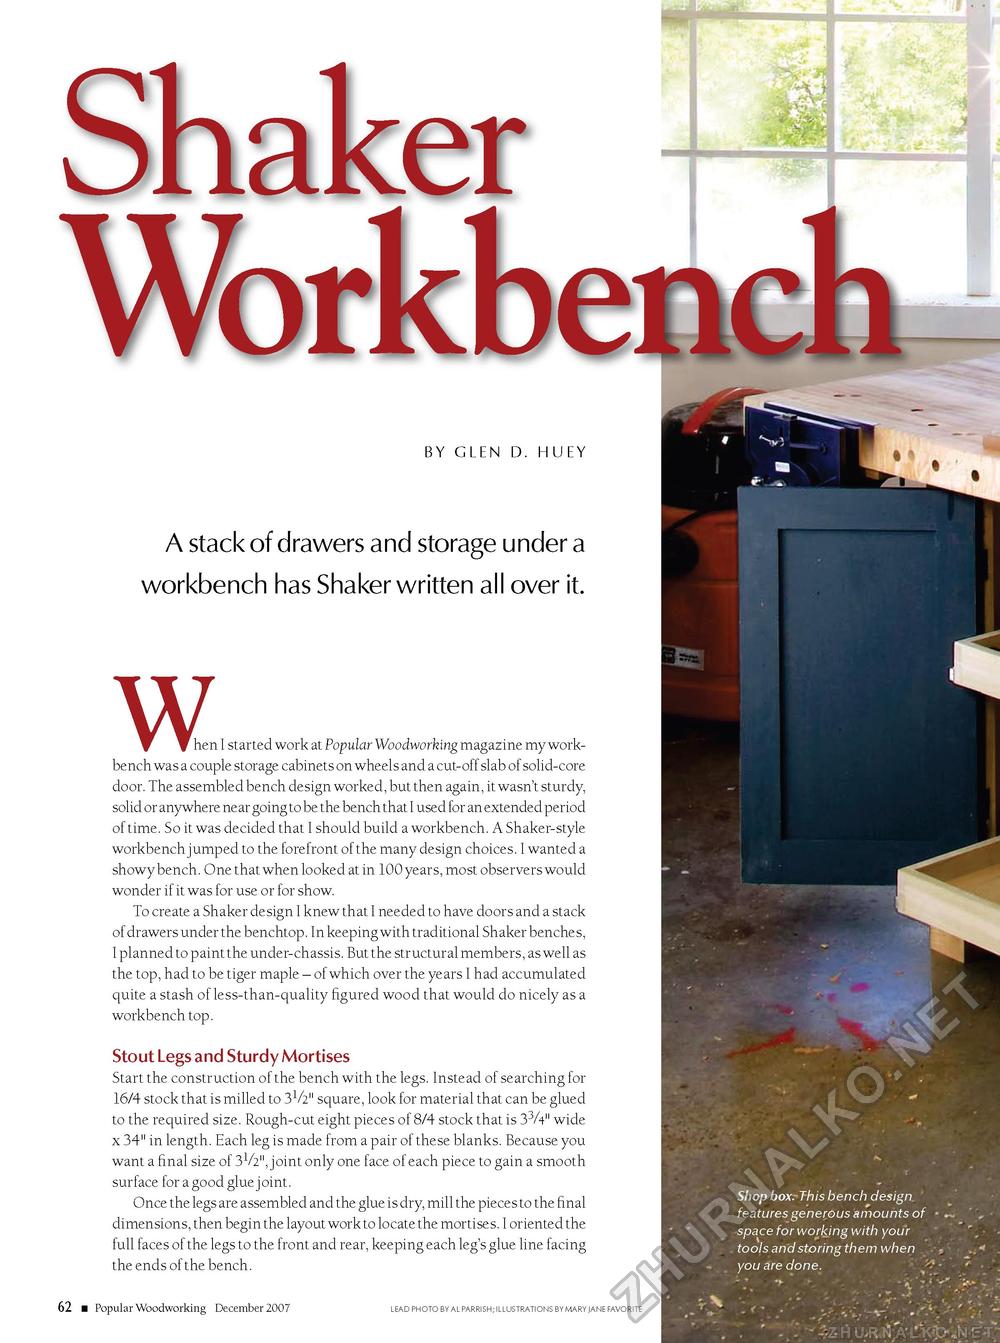
Shaker Workbenc BY GLEN D. HUEY A stack of drawers and storage under a workbench has Shaker written all over it.W hen hen I started work at Popular Woodworking magazine my workbench was a couple storage cabinets on wheels and a cut-off slab of solid-core door. The assembled bench design worked, but then again, it wasn't sturdy, solid or anywhere near going to be the bench that I used for an extended period of time. So it was decided that I should build a workbench. A Shaker-style workbench jumped to the forefront of the many design choices. I wanted a showy bench. One that when looked at in 100 years, most observers would wonder if it was for use or for show. To create a Shaker design I knew that I needed to have doors and a stack of drawers under the benchtop. In keeping with traditional Shaker benches, I planned to paint the under-chassis. But the structural members, as well as the top, had to be tiger maple - of which over the years I had accumulated quite a stash of less-than-quality figured wood that would do nicely as a workbench top. Stout Legs and Sturdy Mortises Start the construction of the bench with the legs. Instead of searching for 16/4 stock that is milled to 31/2" square, look for material that can be glued to the required size. Rough-cut eight pieces of 8/4 stock that is 33/4" wide x 34" in length. Each leg is made from a pair of these blanks. Because you want a final size of 31/2", joint only one face of each piece to gain a smooth surface for a good glue joint. Once the legs are assembled and the glue is dry, mill the pieces to the final dimensions, then begin the layout work to locate the mortises. I oriented the full faces of the legs to the front and rear, keeping each leg's glue line facing the ends of the bench. 62 ■ Popular Woodworking December 2007 LEAD PHOTO BY AL PARRISH; ILLUSTRATIONS BY MARY jANE FAVORITE Shop box. This bench design features generous amounts of space for working with your tools and storing them when you are done. „ . ■ ■.* ' ■ • |


