Popular Woodworking 2008-08 № 170, страница 18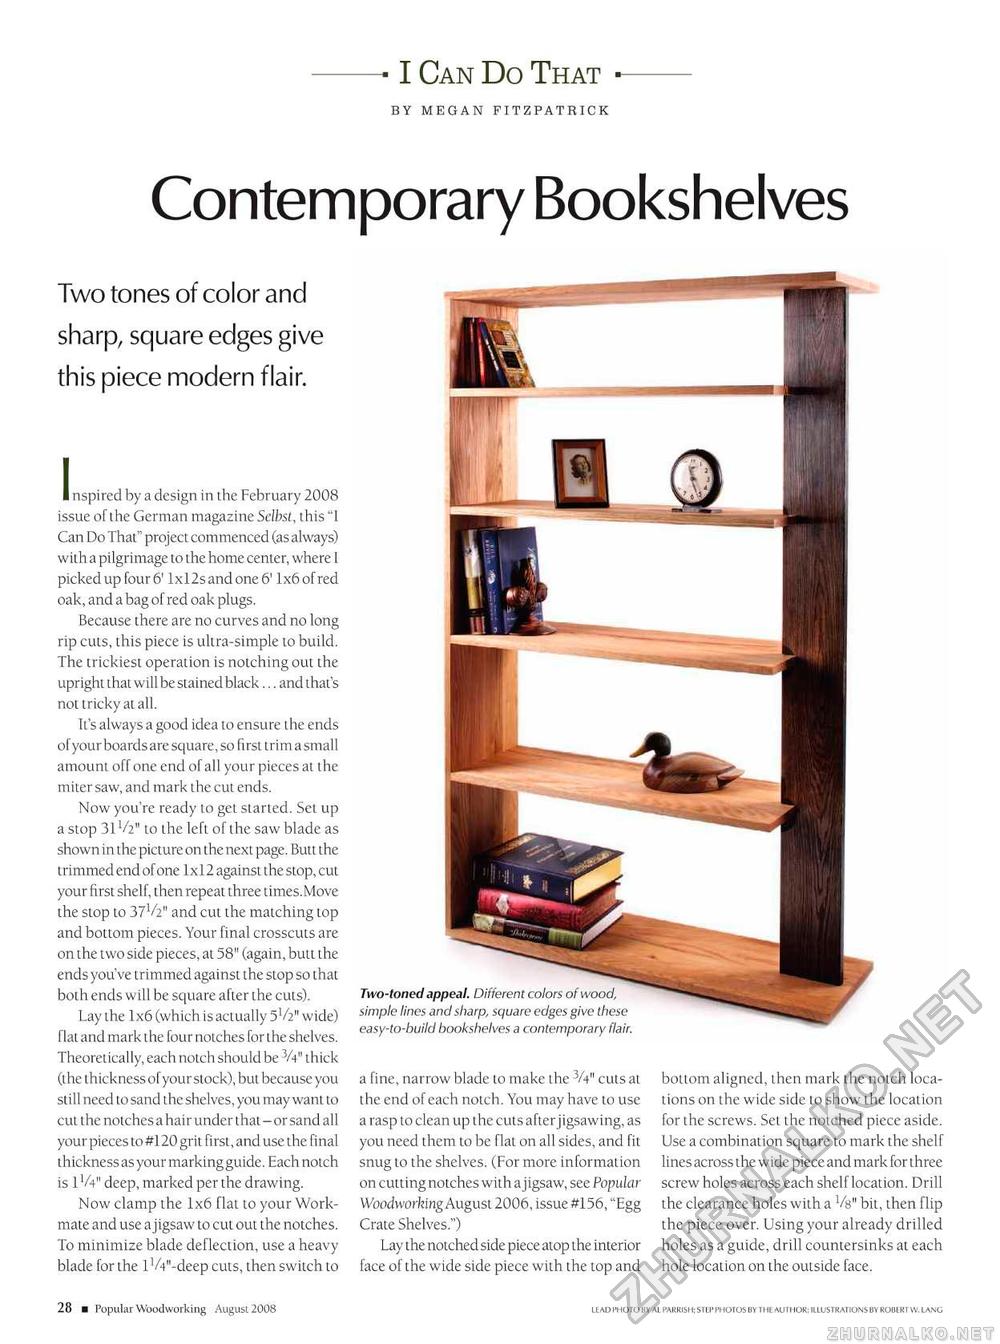
I Can Do That BY MEGAN FITZPATRICK Contemporary Bookshelves Two tones of color and sharp, square edges give this piece modern flair. nspired by a design in the February 2008 issue of the German magazine Selbst, this "I Can Do That" project commenced (as always) with a pilgrimage to the home center, where 1 picked up four & 1x12s and one 6' 1x6 of red oak, and a bag of red oak plugs. Because there are no curves and no long rip cuts, this piece is ultra-simple to build. The trickiest operation is notching out the upright that will be stained black... and that's not tricky at all. It's always a good idea to ensure the ends of your boardsare square, so first trim asmall amount off one end of all your pieces at the miter saw, and mark the cut ends. Now you're ready to get started. Set up a stop 31 lh" to the left of the saw blade as shown in the picture on the next page. Butt the trimmed end of one 1x12 against the stop, cut your first shelf, then repeat three times.Move the stop to 37V2" and cut the matching top and bottom pieces. Your final crosscuts are on the two side pieces, at 58" (again, butt the ends you've trimmed against the stop so that both ends will be square after the cuts). Lay the 1x6 (which is actually 5'/2" wide) flat and mark the four notches for the shelves. Theoretically, each notch should be V4" thick (the thickness of your stock), but because you still need to sand the shelves, you may want to cut the notches a hair under that - or sand all your pieces to #120 grit first, and use the final thickness as your marking guide. Each notch is IV41' deep, marked per the drawing. Now clamp the 1x6 flat to your Workmate and use a jigsaw to cut out the notches. To minimize blade deflection, use a heavy blade for the lVV'-deep cuts, then switch to a fine, narrow blade to make the 3A" cuts at the end of each notch. You may have to use a rasp to clean up the cuts after jigsawing, as you need them to be flat on all sides, and fit snug to the shelves. (For more information on cutting notches with a jigsaw, see Popular Woodworking August 2006, issue #156, "Egg Crate Shelves.") Lay the notched side piece atop the interior face of the wide side piece with the top and bottom aligned, then mark the notch locations on the wide side to show the location for the screws. Set the notched piece aside. Use a combination square to mark the shelf lines across the wide piece and mark for three screw holes across each shelf location. Drill the clearance holes with a Vs" bit, then flip the piece over. Using your already drilled holes as a guide, drill countersinks at each hole location on the outside face. |


