Popular Woodworking 2008-10 № 171, страница 23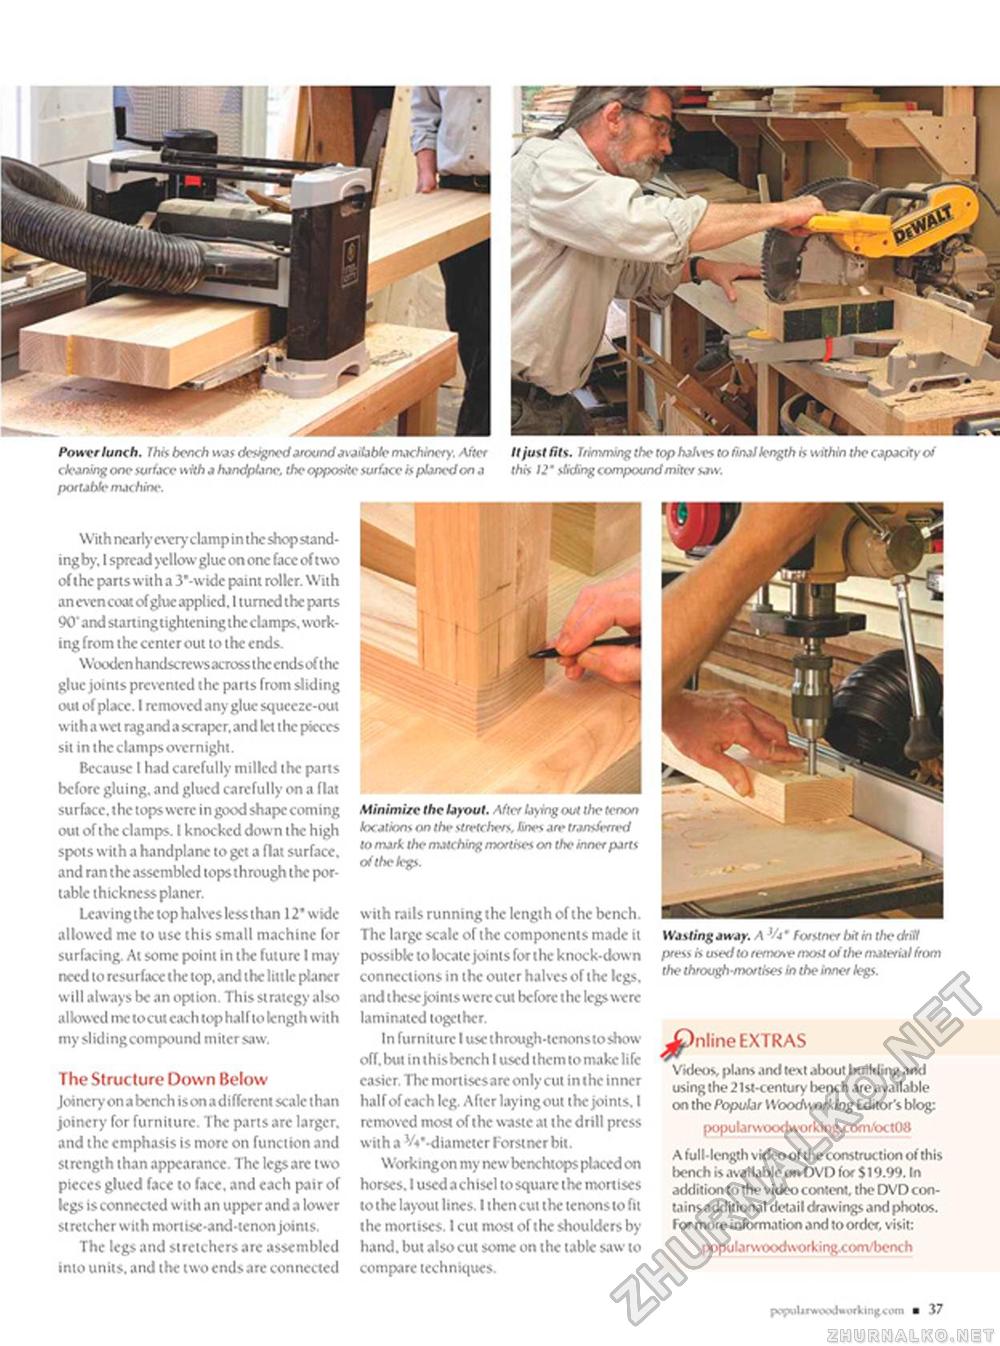
Power lunch. Jhb bcnch was designed around available machinery. Affof It just fits. Irinvnuyg the top halxes to final length is within the capacity of charting one surface \srth a handplane. the opposite surface h planed on a this 12' sliding compound miter wiv. /xtr table ma< hine. With nearly every clamp in the shop stand-ingby. 1 spread yellow glue on one (ace of two of the parts with a 3'-wide paint rolkr. With ancvencoat of glue applied. I turned the parts 90'andstaningtightcningthcclamps. working from the center out to the ends. Wooden handscrcws across theends of the glue joints prevented the parts from sliding out of place. I remov ed any glue squeeze-out with a wet ragand a scraper, and let the pieces sit in the clamps overnight. Because I had carefully milkd the pans before gluing, and glued carefully on a flat surface, the tops were in good shape coming out of the clamps. I knocked down the high spots with a handplanc to gft a flat surface, and ran the assembled tops through the portable thickness planer. Leaving the top halves less than 12* wide allowed me to use this small machine for surfacing. At some point in the future I may need to resurface the lop. and ihc little planer will always be an option. This strategy also allowed me to cut each top half to kngth with my slidingcompound miter saw. The Structure Down Below Joinery on a bench ison adiflcrcnt scale than joinery for furniture. The parts arc larger, and the emphasis is more on function and strength than appearance. The legs arc two pieces glued face to face, and each pair of kgs is connected with an upper and a lower stretcher with mortise-and-tenon joints. The legs and stretchers arc assembled into units, and the two ends are connected Minimise the layout. After laying out the tenon locations on the stretchers, lines are transferrer! to mark the matching mortises on the inner parts of the legs. with rails running the length of the bench. The large scale of the components made it possible to locate joints forthe knock-down connections in the outer halves of the kgs. and these joints were cut before the legs were laminated together. In furniture I use through-tenons to show-off, but in thisbcnch I used them to make life easier. The mortiscsarc only cut in the inner half of each leg. After laying out the joints. I removed most of the waste at the drill press with a ^'-diameter Forstner bit. Workingon my new bcnchtops placed on horses. I used a chisel to square the mortises to the layout lines. I then cut the tenons to fit the mortises. I cut most of the shoulders by hand, but also cut some on the table saw to compare techniques. Wasting away. A Va ' forstner Ixt in the drill press r» used to remote most of the material from the through-mortises in the inner legs. ^Jnline EXTRAS Videos, plans ami text .iImhiI building and using the 2 Ist-century bench are available on the Popular Woodworking Editor's blog: popularwoodwofking.com/oct08 A lull -length video of the construction of this bene h is avai I able on DVD for $ 19.99. In addition to the video content, the DVD contains additional detail drawings and photos. Tor more information and to order, visit: popularwoodwofking.com/bcnch {V^iljiwmfrKtlmi^oin ■ 37 |


