Popular Woodworking 2008-12 № 173, страница 42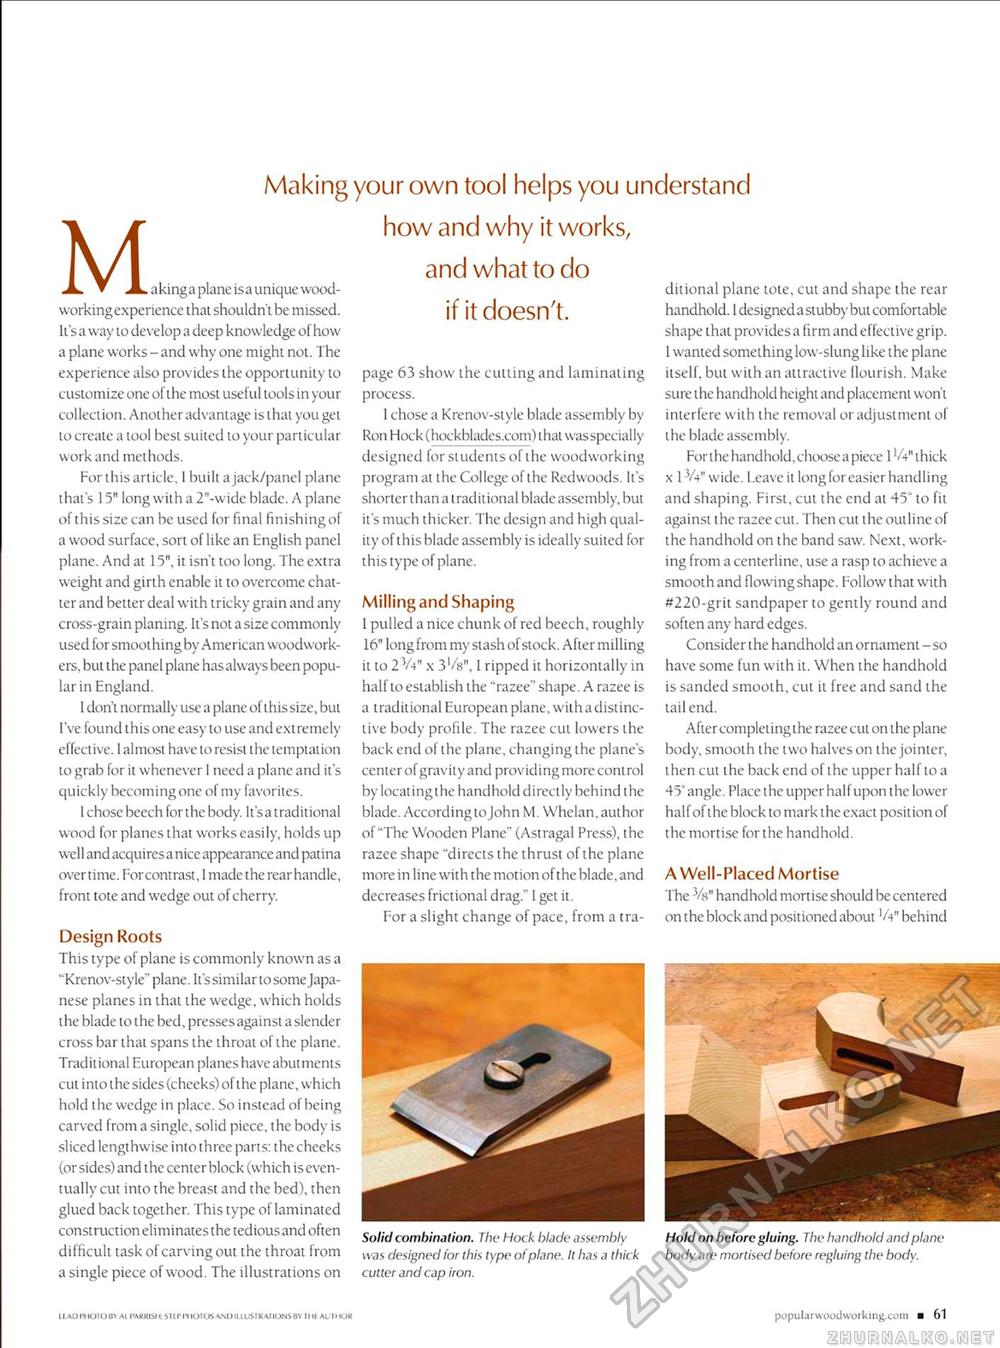
M . a king a plane is a unique woodworking experience that shouldn't be missed. It's a way to develop a deep knowledge of how a plane works - and why one might not. The experience also provides the opportunity to customize one of the most useful tools in your collection. Another advantage is that you get to create a tool best suited to your particular work and methods. For this article, I built a jack/panel plane that's 15" long with a 2"-wide blade. A plane of this size can be used for final finishing of a wood surface, sort of like an English panel plane. And at 15", it isn't too long. The extra weight and girth enable it to overcome chatter and better deal with tricky grain and any cross-grain planing. It's not a size commonly used for smoothing by American woodworkers. but the panel plane has always been popular in England. 1 don't normally use a plane of this size, but I've found this one easy to use and extremely effective. I almost have to resist the temptation to grab for it whenever 1 need a plane and it's quickly becoming one ol my favorites. 1 chose beech for the body. It's a traditional wood for planes that works easily, holds up well and acquires a nice appearance and patina overtime. For contrast, 1 made the rear handle, front tote and wedge out of cherry. Design Roots This type of plane is commonly known as a "Krenov-style" plane. It's similar to some Japanese planes in that the wedge, which holds the blade to the bed, presses against a slender cross bar that spans the throat of the plane. Tradilional European planes have abut ments cut into the sides (cheeks) of the plane, which hold the wedge in place. So instead of being carved from a single, solid piece, the body is sliced lengthwise into three parts: the cheeks (or sides) and t he center block (which is eventually cut into the breast and the bed), then glued back together. This type of laminated construction eliminates the tedious and often difficult task of carving out the throat from a single piece of wood. The illustrations on Making your own tool helps you understand how and why it works, and what to do if it doesn't. page 63 show the cutting and laminating process. 1 chose a Krenov-style blade assembly by Ron Hock (hockblades.com) that wasspecially designed for students of the woodworking program at the College of the Redwoods. It's shorter than a traditional blade assembly, but it's much thicker. The design and high quality of this blade assembly is ideally suited for this type of plane. Milling and Shaping 1 pulled a nice chunk of red beech, roughly 16" long from my stash of stock. After milling it to 2 V4" x 3i/8". 1 ripped it horizontally in half to establish the "razee" shape. A razee is a traditional European plane, with a distinctive body profile. The razee cut lowers the back end of the plane, changing the plane's center of gravity and providing more control by locating the handhold directly behind the blade. According to John M. Whelan, author of "The Wooden Plane" (Astragal Press), the razee shape "directs the thrust of the plane more in line with the motion of the blade, and decreases frictional drag." I get it. For a slight change of pace, from a tra ditional plane tote, cut and shape the rear handhold. 1 designed a stubby but comfortable shape that provides a firm and effective grip. 1 wanted something low-slung like the plane itself, but with an attractive flourish. Make sure the handhold height and placement won't interfere with the removal or adjustment of the blade assembly. For the handhold,choosea piece 1'A" thick x 1V4" wide. Leave it long for easier handling and shaping. First, cut the end at 45" to fit against the razee cut. Then cut the outline of the handhold on the band saw. Next, working from a centerline, use a rasp to achieve a smooth and flowing shape. Follow that with #220-grit sandpaper to gently round and soften any hard edges. Consider the handhold an ornament -so have some fun with it. When the handhold is sanded smooth, cut it free and sand the tail end. Aftercompletingthe razee cut on the plane body, smooth the two halves on the jointer, then cut the back end of the upper half to a 45° angle. Place the upper half upon the lower half of t he block to mark the exact position of the mortise for the handhold. A Well-Placed Mortise The Vs" handhold mortise should be centered on the block and positioned about 'a" behind Solid combination. The Hock blade assembly was designed for this type of plane. It has a thick cutter and cap iron. Hold on before gluing. The handhold and plane body are mortised before regluing the body. LUDPHOTOBYAt PARKISM; SI tf PI1010SAM) ILlUSniAriUNSBY IHl At IMOK popularwoodworking.com ■ 61 |


