Popular Woodworking 2008-12 № 173, страница 45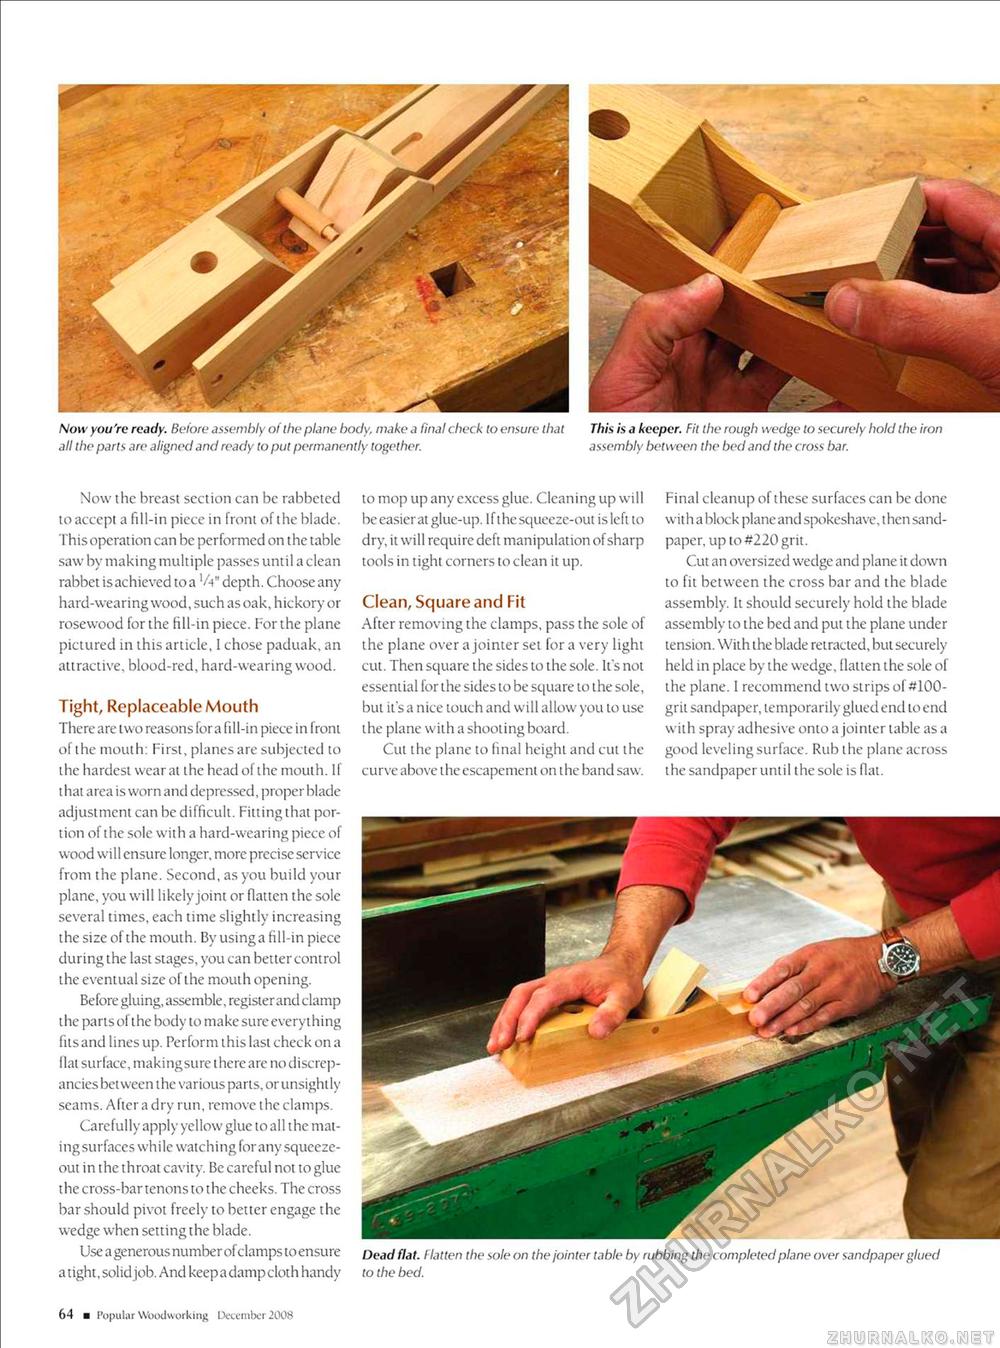
Now you're ready. Before assembly of the plane body, make a final check to ensure that all the parts are aligned and ready to put permanently together. This is a keeper. Fit the rough wedge to securely hold the iron assembly between the bed and the cross bar. Now the breast section can be rabbeted to accept a fill-in piece in front of the blade. This operation can be performed on the table saw by making multiple passes until a clean rabbet is achieved to a 'A" depth. Choose any hard-wearing wood, such as oak, hickory or rosewood for the fill-in piece. For the plane pictured in this article, 1 chose paduak, an attractive, blood-red, hard-wearing wood. Tight, Replaceable Mouth There are two reasons fora fill-in piece in front of the mouth: First, planes are subjected to the hardest wear al the head of the mouth. If that area is worn and depressed, proper blade adjustment can be difficult. Fitting that portion of the sole with a hard-wearing piece of wood will ensure longer, more precise service from the plane. Second, as you build your plane, you will likely joint or flatten the sole several times, each time slightly increasing the size of the mouth. By using a fill-in piece during the last stages, you can better control the eventual size ol the mouth opening. Before gluing, assemble, register and clamp the parts of the body to make sure everything fits and lines up. Perform this last check on a flat surface, makingsure there arc no discrepancies between the various parts, or unsightly seams. Aftera dry run, remove the clamps. Carefully apply yellow glue to all the mat-ingsurfaces while watching for any squeeze-out in the throat cavity. Be careful not to glue the cross-bar tenons to the cheeks. The cross bar should pivot freely to better engage the wedge when setting the blade. Use a generous number of c lamps to ensure a tight, solid job. And keep a damp cloth handy to mop up any excess glue. Cleaning up will beeasierat glue-up. lfthesqueeze-out is left to dry, it will require deft manipulation of sharp tools in tight corners to clean it up. Clean, Square and Fit After removing the clamps, pass the sole of the plane over a jointer set for a very light cut. Then square the sides to the sole. It's not essential for the sides to be square to the sole, but it's a nice touch and will allow you to use the plane with a shooting board. Cut the plane to final height and cut the curve above the escapement on the band saw. Final cleanup of these surfaces can be done with a block plane and spokeshave, then sandpaper, up to#220 grit. Cut an oversized wedge and plane it down to fit between the cross bar and the blade assembly. It should securely hold the blade assembly to the bed and put the plane under tension. With the blade retracted, but securely held in place by the wedge, flatten the sole of the plane. 1 recommend two strips ol #100-grit sandpaper, temporarily glued end to end with spray adhesive onto a jointer table as a good leveling surface. Rub the plane across the sandpaper until the sole is flat. Dead flat, flatten the sole on the jointer table by rubbing the completed plane over sandpaper glued to the bed. 64 ■ Popul ar Woodworking December 2008 |


