Popular Woodworking 2009-04 № 175, страница 20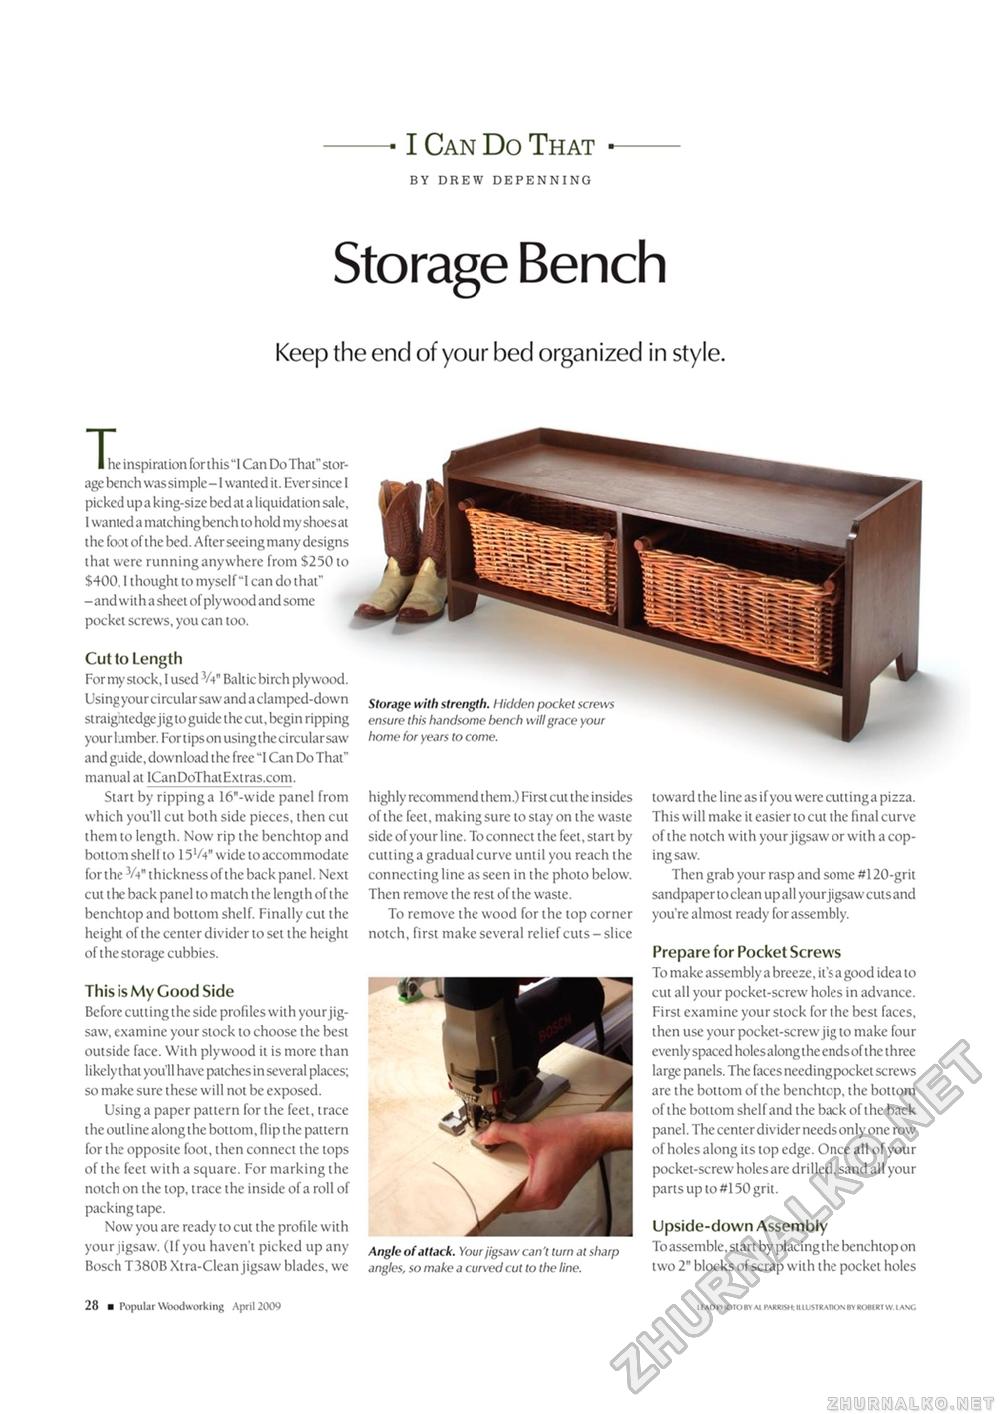
I Can Do That BY DREW DEPENNING Storage Bench Keep the end of your bed organized in style. I he inspiration for this "I Can Do That" storage bench was simple -1 wanted it. Ever since I picked up a king-size bed at a liquidation sale, I wanted a matching bench to hold my shoes at the foot of the bed. After seeing many designs that were running anywhere from $250 to $400.1 thought to myself "I can do that" - and wit h a sheet of plywood and some pocket screws, you can too. Cut to Length For my stock, I used 3A" Baltic birch plywood. Using your circular saw and a clamped-down straightedge jig to guide the cut, begin ripping your lumber. Fortipson usingthecircularsaw and guide, download the free "1 Can Do That" manual at lCanDoThatExtras.com. Start by ripping a 16"-wide panel from which you'll cut both side pieces, then cut them to length. Now rip the benchtop and bottom shell to 15W wide to accommodate for the 3A" thickness of the back panel. Next cut the back panel to match the length ofthe benchtop and bottom shelf. Finally cut the height ofthe center divider to set the height ofthe storage cubbies. Storage with strength. I1 id den pocket screws ensure this handsome bench will grace your home for years to come. highly recommend them.) First cut the insides of the feet, making sure to stay on the waste side of your line. To connect the feet, start by cutting a gradual curve until you reach the connecting line as seen in the photo below. Then remove the rest ofthe waste. To remove the wood for the top corner notch, first make several relief cuts - slice toward the line as if you were cutting a pizza. This will make it easier to cut the final curve of the notch with your jigsaw or with a coping saw. Then grab your rasp and some #120-grit sandpaper to clean up al 1 your jigsaw cutsand you're almost ready for assembly. This is My Good Side Before culling the side profiles with your jigsaw, examine your stock to choose the best outside face. With plywood it is more than likely that you'll have patches in several places; so make sure these will not be exposed. Using a paper paitern for the feet, trace the outline alongthe bottom, flip the pattern for the opposite foot, then connect the lops of the feet with a square. For marking the notch on the top, trace the inside of a roll of packing tape. Now you arc ready to cut the profile with your jigsaw. (If you haven't picked up any Bosch T380B Xtra-Clean jigsaw blades, we Angle of attack. Your jigsaw can't turn at sharp angles, so make a curved cut to the line. Prepare for Pocket Screws To make assembly a breeze, it's a good idea to cut all your pocket-screw holes in advance. First examine your stock for the best faces, then use your pocket-screw jig to make four evenly spaced holes along the ends ofthe three large panels. The faces needingpocket screws are the bottom ofthe benchtop, the bottom ofthe bottom shelf and the back of the back panel. The center divider needs only one row of holes along its top edge. Once all of your pocket-screw holes are drilled, sand all your parts up to #150 grit. Upside-down Assembly To assemble, start by placing the benchtop on two 2" blocks of scrap with the pocket holes 28 ■ Popular Woodworking April 2009 Li AD PHOTO BY Al PARKfiK IIIL*TRATK>N BY ROMRT W. LANG |


