Popular Woodworking 2009-06 № 176, страница 56
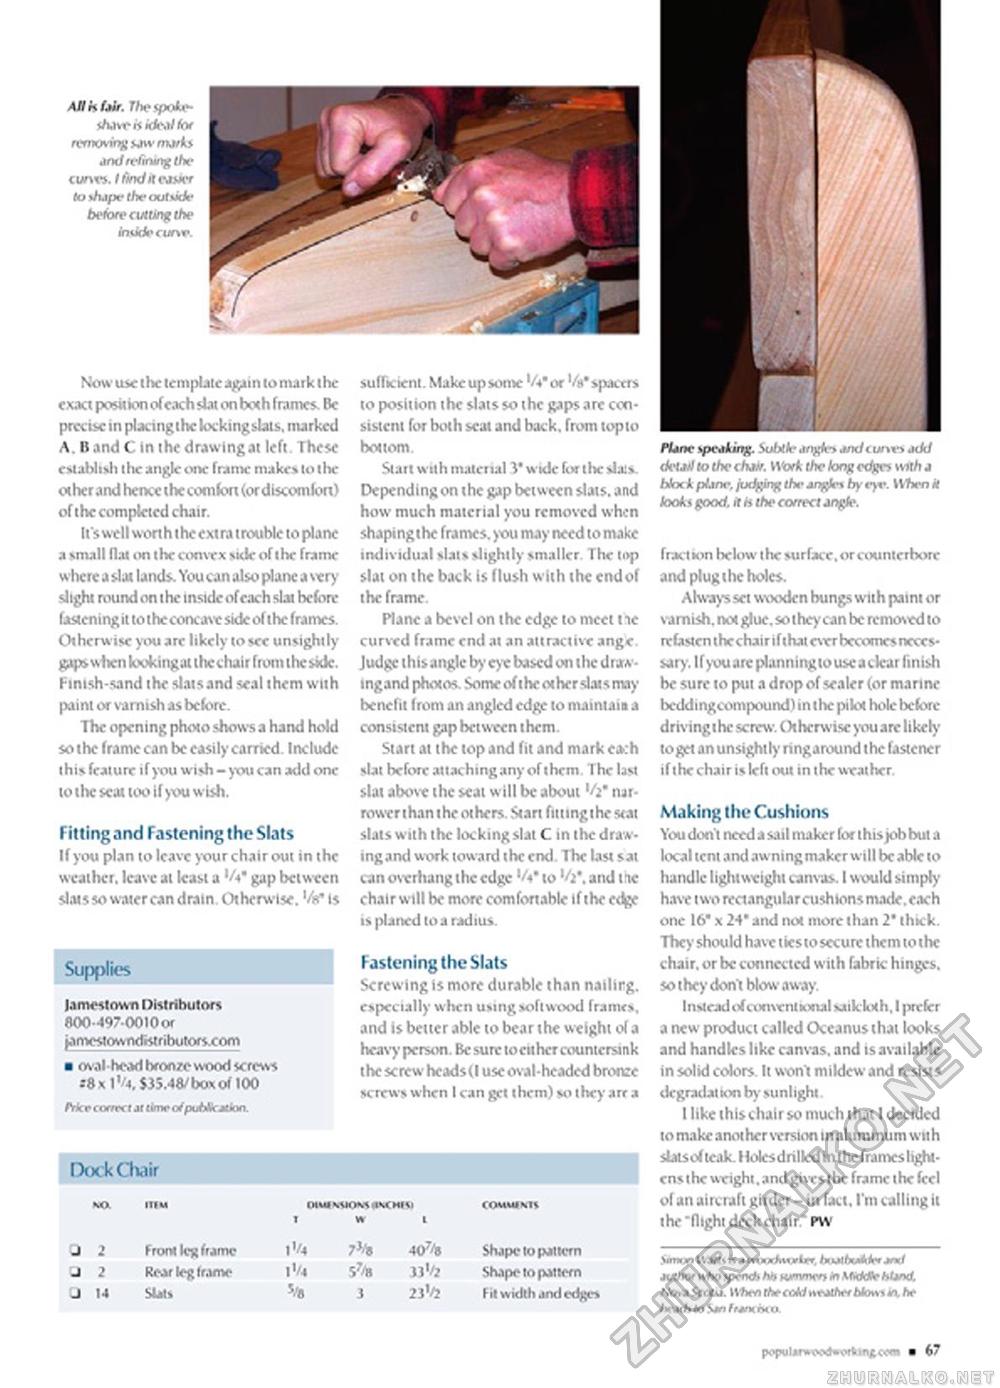
All is fair. The spoke-shave is ideal for removing Uw marks and refining the < urvre. / find it onto to t/iapr f/w exit tide before cutting the inside cunt■. Now use the template again lo mark (he exact position of each slat on both frames. Be precise in placinglhc lockingsials. marked A. B and C In the drawing at left. These establish the angle one frame makes lo the ot her and hence the comfort (ordlscomfon) of the completed chair. It's well worth thccxtra trouble to plane a small flat on ihc convex side of the frame where a slat lands. You can also plane a very slight round on i he inside of each slat before fastening it totheconcavesideofthc frames. Otherwise you are likely to see unsightly 9>ps when lookingat thechair from the side. Fintsh-sand ihe slats and seal them with paint or varnish as before. The opening photo shows a hand hold so the frame can be easily carried. Include this feature if you wish - you can add one to the scot too if you wish. Fitting and Fastening the Slats If you plan to leave your chair out in the weather, leave at least a 'A* gap between slats so water can drain Otherwise, '/s* is Supplies Jamestown Distributors 800-497-0010or jamcstowndistributors.com Front k"R frame Rear leg Irame sufficient. Make up some '/»• or '/•* spacers to position the slats so the gaps are consistent for both scat and back, from topto Start with material V wide for the sla:*. Depending on the gap between slats, and how much material you removed when shapingthc frames, you may need to make individual slats slightly smaller The top slat on the back is flush with the end of the frame. Plane a bevel on the edge to meet »e curved frame end at an attractive ange Judge this angle by eye based on the draw-ingand photos. Some of the other slats may benefit from an angled edge to maintain a consistent gap between them. Start at the top and fit and mark c»:h slat before attaching any of them. The last slat above the seat will be about '/j* narrower than the others. Stan fitungthcsrat slats with the locking slat C in the draw-ingand work toward the end. The last sat can overhang the edge 'A* to and the chair will be more comfonable if the ecfee is planed to a radius. Fastening the Slats Screwing is more durable than nailirg. especially when using softwood frames, and is better able to bear the weight of a heavy person. Be sure tocii her countersink the screw hcadsd use oval-headed bronze screws when I can get them) >0 they arr a Mane speaking. Subtle angles and tunes add detail to the cha*. Work the long edges with a block plane, judging the angles by eye. VVften H looks good, it H the correct angle. 407/» Shape to pattern Jl'/i Shape to pattern 23V2 Fit width and edges fraction below the surface, orcounterbswe and plug the holes. Always set wooden bungs with paint or varnish, not glue, so they can be removed to rcbsten the chair if thai ever becomes necessary. 11 you arc planningtouscackar finish be sure 10 put a drop of sealer (or marine bcddingcompound) in the pilot hok before drivingihe screw. Otherwise youare likely toget an unsightly nngaround the fastener if the chair is left out in the weather. Making the Cushions You don't need a sail maker for this job but a local tent and awning maker will bcabk to handle lightweight canvas. I would simply have two reciangular cushions made, each one 16" x 24" and not more than 2" thick. They should have tks tosecure them to the chair, or be connected with fabric hinges, so they dont blow away. Instead of conventional sailcloth, I prefer a new product calkd Oceanus that looks and handks like canvas, and is avatlabk in solid colors. It wont mildew and resists degradat ion by su nl ight. 1 like this chair so much that I decided to make a not her version in aluminum wit h slatsof teak Holcsdrilkd in the frames light-ensihe weight.and givesthe frame the feci of an aircraft girder - in fact. I'm calling it the "flight deckchair." PW vn.« wamt« j tm.«fc«»lft. ImulMler Jr.I author tsho spends hbwnvnersioStiddlehtand. Not a SrrAa. When the cold neatherblownn. he heath to San ham. rxu popul*r»\v>4»«<rtin£«iim ■ 67 |


