Popular Woodworking 2009-08 № 177, страница 44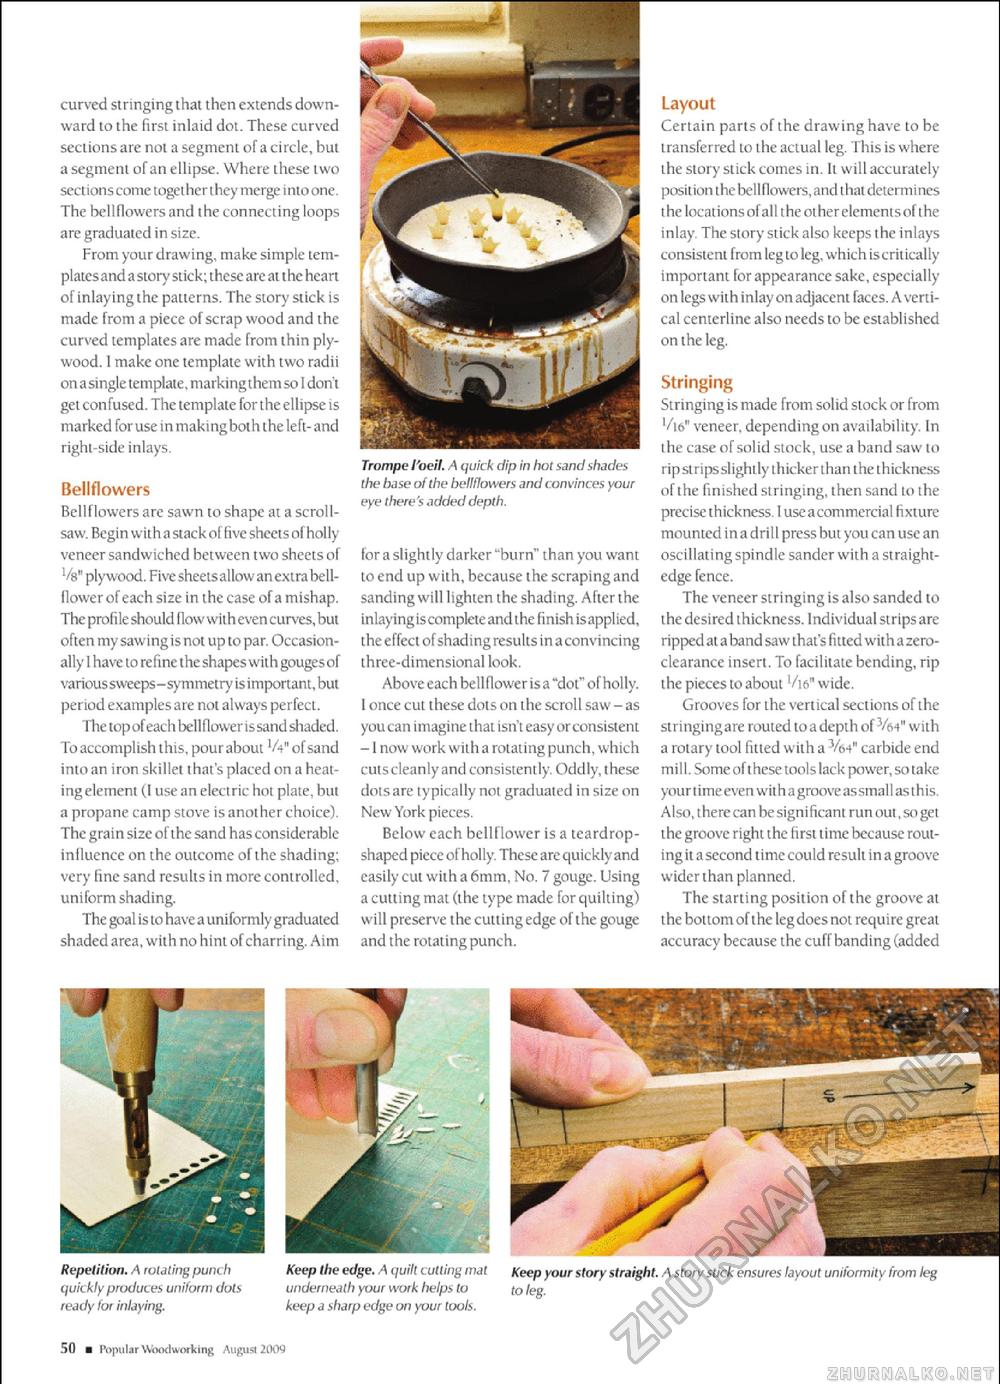
curved stringing that then extends downward to the first inlaid dot. These curved sections are not a segment of a circle, bui a segment of an ellipse. Where these two sections come toge ther they merge i nto one The bellflowers and the connecting loops are graduated in size. From your drawing, make simple templates a nd a story stick; Lhese are ait he heart of inlaying the patterns. The story stick is made from a piece of scrap wood and the curved templates are made from thin plywood. 1 make one template with two radii onasingle tempi ale, markingthem sol don'l get confused. The template for the ellipse is marked for use in maki ng both the left- and right-side inlays. Bellflowers Bellflowers are sawn to shape at a scroll-saw. Begin witha stack of five sheets olholly veneer sandwiched between two sheets of '/b" plywood. Five sheetsallowanextra bell-flower of each size in the case of a mishap. The profi !e should flow with even curves, but often my sawing is not up to par. Occasionally lhave to refine the shapes with gouges of various sweeps-symmetry is important, but period examples are not always perfect. The top of each bell flowc r is sand shaded. To accomplish this, pourabout Vi" ofsand into an iron skillet that's placed on a heating element (1 use an electric hot plate, but a propane camp stove is another choice). The grain size ofthe sand has considerable influence on the outcome ofthe shading; very fine sand results in more controlled, uniform shading. The goal is to have a uniformly graduated shaded area, with no hint of charring. Aim Trompe I'veil. A quick dip in hot sand shades the base of the bellflowers and convinces your eye there's added depth. for a slightly darker "burn" than you want to end up with, because the scraping and Sanding will lighten the shading. After the inlayingiscompleteand the finishisapplied, the effectof shading results in a convincing three-dimensional look. Above each bellflower isa "dot" ofholly. I once cut these dots on the scroll saw - as you can imagine that isn't easy or consistent -1 now work with a rotating punch, which cutscleanly and consistently. Oddly, these dots are Lypically not graduated in size on New York pieces. Below each bellflower is a teardrop-shaped piece ofholly. These are quickly and easily cut with a 6mm, No. 7 gouge. Using a cutting mat (the type made for quilting) will preserve the cutting edge ofthe gouge and the rotating punch. Layout Certain parts of the drawing have to be transferred to the actual leg. This is where the story stick comes in. It wilt accurately position the bellflowers, and that determines Lhe locations of all the other elementsof the inlay. The story stick also keeps the inlays consistent from leg to leg, which is critically important for appearance sake, especially on legs with inlay onadjacent faces. Averti-cal cemerline also needs to be established on the leg. Stringing Stringing is made from solid stock or from Vie" veneer, depending on availability In the case of solid stock, use a band saw to ripstrtps slightly thicker than the thickness ofthe finished stringing, then sand to the precise thickness, I use a commercial fi xture mounted in a drill press but you can use an oscillating spindle sander with a straightedge fence. The veneer stringing is also sanded to the desired thickness. Individualstrips are ripped at aband saw that's fitted with a zero-clearance insert, To facilitate bending, rip the pieces to about Vie" wide. Grooves for the vertical sections of Lhe stringingare routed toadepth of-vm" with a rotary tool fitted with a Ve-t" carbide end mill. Some of these tools lack power, so take your lime even with agroove as small as this. A Iso, there can be signi ficant run out, so get the groove right the first time because routing it a second i ime cou Id re suit in a groove wider than planned. The starting position ofthe groove at lhe bottom ofthe leg does not require great accuracy because the cuff banding (added Repetition. A rotating punch Keep the edge. A quilt cutting mat Keep your story straight. A story stick ensures layout uniformity from leg quickly produces uniform dots underneath your work helps to to leg. ready for inlaying. keep a sharp edge on your tools. 50 m Popular Wood working August 2009 |


