Popular Woodworking 2009-10 № 178, страница 42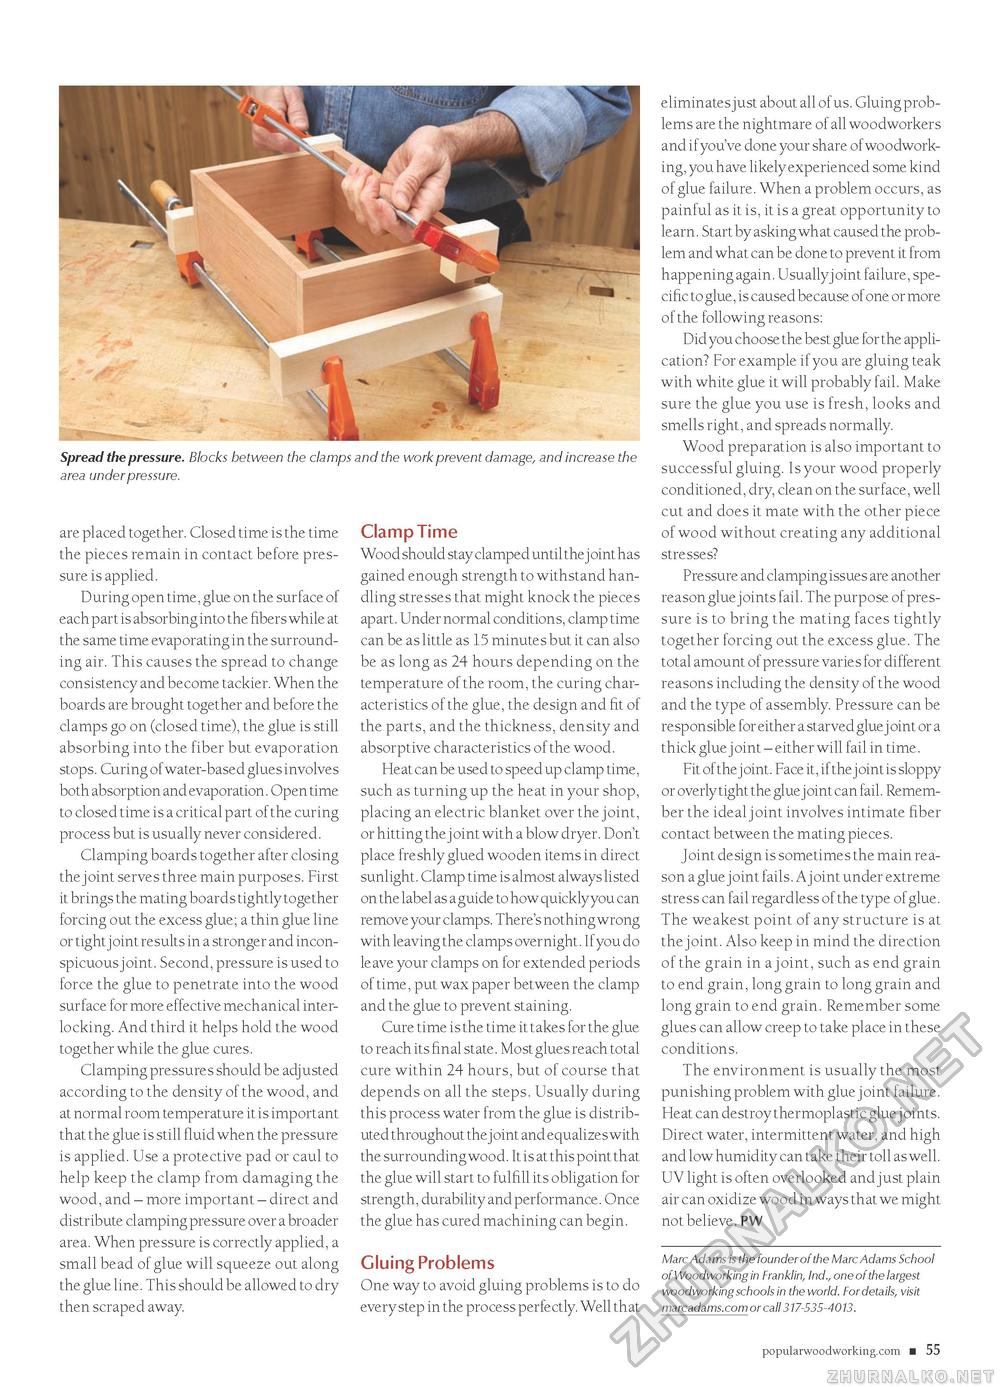
Spread the pressure. Blocks between the clamps and the work prevent damage, and increase the area under pressure. are placed together. Closed time is the time the pieces remain in contact before pressure is applied. During open time, glue on the surface of each part is absorbing into the fibers while at the same time evaporating in the surrounding air. This causes the spread to change consistency and become tackier. When the boards are brought together and before the clamps go on (closed time), the glue is still absorbing into the fiber but evaporation stops. Curing of water-based glues involves both absorption and evaporation. Open time to closed time is a critical part of the curing process but is usually never considered. Clamping boards together after closing the joint serves three main purposes. First it brings the mating boards tightly together forcing out the excess glue; a thin glue line or tight j oint results in a stronger and inconspicuous joint. Second, pressure is used to force the glue to penetrate into the wood surface for more effective mechanical interlocking. And third it helps hold the wood together while the glue cures. Clamping pressures should be adjusted according to the density of the wood, and at normal room temperature it is important that the glue is still fluid when the pressure is applied. Use a protective pad or caul to help keep the clamp from damaging the wood, and - more important - direct and distribute clamping pressure over a broader area. When pressure is correctly applied, a small bead of glue will squeeze out along the glue line. This should be allowed to dry then scraped away. Clamp Time Wood should stay clamped until the j oint has gained enough strength to withstand handling stresses that might knock the pieces apart. Under normal conditions, clamp time can be as little as 15 minutes but it can also be as long as 24 hours depending on the temperature of the room, the curing characteristics of the glue, the design and fit of the parts, and the thickness, density and absorptive characteristics of the wood. Heat can be used to speed up clamp time, such as turning up the heat in your shop, placing an electric blanket over the joint, or hitting the j oint with a blow dryer. Don't place freshly glued wooden items in direct sunlight. Clamp time is almost always listed on the label as a guide to how quickly you can remove your clamps. There's nothing wrong with leaving the clamps overnight. If you do leave your clamps on for extended periods of time, put wax paper between the clamp and the glue to prevent staining. Cure time is the time it takes for the glue to reach its final state. Most glues reach total cure within 24 hours, but of course that depends on all the steps. Usually during this process water from the glue is distributed throughout the j oint and equalizes with the surrounding wood. It is at this point that the glue will start to fulfill its obligation for strength, durability and performance. Once the glue has cured machining can begin. Gluing Problems One way to avoid gluing problems is to do every step in the process perfectly. Well that eliminates just about all of us. Gluing problems are the nightmare of all woodworkers and if you've done your share of woodworking, you have likely experienced some kind of glue failure. When a problem occurs, as painful as it is, it is a great opportunity to learn. Start by asking what caused the problem and what can be done to prevent it from happening again. Usuallyjoint failure, specific to glue, is caused because of one or more of the following reasons: Did you choose the best glue for the application? For example if you are gluing teak with white glue it will probably fail. Make sure the glue you use is fresh, looks and smells right, and spreads normally. Wood preparation is also important to successful gluing. Is your wood properly conditioned, dry, clean on the surface, well cut and does it mate with the other piece of wood without creating any additional stresses? Pressure and clamping issues are another reason glue joints fail. The purpose of pressure is to bring the mating faces tightly together forcing out the excess glue. The total amount of pressure varies for different reasons including the density of the wood and the type of assembly. Pressure can be responsible for either a starved glue j oint or a thick glue j oint - either will fail in time. Fit of the joint. Face it, if the joint is sloppy or overly tight the glue joint can fail. Remember the ideal joint involves intimate fiber contact between the mating pieces. Joint design is sometimes the main reason a glue j oint fails. A j oint under extreme stress can fail regardless of the type of glue. The weakest point of any structure is at the joint. Also keep in mind the direction of the grain in a joint, such as end grain to end grain, long grain to long grain and long grain to end grain. Remember some glues can allow creep to take place in these conditions. The environment is usually the most punishing problem with glue joint failure. Heat can destroy thermoplastic glue joints. Direct water, intermittent water, and high and low humidity can take their toll as well. UV light is often overlooked and just plain air can oxidize wood in ways that we might not believe. PW Marc Adams is the founder of the Marc Adams School of Woodworking in Franklin, Ind., one of the largest woodworking schools in the world. For details, visit marcadams.com or call 317-535-4013. popularwoodworking.com ■ 55 |


