Popular Woodworking 2009-10 № 178, страница 44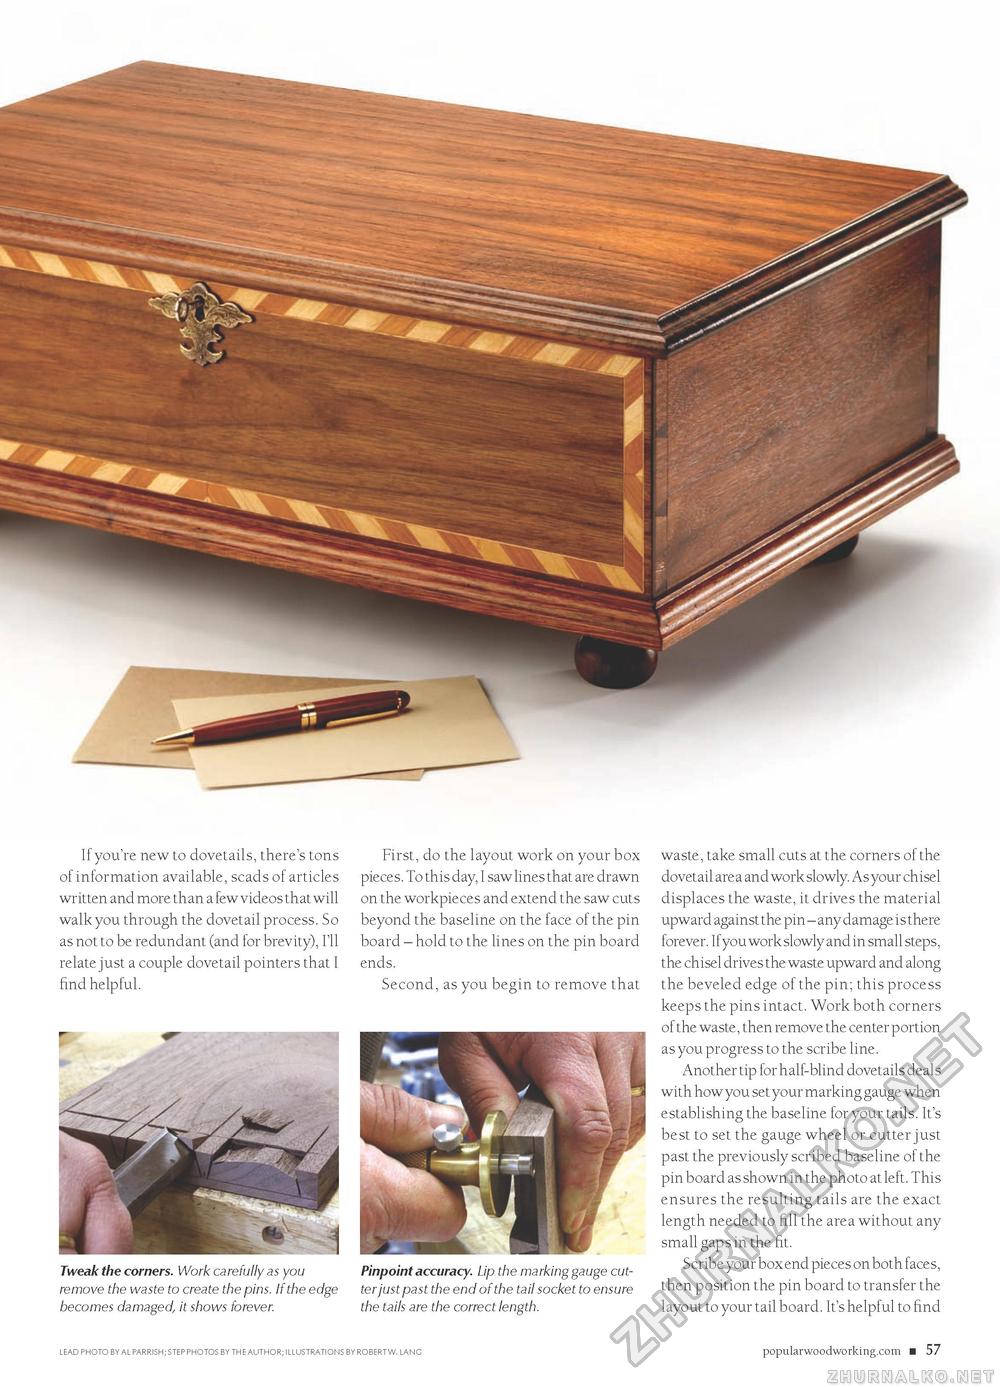
If you're new to dovetails, there's tons of information available, scads of articles written and more than a few videos that will walk you through the dovetail process. So as not to be redundant (and for brevity), I'll relate just a couple dovetail pointers that I find helpful. First, do the layout work on your box pieces. To this day, I saw lines that are drawn on the workpieces and extend the saw cuts beyond the baseline on the face of the pin board - hold to the lines on the pin board ends. Second, as you begin to remove that Tweak the corners. Work carefully as you remove the waste to create the pins. If the edge becomes damaged, it shows forever. Pinpoint accuracy. Lip the marking gauge cutter just past the end of the tail socket to ensure the tails are the correct length. waste, take small cuts at the corners of the dovetail area and work slowly. As your chisel displaces the waste, it drives the material upward against the pin - any damage is there forever. If you work slowly and in small steps, the chisel drives the waste upward and along the beveled edge of the pin; this process keeps the pins intact. Work both corners of the waste, then remove the center portion as you progress to the scribe line. Another tip for half-blind dovetails deals with how you set your marking gauge when establishing the baseline for your tails. It's best to set the gauge wheel or cutter just past the previously scribed baseline of the pin board as shown in the photo at left. This ensures the resulting tails are the exact length needed to fill the area without any small gaps in the fit. Scribe your box end pieces on both faces, then position the pin board to transfer the layout to your tail board. It's helpful to find LEAD PHOTO BY AL PARRISH; STEP PHOTOS BY THE AUTHOR; ILLUSTRATIONS BY ROBERT W. LANG popularwoodworking.com ■ 57 |


