Popular Woodworking 2009-11 № 179, страница 31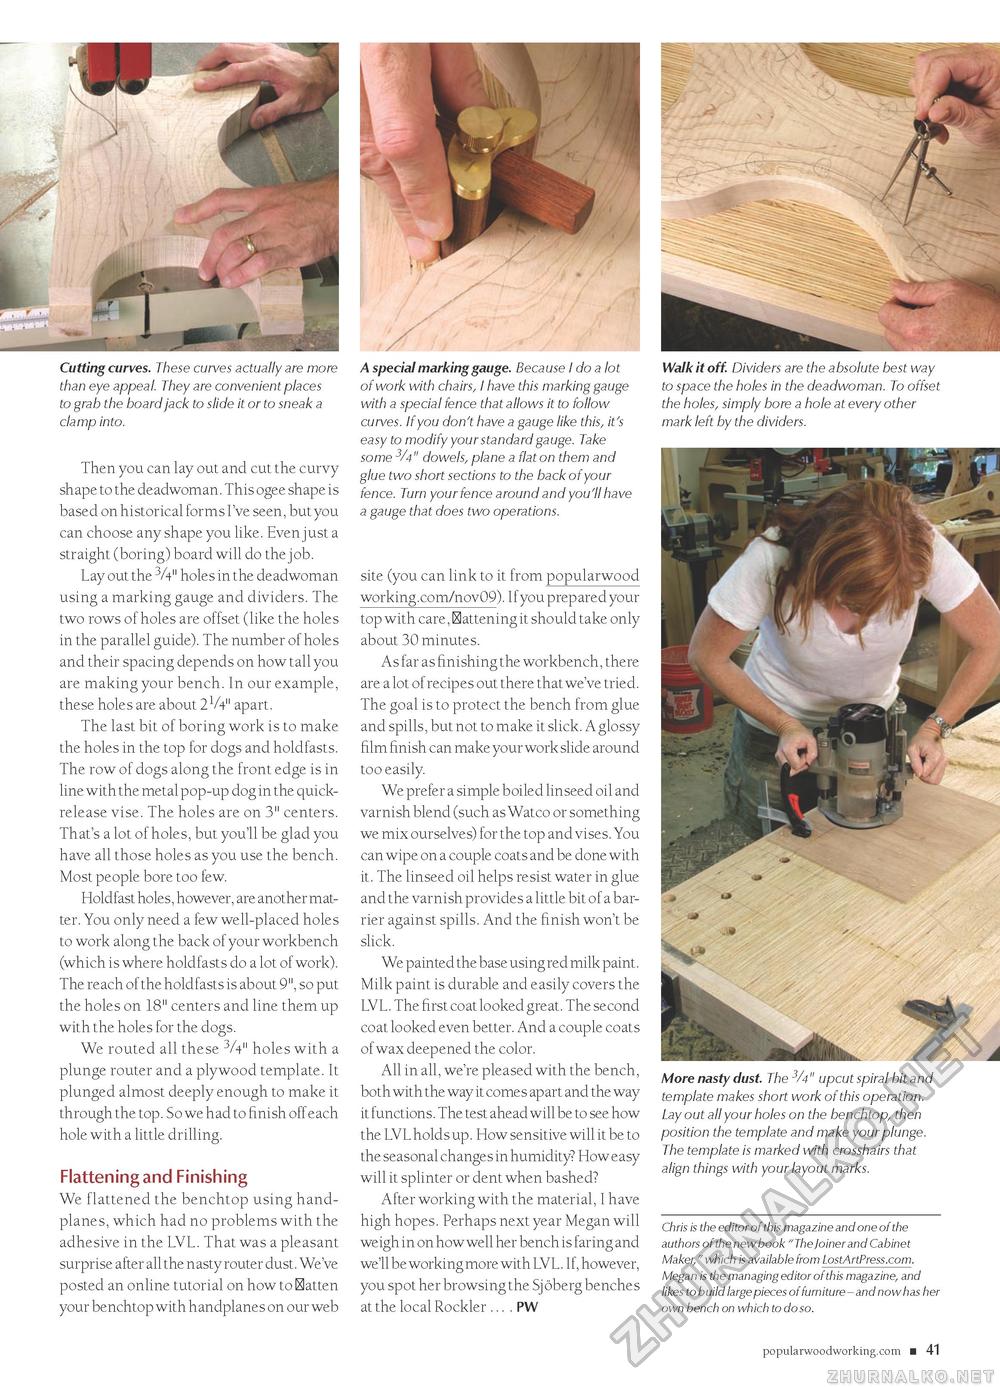
Cutting curves. These curves actually are more than eye appeal. They are convenient places to grab the board jack to slide it or to sneak a clamp into. Then you can lay out and cut the curvy shape to the deadwoman. This ogee shape is based on historical forms I've seen, but you can choose any shape you like. Even just a straight (boring) board will do the job. Lay out the 3/4" holes in the deadwoman using a marking gauge and dividers. The two rows of holes are offset (like the holes in the parallel guide). The number of holes and their spacing depends on how tall you are making your bench. In our example, these holes are about 2V4" apart. The last bit of boring work is to make the holes in the top for dogs and holdfasts. The row of dogs along the front edge is in line with the metal pop-up dog in the quick-release vise. The holes are on 3" centers. That's a lot of holes, but you'll be glad you have all those holes as you use the bench. Most people bore too few. Holdfast holes, however, are another matter. You only need a few well-placed holes to work along the back of your workbench (which is where holdfasts do a lot of work). The reach of the holdfasts is about 9", so put the holes on 18" centers and line them up with the holes for the dogs. We routed all these 3/4" holes with a plunge router and a plywood template. It plunged almost deeply enough to make it through the top. So we had to finish off each hole with a little drilling. Flattening and Finishing We flattened the benchtop using hand-planes, which had no problems with the adhesive in the LVL. That was a pleasant surprise after all the nasty router dust. We've posted an online tutorial on how to flatten your benchtop with handplanes on our web A special marking gauge. Because I do a lot of work with chairs, I have this marking gauge with a special fence that allows it to follow curves. If you don't have a gauge like this, it's easy to modify your standard gauge. Take some 3/4" dowels, plane a flat on them and glue two short sections to the back of your fence. Turn your fence around and you'll have a gauge that does two operations. site (you can link to it from popularwood working.com/nov09). If you prepared your top with care, flattening it should take only about 30 minutes. As far as finishing the workbench, there are a lot of recipes out there that we've tried. The goal is to protect the bench from glue and spills, but not to make it slick. A glossy film finish can make your work slide around too easily. We prefer a simple boiled linseed oil and varnish blend (such as Watco or something we mix ourselves) for the top and vises. You can wipe on a couple coats and be done with it. The linseed oil helps resist water in glue and the varnish provides a little bit of a barrier against spills. And the finish won't be slick. We painted the base using red milk paint. Milk paint is durable and easily covers the LVL. The first coat looked great. The second coat looked even better. And a couple coats of wax deepened the color. All in all, we're pleased with the bench, both with the way it comes ap art and the way it functions. The test ahead will be to see how the LVL holds up. How sensitive will it be to the seasonal changes in humidity? How easy will it splinter or dent when bashed? After working with the material, I have high hopes. Perhaps next year Megan will weigh in on how well her bench is faring and we'll be working more with LVL. If, however, you spot her browsing the Sj oberg benches at the local Rockler ... . PW Walk it off. Dividers are the absolute best way to space the holes in the deadwoman. To offset the holes, simply bore a hole at every other mark left by the dividers. More nasty dust. The 3/4" upcut spiral bit and template makes short work of this operation. Lay out all your holes on the benchtop, then position the template and make your plunge. The template is marked with crosshairs that align things with your layout marks. Chris is the editor of this magazine and one of the authors of the new book "The Joiner and Cabinet Maker," which is available from LostArtPress.com. Megan is the managing editor of this magazine, and likes to build large pieces of furniture - and now has her own bench on which to do so. popularwoodworking.com ■ 41 |


