Popular Woodworking 2009-11 № 179, страница 51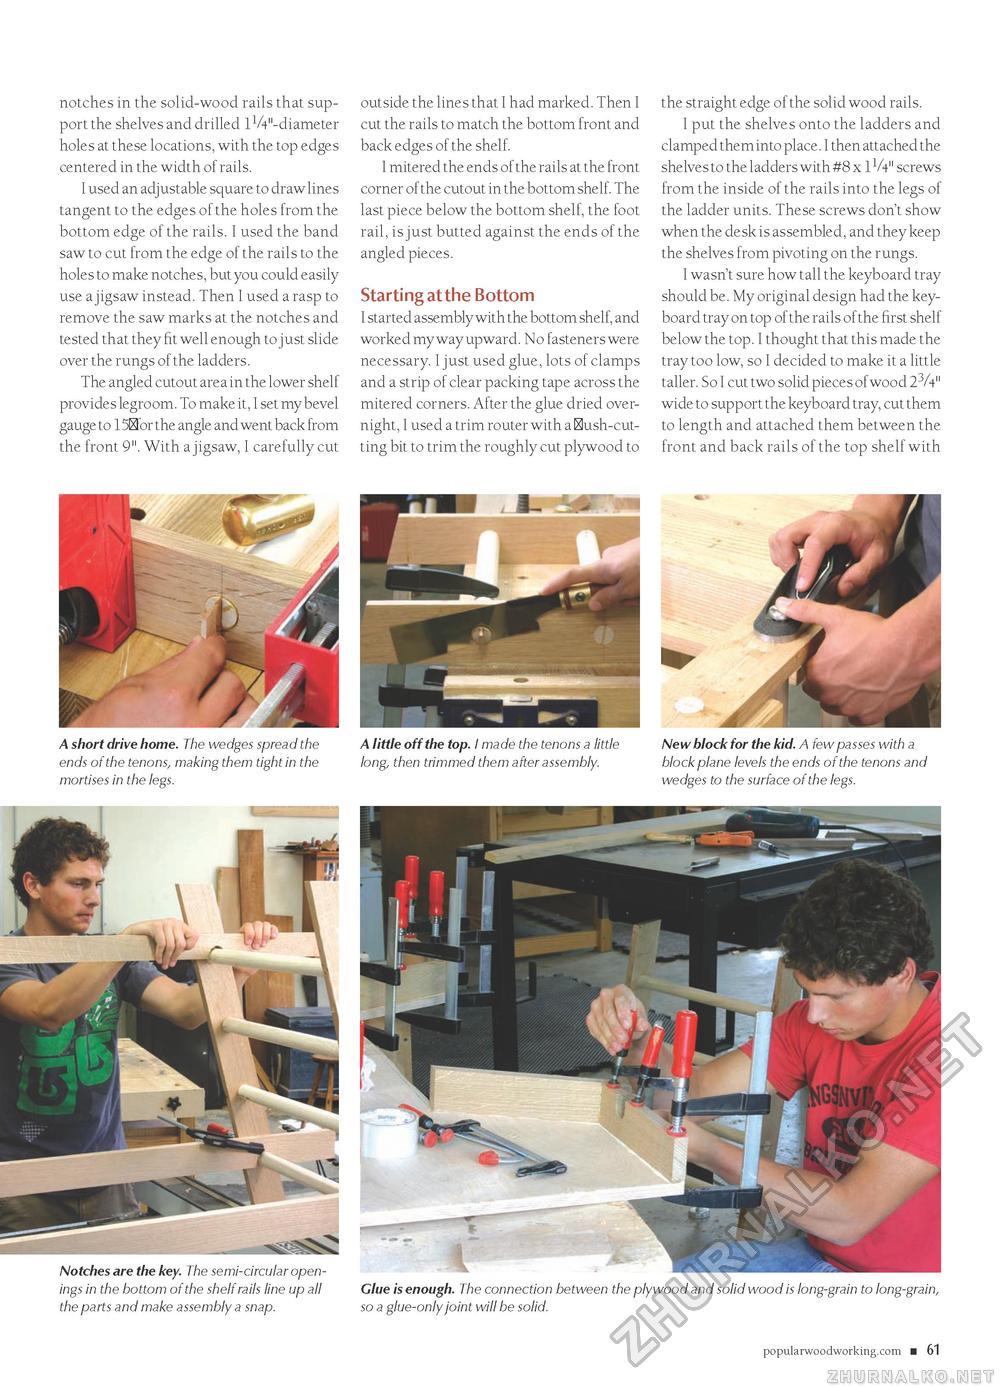
notches in the solid-wood rails that support the shelves and drilled 1 W'-diameter holes at these locations, with the top edges centered in the width of rails. I used an adjustable square to draw lines tangent to the edges of the holes from the bottom edge of the rails. I used the band saw to cut from the edge of the rails to the holes to make notches, but you could easily use a jigsaw instead. Then I used a rasp to remove the saw marks at the notches and tested that they fit well enough to just slide over the rungs of the ladders. The angled cutout area in the lower shelf provides legroom. To make it, I set my bevel gauge to 150or the angle and went back from the front 9". With a jigsaw, I carefully cut outside the lines that I had marked. Then I cut the rails to match the bottom front and back edges of the shelf. I mitered the ends of the rails at the front corner of the cutout in the bottom shelf. The last piece below the bottom shelf, the foot rail, is just butted against the ends of the angled pieces. Starting at the Bottom I started assembly with the bottom shelf, and worked my way upward. No fasteners were necessary. I just used glue, lots of clamps and a strip of clear packing tape across the mitered corners. After the glue dried overnight, I used a trim router with a Hush-cutting bit to trim the roughly cut plywood to the straight edge of the solid wood rails. I put the shelves onto the ladders and clamped them into place. I then attached the shelves to the ladders with #8 x 1V4" screws from the inside of the rails into the legs of the ladder units. These screws don't show when the desk is assembled, and they keep the shelves from pivoting on the rungs. I wasn't sure how tall the keyboard tray should be. My original design had the keyboard tray on top of the rails of the first shelf below the top. I thought that this made the tray too low, so I decided to make it a little taller. So I cut two solid pieces of wood 23A" wide to support the keyboard tray, cut them to length and attached them between the front and back rails of the top shelf with A short drive home. The wedges spread the ends of the tenons, making them tight in the mortises in the legs. A little off the top. I made the tenons a little long, then trimmed them after assembly. New block for the kid. A few passes with a block plane levels the ends of the tenons and wedges to the surface of the legs. Notches are the key. The semi-circular openings in the bottom of the shelf rails line up all the parts and make assembly a snap. Glue is enough. The connection between the plywood and solid wood is long-grain to long-grain, so a glue-only joint will be solid. popularwoodworking.com ■ 61 |


