Popular Woodworking 2009-11 № 179, страница 52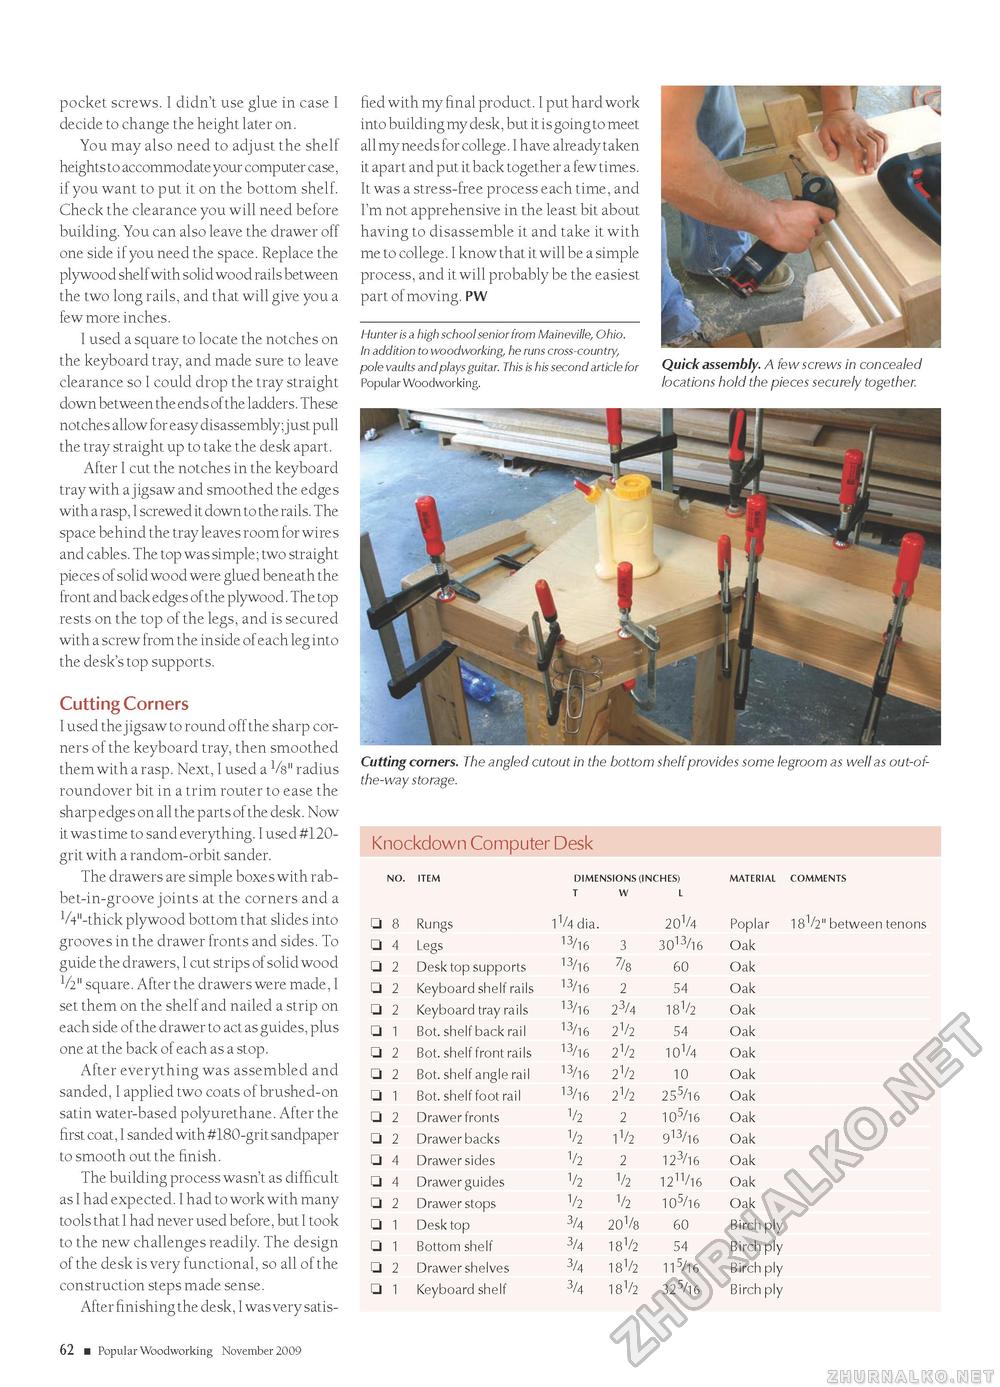
pocket screws. I didn't use glue in case I decide to change the height later on. You may also need to adjust the shelf heights to accommodate your computer case, if you want to put it on the bottom shelf. Check the clearance you will need before building. You can also leave the drawer off one side if you need the space. Replace the plywood shelf with solid wood rails between the two long rails, and that will give you a few more inches. I used a square to locate the notches on the keyboard tray, and made sure to leave clearance so I could drop the tray straight down between the ends of the ladders. These notches allow for easy disassembly; just pull the tray straight up to take the desk apart. After I cut the notches in the keyboard tray with a jigsaw and smoothed the edges with a rasp, I screwed it down to the rails. The space behind the tray leaves room for wires and cables. The top was simple; two straight pieces of solid wood were glued beneath the front and back edges of the plywood. The top rests on the top of the legs, and is secured with a screw from the inside of each leg into the desk's top supports. Cutting Corners I used the jigsaw to round off the sharp corners of the keyboard tray, then smoothed them with a rasp. Next, I used a V8" radius roundover bit in a trim router to ease the sharp edges on all the parts of the desk. Now it was time to sand everything. I used #120-grit with a random-orbit sander. The drawers are simple boxes with rab-bet-in-groove joints at the corners and a VV'-thick plywood bottom that slides into grooves in the drawer fronts and sides. To guide the drawers, I cut strips of solid wood square. After the drawers were made, I set them on the shelf and nailed a strip on each side of the drawer to act as guides, plus one at the back of each as a stop. After everything was assembled and sanded, I applied two coats of brushed-on satin water-based polyurethane. After the first coat, I sanded with #180-grit sandpaper to smooth out the finish. The building process wasn't as difficult as I had expected. I had to work with many tools that I had never used before, but I took to the new challenges readily. The design of the desk is very functional, so all of the construction steps made sense. After finishing the desk, I was very satis fied with my final product. I put hard work into building my desk, but it is going to meet all my needs for college. I have already taken it apart and put it back together a few times. It was a stress-free process each time, and I'm not apprehensive in the least bit about having to disassemble it and take it with me to college. I know that it will be a simple process, and it will probably be the easiest part of moving. PW Hunter is a high school senior from Maineville, Ohio. In addition to woodworking, he runs cross-country, pole vaults and plays guitar. This is his second article for Popular Woodworking. Cutting corners. The angled cutout in the bottom shelf provides some legroom as well as out-of-the-way storage. Quick assembly. A few screws in concealed locations hold the pieces securely together. Knockdown Computer Desk DiMENSiONS (iNCHES) T W L MATERiAL COMMENTS DiMENSiONS (iNCHES) T W L MATERiAL COMMENTS NO. iTEM
NO. iTEM 62 ■ Popular Woodworking November 2009 |


