Popular Woodworking 2009-12 № 180, страница 54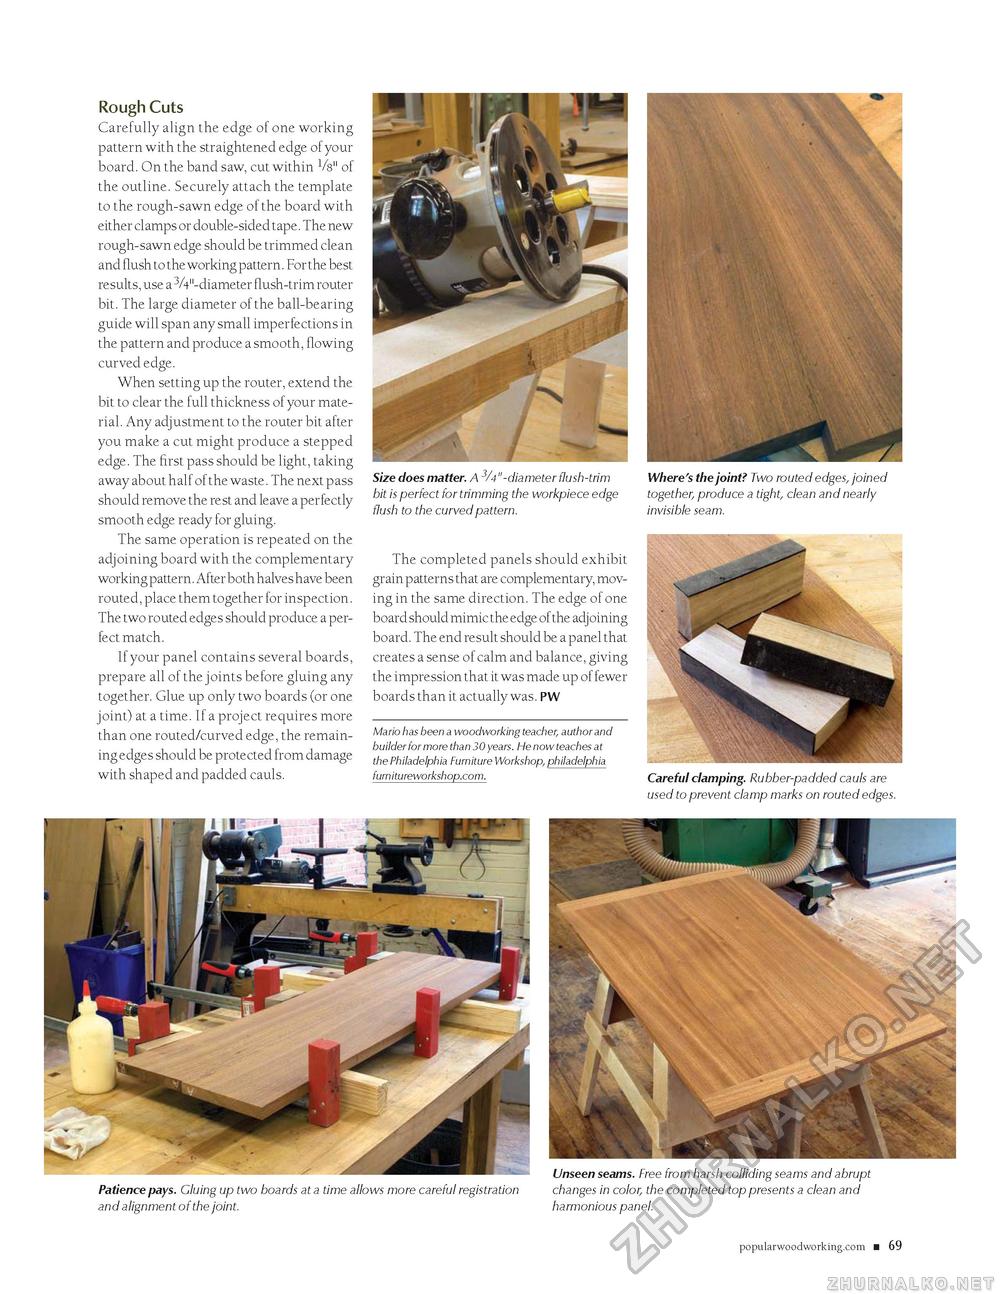
Rough CutsCarefully align the edge of one working pattern with the straightened edge of your board. On the band saw, cut within Vs" of the outline. Securely attach the template to the rough-sawn edge of the board with either clamps or double-sided tape. The new rough-sawn edge should be trimmed clean and flush to the working pattern. For the best results, use a -VV'-diameter flush-trim router bit. The large diameter of the ball-bearing guide will span any small imperfections in the pattern and produce a smooth, flowing curved edge. When setting up the router, extend the bit to clear the full thickness of your material. Any adjustment to the router bit after you make a cut might produce a stepped edge. The first pass should be light, taking away about half of the waste. The next pass should remove the rest and leave a perfectly smooth edge ready for gluing. The same operation is repeated on the adjoining board with the complementary working pattern. After both halves have been routed, place them together for inspection. The two routed edges should produce a perfect match. If your panel contains several boards, prepare all of the joints before gluing any together. Glue up only two boards (or one joint) at a time. If a project requires more than one routed/curved edge, the remaining edges should be protected from damage with shaped and padded cauls. Size does matter. A 3/4"-diameter flush-trim bit is perfect for trimming the workpiece edge flush to the curved pattern. The completed panels should exhibit grain patterns that are complementary, moving in the same direction. The edge of one board should mimic the edge of the adjoining board. The end result should be a panel that creates a sense of calm and balance, giving the impression that it was made up of fewer boards than it actually was. PW Mario has been a woodworking teacher, author and builder for more than 30 years. He now teaches at the Philadelphia Furniture Workshop, philadelphia furnitureworkshop.com. Where's the joint? Two routed edges, joined together, produce a tight, clean and nearly invisible seam. Careful clamping. Rubber-padded cauls are used to prevent clamp marks on routed edges. Patience pays. Cluing up two boards at a time allows more careful registration and alignment of the joint. Unseen seams. Free from harsh colliding seams and abrupt changes in color, the completed top presents a clean and harmonious panel. popularwoodworking.com ■ 21 |


