Popular Woodworking 2009-12 № 180, страница 55
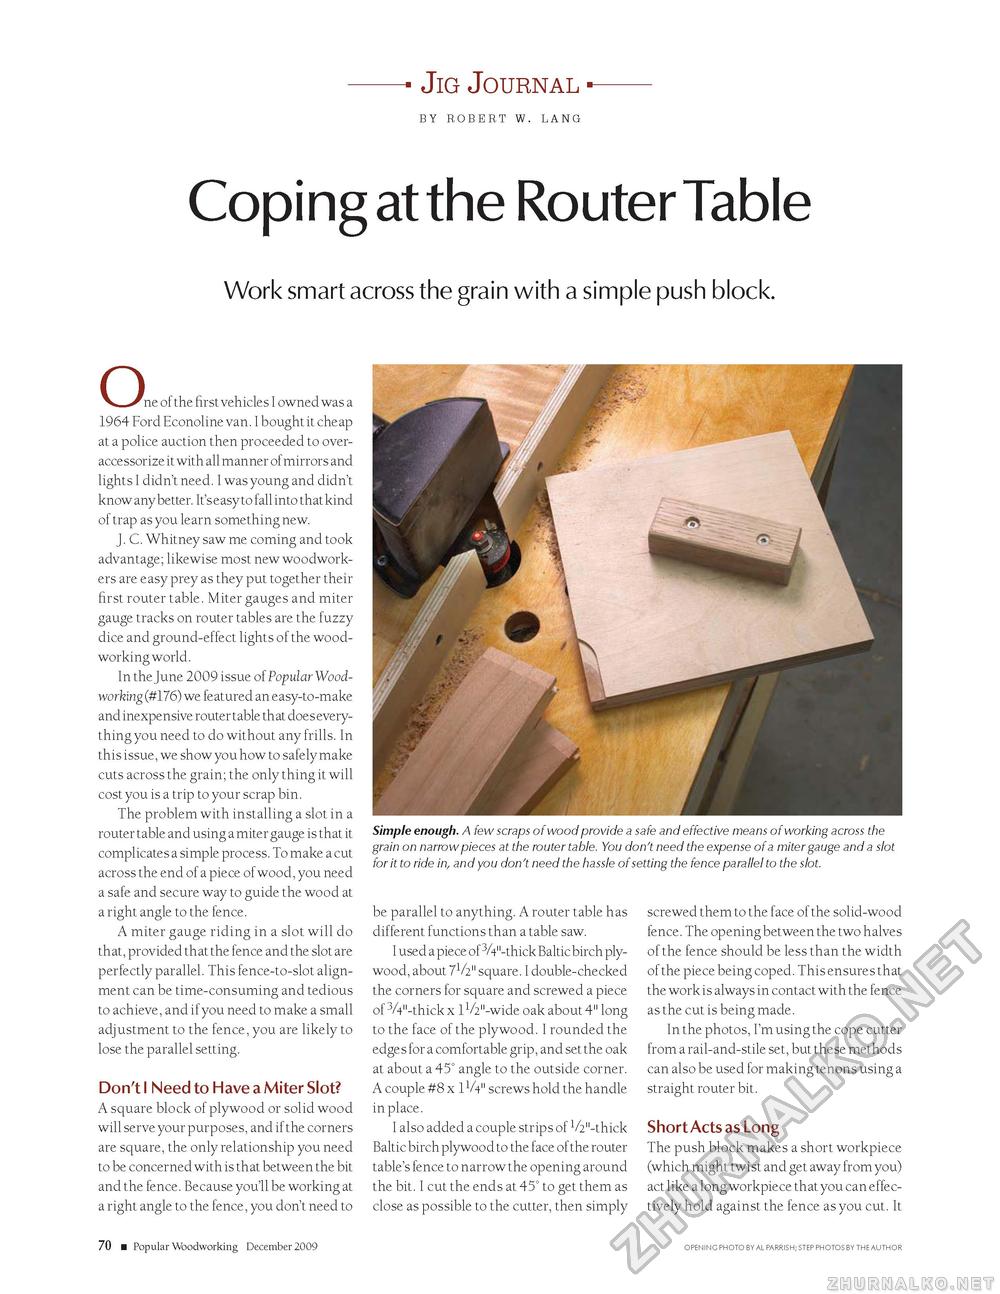
Coping at the Router TableWork smart across the grain with a simple push block.Jig JournalBY ROBERT W. LANG Simple enough. A few scraps of wood provide a safe and effective means of working across the grain on narrow pieces at the router table. You don't need the expense of a miter gauge and a slot for it to ride in, and you don't need the hassle of setting the fence parallel to the slot. Oe of the first vehicles I owned was a 1964 Ford Econoline van. I bought it cheap at a police auction then proceeded to over-accessorize it with all manner of mirrors and lights I didn't need. I was young and didn't know any better. It's e asy to fall into that kind of trap as you learn something new. J. C. Whitney saw me coming and took advantage; likewise most new woodworkers are easy prey as they put together their first router table. Miter gauges and miter gauge tracks on router tables are the fuzzy dice and ground-effect lights of the woodworking world. In the June 2009 issue of Popular Woodworking (#176) we featured an easy-to-make and inexpensive router table that does everything you need to do without any frills. In this issue, we show you how to safely make cuts across the grain; the only thing it will cost you is a trip to your scrap bin. The problem with installing a slot in a router table and using a miter gauge is that it complicates a simple process. To make a cut across the end of a piece of wood, you need a safe and secure way to guide the wood at a right angle to the fence. A miter gauge riding in a slot will do that, provided that the fence and the slot are perfectly parallel. This fence-to-slot alignment can be time-consuming and tedious to achieve, and if you need to make a small adjustment to the fence, you are likely to lose the parallel setting. Don't I Need to Have a Miter Slot?A square block of plywood or solid wood will serve your purposes, and if the corners are square, the only relationship you need to be concerned with is that between the bit and the fence. Because you'll be working at a right angle to the fence, you don't need to be parallel to anything. A router table has different functions than a table saw. I used a piece of 3A"-thick Baltic birch plywood, about 7V2" square. I double-checked the corners for square and screwed a piece of 3A"-thick x 11A"-wide oak about 4" long to the face of the plywood. I rounded the edges for a comfortable grip, and set the oak at about a 45° angle to the outside corner. A couple #8 x 1V4" screws hold the handle in place. I also added a couple strips of 1/2"-thick Baltic birch plywood to the face of the router table's fence to narrow the opening around the bit. I cut the ends at 45° to get them as close as possible to the cutter, then simply screwed them to the face of the solid-wood fence. The opening between the two halves of the fence should be less than the width of the piece being coped. This ensures that the work is always in contact with the fence as the cut is being made. In the photos, I'm using the cope cutter from a rail-and-stile set, but these methods can also be used for making tenons using a straight router bit. Short Acts as Long The push block makes a short workpiece (which might twist and get away from you) act like a long workpiece that you can effectively hold against the fence as you cut. It 70 ■ Popular Woodworking December 2009 OPENING PHOTO BY AL PARRISH; STEP PHOTOS BY THE AUTHOR |


