58 - Miter Saw Station, страница 10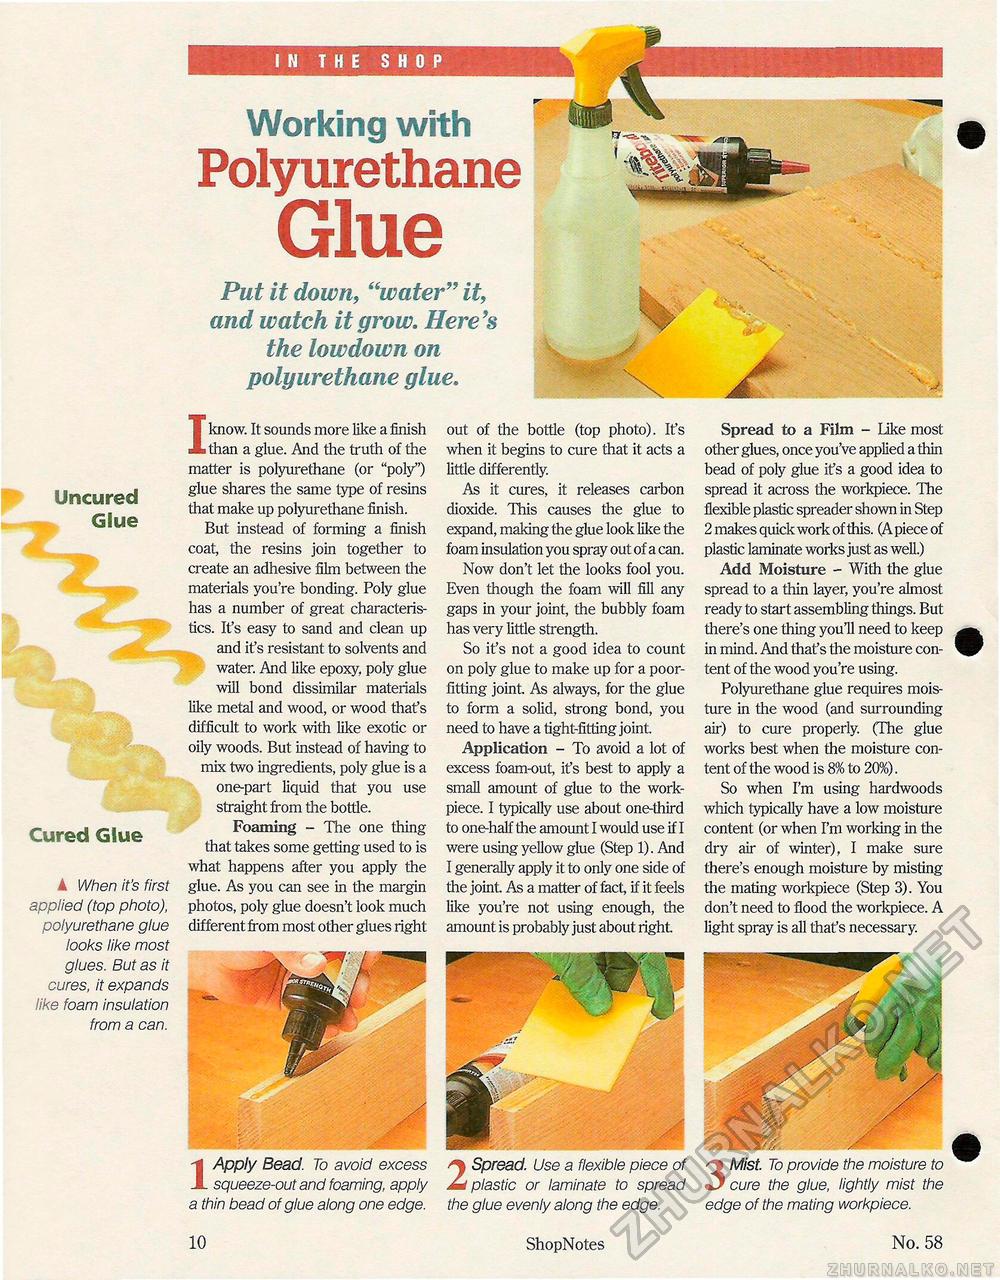
IN THE SHOP Unc ured Glue Cured Glue ▲ When it's first applied (top photo), polyurethane glue looks like most glues. But as it cures, it expands like foam insulation from a can. Working with Polyurethane GluePut it down, "water" it, and watch it grow. Here's the lowdown on polyurethane glue. I know. It sounds more like a finish than a glue. And the truth of the matter is polyurethane (or "poly") glue shares the same type of resins that make up polyurethane finish. But instead of forming a finish coat, the resins join together to create an adhesive film between the materials you're bonding. Poly glue has a number of great characteristics. It's easy to sand and clean up and it's resistant to solvents and water. And like epoxy, poly glue will bond dissimilar materials like metal and wood, or wood that's difficult to work with like exotic or oily woods. But instead of having to mix two ingredients, poly glue is a one-part liquid that you use straight from the bottle. Foaming - The one thing that takes some getting used to is what happens after you apply the glue. As you can see in the margin photos, poly glue doesn't look much different from most other glues right out of the bottle (top photo). It's when it begins to cure that it acts a little differently. As it cures, it releases carbon dioxide. This causes the glue to expand, making the glue look like die foam insulation you spray out of a can. Now don't let the looks fool you. Even though the foam will fill any gaps in your joint, the bubbly foam has very little strength. So it's not a good idea to count on poly glue to make up for a poor-fitting joint. As always, for the glue to form a solid, strong bond, you need to have a tight-fitting joint. Application - To avoid a lot of excess foam-out, it's best to apply a small amount of glue to the work-piece. I typically use about one-third to one-half the amount I would use if I were using yellow glue (Step 1). And I generally apply it to only one side of the joint. As a matter of fact, if it feels like you're not using enough, the amount is probably just about right Spread to a Film - Like most other glues, once you've applied a thin bead of poly glue ifs a good idea to spread it across the workpiece. The flexible plastic spreader shown in Step 2 makes quick work of this. (Apiece of plastic laminate works just as well.) Add Moisture - With the glue spread to a thin layer, you're almost ready to start assembling things. But there's one thing you'll need to keep in mind. And that's the moisture content of the wood you're using. Polyurethane glue requires moisture in the wood (and surrounding air) to cure properly. (The glue works best when the moisture content of the wood is 8% to 20%). So when I'm using hardwoods which typically have a low moisture content (or when I'm working in the dry air of winter), I make sure there's enough moisture by misting the mating workpiece (Step 3). You don't need to flood the workpiece. A light spray is all that's necessary. 1 Apply Bead. To avoid excess squeeze-out and foaming, apply a thin bead of glue along one edge. 2 Spread. Use a flexible piece of plastic or laminate to spread the glue evenly along the edge. 3 Mist To provide the moisture to cure the glue, lightly mist the edge of the mating workpiece. 10 ShopNotes No. 58 |


