77 - Sliding Door Shop Cabinet, страница 15
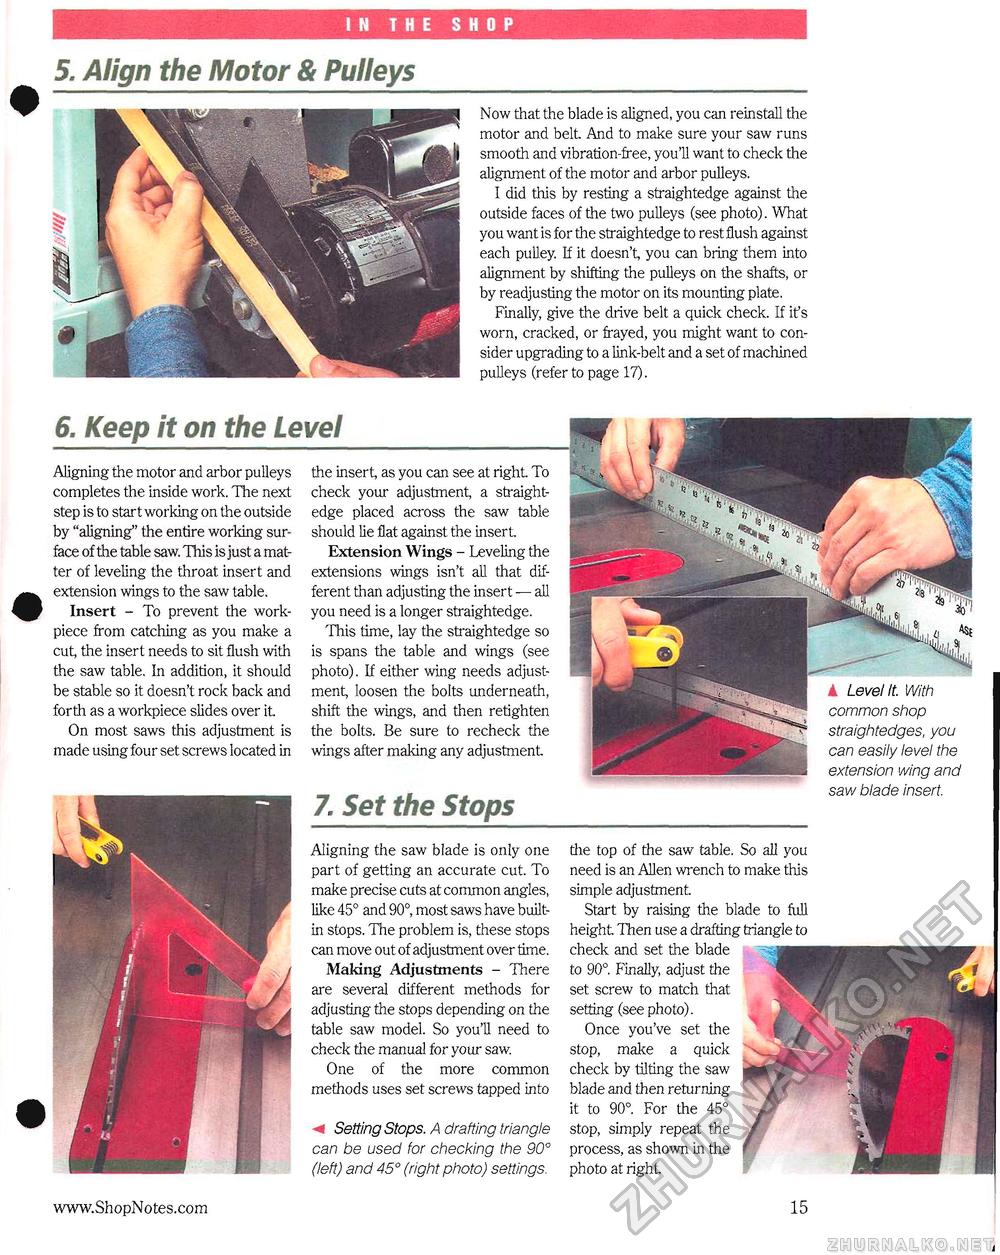
5. Align the Motor & PulleysNow that the blade is aligned, you can reinstall the motor and belt And to make sure your saw runs smooth and vibration-free, you'll want to check the alignment of the motor and arbor pulleys. I did this by resting a straightedge against the outside faces of the two pulleys (see photo). What you want is for the straightedge to rest flush against each pulley. If it doesn't, you can bring them into alignment by shifting the pulleys on the shafts, or by readjusting the motor on its mounting plate. Finally, give the drive belt a quick check. If ifs worn, cracked, or frayed, you might want to consider upgrading to a link-belt and a set of machined pulleys (refer to page 17). 6. Keep it on the Level Aligning the motor and arbor pulleys completes the inside work. The next step is to start working on the outside by "aligning" the entire working surface of the table saw. This is just a matter of leveling the throat insert and extension wings to the saw table. Insert - To prevent the work-piece from catching as you make a cut, the insert needs to sit flush with the saw table. In addition, it should be stable so it doesn't rock back and forth as a workpiece slides over it On most saws this adjustment is made using four set screws located in the insert, as you can see at right To check your adjustment a straightedge placed across the saw table should lie flat against the insert Extension Wings - Leveling the extensions wings isn't all that different than adjusting the insert — all you need is a longer straightedge. This time, lay the straightedge so is spans the table and wings (see photo). If either wing needs adjustment, loosen the bolts underneath, shift the wings, and then retighten the bolts. Be sure to recheck the wings after making any adjustment 7. Set the StopsAligning the saw blade is only one part of getting an accurate cut. To make precise cuts at common angles, like 45° and 90°, most saws have built-in stops. The problem is, these stops can move out of adjustment over time. Making Adjustments - There are several different methods for adjusting the stops depending on the table saw model. So you'll need to check the manual for your saw. One of the more common methods uses set screws tapped into Setting Stops. A drafting triangle can be used for checking the 90° (left) and 45° (right photo) settings. the top of the saw table. So all you need is an Allen wrench to make this simple adjustment Start by raising the blade to full height Then use a drafting triangle to check and set the blade to 90°. Finally, adjust the set screw to match that setting (see photo). Once you've set the stop, make a quick check by tilting the saw blade and then returning it to 90°. For the 45° stop, simply repeat the process, as shown in the photo at right k Level It. With common shop straightedges, you can easily level the extension wing and saw blade insert. |


