77 - Sliding Door Shop Cabinet, страница 16
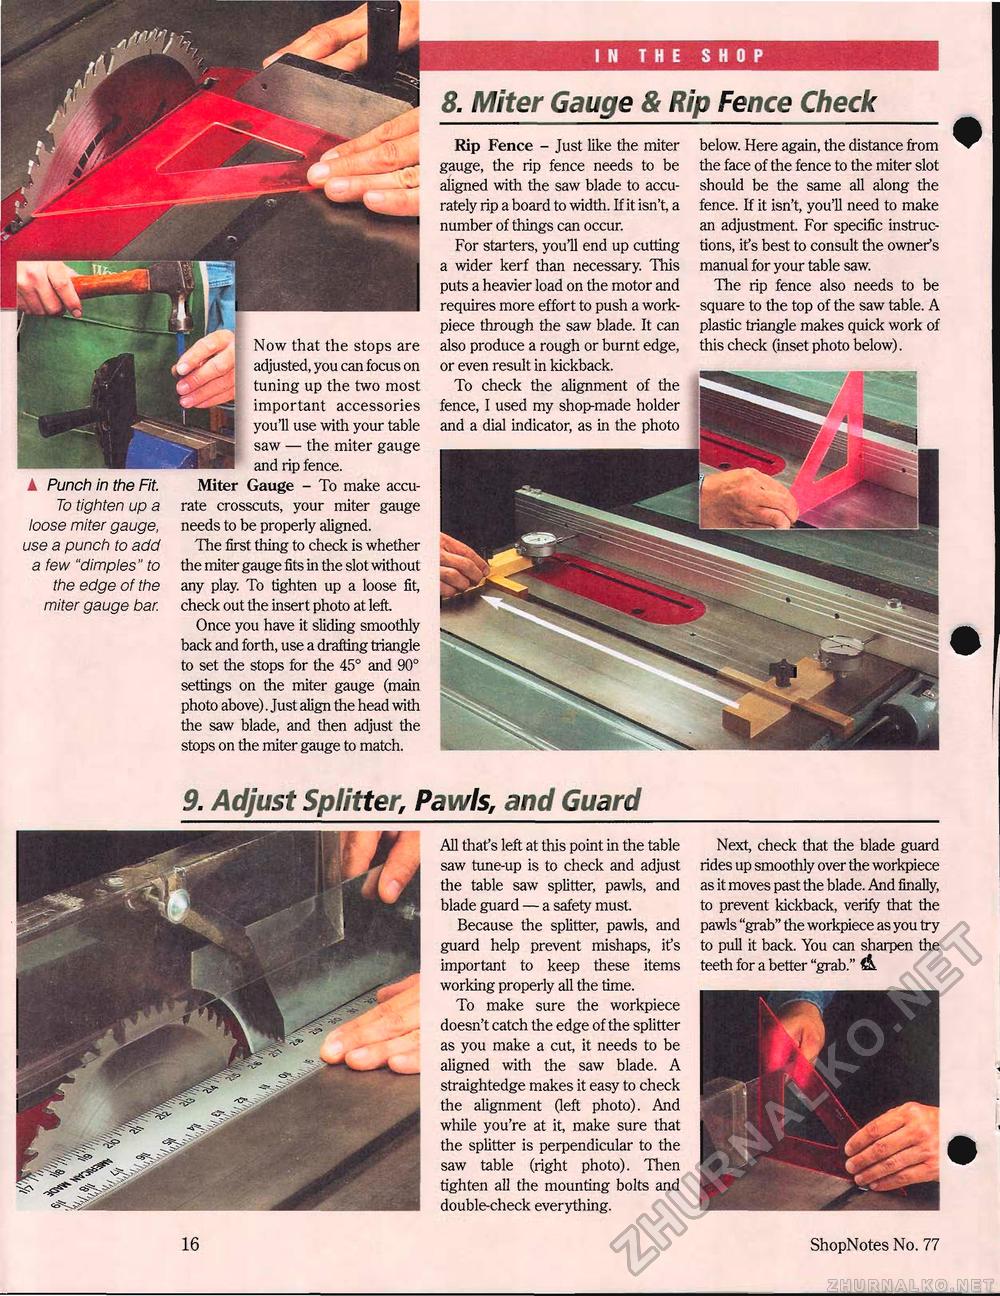
8. Miter Gauge & Rip Fence Check 1 Punch in the Fit. To tighten up a loose miter gauge, use a punch to add a few "dimples" to the edge of the miter gauge bar. Now that the stops are adjusted, you can focus on tuning up the two most important accessories you'll use with your table saw — the miter gauge and rip fence. Miter Gauge - To make accurate crosscuts, your miter gauge needs to be properly aligned. The first thing to check is whether the miter gauge fits in the slot without any play. To tighten up a loose fit, check out the insert photo at left Once you have it sliding smoothly back and forth, use a drafting triangle to set the stops for the 45° and 90° settings on the miter gauge (main photo above). Just align the head with the saw blade, and then adjust the stops on the miter gauge to match. Rip Fence - Just like the miter gauge, the rip fence needs to be aligned with the saw blade to accurately rip a board to width. If it isn't a number of things can occur. For starters, youH end up cutting a wider kerf than necessary. This puts a heavier load on the motor and requires more effort to push a work-piece through the saw blade. It can also produce a rough or burnt edge, or even result in kickback. To check the alignment of the fence, I used my shop-made holder and a dial indicator, as in the photo below. Here again, the distance from the face of the fence to the miter slot should be the same all along the fence. If it isn't, you'll need to make an adjustment. For specific instructions, ifs best to consult the owner's manual for your table saw. The rip fence also needs to be square to the top of the saw table. A plastic triangle makes quick work of this check (inset photo below). 9. Adjust Splitter, Pawls, and GuardAll thafs left at this point in the table saw tune-up is to check and adjust the table saw splitter, pawls, and blade guard — a safety must Because the splitter, pawls, and guard help prevent mishaps, ifs important to keep these items working properly all the time. To make sure the workpiece doesn't catch the edge of the splitter as you make a cut it needs to be aligned with the saw blade. A straightedge makes it easy to check the alignment Qeft photo). And while you're at it make sure that the splitter is perpendicular to the saw table (right photo). Then tighten all the mounting bolts and double-check everything. Next, check that the blade guard rides up smoothly over the workpiece as it moves past the blade. And finally, to prevent kickback, verify that the pawls "grab" the workpiece as you try to pull it back. You can sharpen the teeth for a better "grab." & 16 ShopNotes No. 77 |


