81 - Ultimate Sharpening Station, страница 31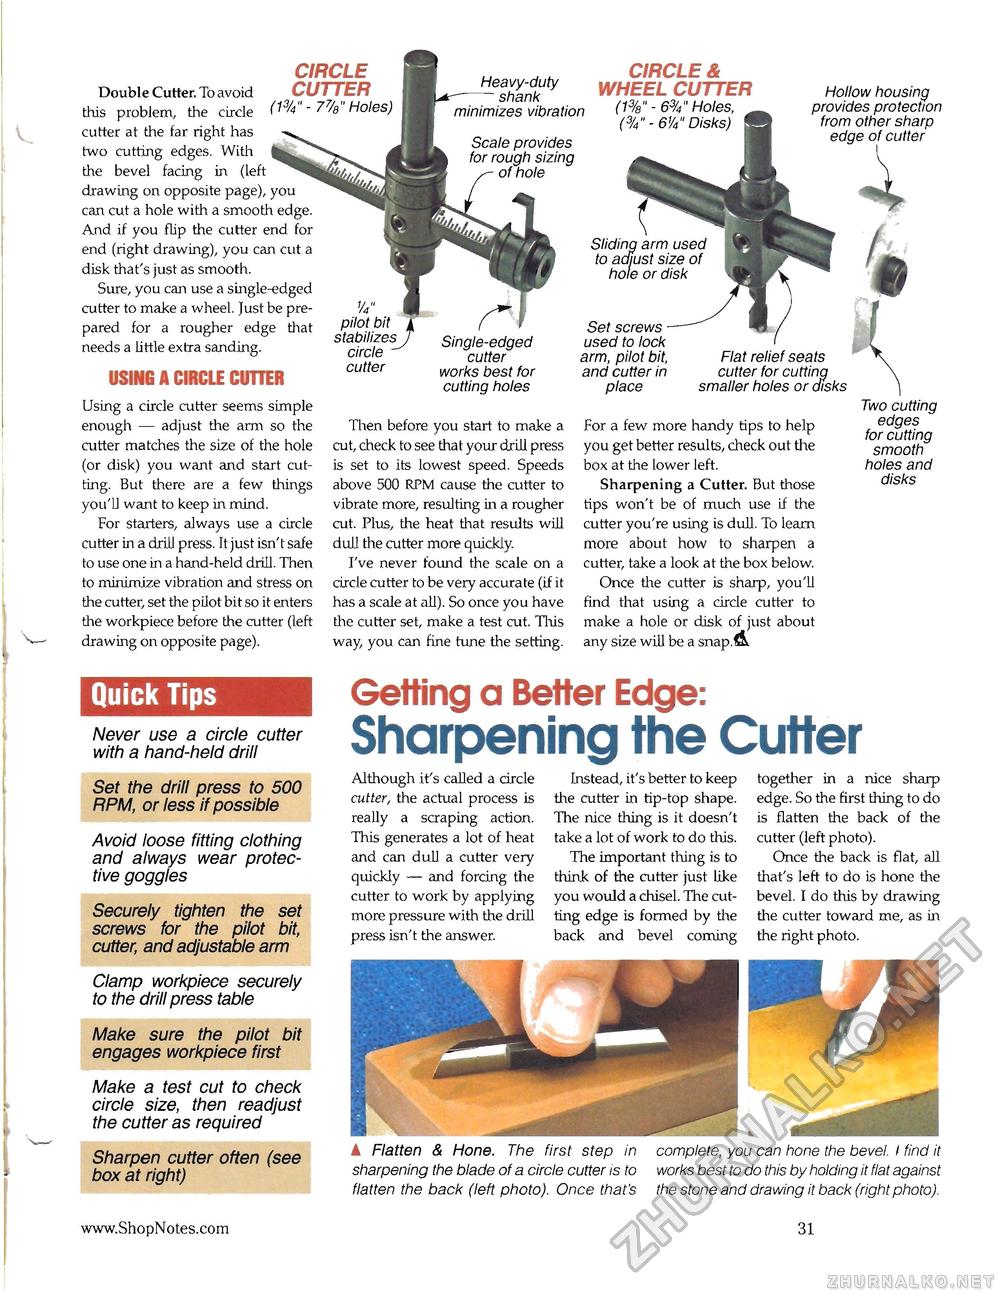
Double Cutter. To avoid this problem, the circle cutter at the far right has two cutting edges. With the bevel facing in (left drawing on opposite page), you can cut a hole with a smooth edge. And if you flip the cutter end for end (right drawing), you can cut a disk that's just as smooth. Sure, you can use a single-edged cutter to make a wheel. Just be prepared for a rougher edge that needs a little extra sanding. USING A CIRCLE CUTTER Using a circle cutter seems simple enough — adjust the arm so the cutter matches the size of the hole (or disk) you want and start cutting. But there are a few things you'U want to keep in mind. For starters, always use a circle cutter in a drili press. It just isn't safe to use one in a hand-held drill. Then to minimize vibration and stress on the cutter, set the pilot bit so it enters the workpiece before the cutter (left drawing on opposite page). CIRCLE CUTTER (1%" - 7%" Holes) Quick Tips Never use a circle cutter with a hand-held drill Set the drill press to 500 RPM, or less if possible Avoid loose fitting clothing and always wear protective goggles Securely tighten the set screws for the pilot bit, cutter, and adjustable arm Clamp workpiece securely to the drill press table Make sure the pilot bit engages workpiece first Make a test cut to check circle size, then readjust the cutter as required Sharpen cutter often (see box at right) Heavy-duty shank minimizes vibration Scale provides for rough sizing of hole CIRCLE & WHEEL CUTTER (1%" - 6%" Holes, (%"-61A" Disks) V4" pilot bit stabilizes circle cutter Single-edged cutter works best for cutting holes Set screws used to lock arm, pilot bit, and cutter in place Hollow housing provides protection from other sharp edge of cutter Sliding arm used to adjust size of hole or disk Flat relief seats cutter for cutting smaller holes or disks Then before you start to make a cut, check to see that your drill press is set to its lowest speed. Speeds above 500 RPM cause the cutter to vibrate more, resulting in a rougher cut. Plus, the heat that results will dull the cutter more quickly. I've never found the scale on a circle cutter to be very accurate (if it has a scale at all). So once you have the cutter set, make a test cut. This way, you can fine tune the setting. For a few more handy tips to help you get better results, check out the box at the lower left. Sharpening a Cutter. But those tips won't be of much use if the cutter you're using is dull. To learn more about how to sharpen a cutter, take a look at the box below. Once the cutter is sharp, you'll find that using a circle cutter to make a hole or disk of just about any size will be a snap. A. Two cutting edges for cutting smooth holes and disks Getting a Better Edge: Sharpening the CutterAlthough it's called a circle cutter, the actual process is really a scraping action. This generates a lot of heat and can dull a cutter very quickly — and forcing the cutter to work by applying more pressure with the drill press isn't the answer. Instead, it's better to keep the cutter in tip-top shape. The nice thing is it doesn't take a lot of work to do this. The important thing is to think of the cutter just like you would a chisel. The cutting edge is formed by the back and bevel coming together in a nice sharp edge. So the first thing to do is flatten the back of the cutter (left photo). Once the back is flat, all that's left to do is hone the bevel. I do this by drawing the cutter toward me, as in the right photo. A Flatten & Hone. The first step in sharpening the blade of a circle cutter is to flatten the back (left photo). Once that's complete, you can hone the bevel. I find it works best to do this by holding it flat against the stone and drawing it back (rightphoto). 31 |


