81 - Ultimate Sharpening Station, страница 28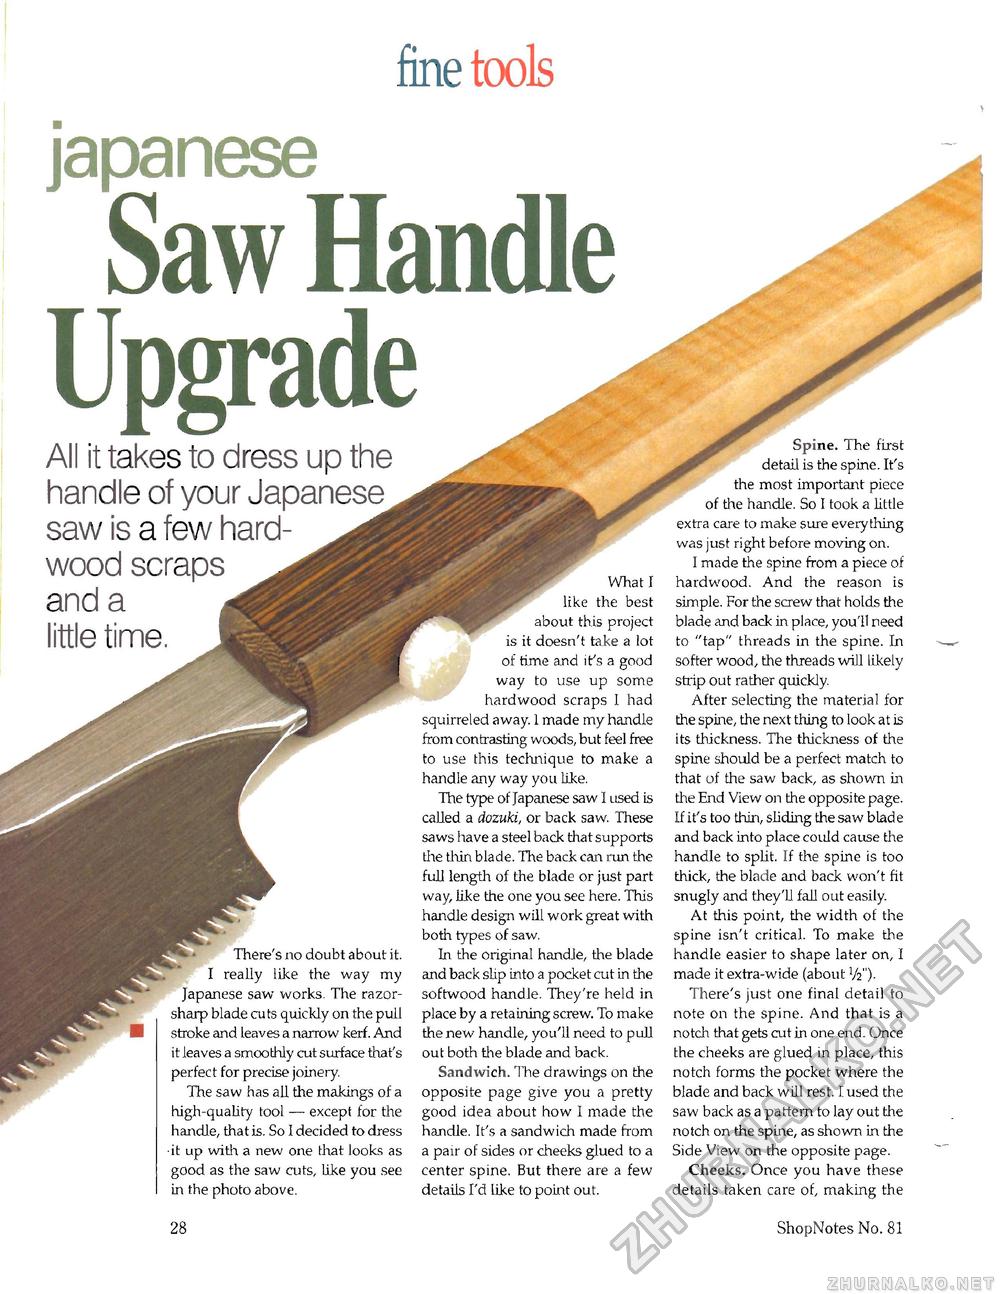
fine tools Japanese Saw Handle Upgrade All it takes to dress up the handle of your Japanese saw is a few hardwood scraps and a little time. There's no doubt about it. I really like the way my Japanese saw works. The razor-sharp blade cuts quickly on the pull stroke and leaves a narrow kerf. And it leaves a smoothly cut surface that's perfect for precise joinery. The saw has all the makings of a high-quality tool — except for the handle, that is. So I decided to dress ■it up with a new one that looks as good as the saw cuts, like you see in the photo above. What I like the best about this project is it doesn't take a lot of time and ifs a good way to use up some hardwood scraps I had squirreled away. 1 made my handle from contrasting woods, but feel free to use this technique to make a handle any way you like. The type of Japanese saw I used is called a dozuki, or back saw. These saws have a steel back that supports the thin blade. The back can run the full length of the blade or just part way, like the one you see here. This handle design will work great with both types of saw. In the original handle, the blade and back slip into a pocket cut in the softwood handle. They're held in place by a retaining screw. To make the new handle, you'll need to pull out both the blade and back. Sandwich. The drawings on the opposite page give you a pretty good idea about how I made the handle. It's a sandwich made from a pair of sides or cheeks glued to a center spine. But there are a few details I'd like to point out. Spine. The first detail is the spine. It's the most important piece of the handle. So I took a little extra care to make sure everything was just right before moving on. I made the spine from a piece of hardwood. And the reason is simple. For the screw that holds the blade and back in place, you'll need to "tap" threads in the spine. In softer wood, the threads will likely strip out rather quickly. After selecting the material for the spine, the next thing to look at is its thickness. The thickness of the spine should be a perfect match to that of the saw back, as shown in the End View on the opposite page. If it's too thin, sliding the saw blade and back into place could cause the handle to split. If the spine is too thick, the blade and back won't fit snugly and they'll fall out easily. At this point, the width of the spine isn't critical. To make the handle easier to shape later on, I made it extra-wide (about V2"). There's just one final detail to note on the spine. And that is a notch that gets cut in one end. Once the cheeks are glued in place, this notch forms the pocket where the blade and back will rest. I used the saw back as a pattern to lay out the notch on the spine, as shown in the Side View on the opposite page. Cheeks. Once you have these details taken care of, making the 28 ShopNotes No. 81 |


