81 - Ultimate Sharpening Station, страница 9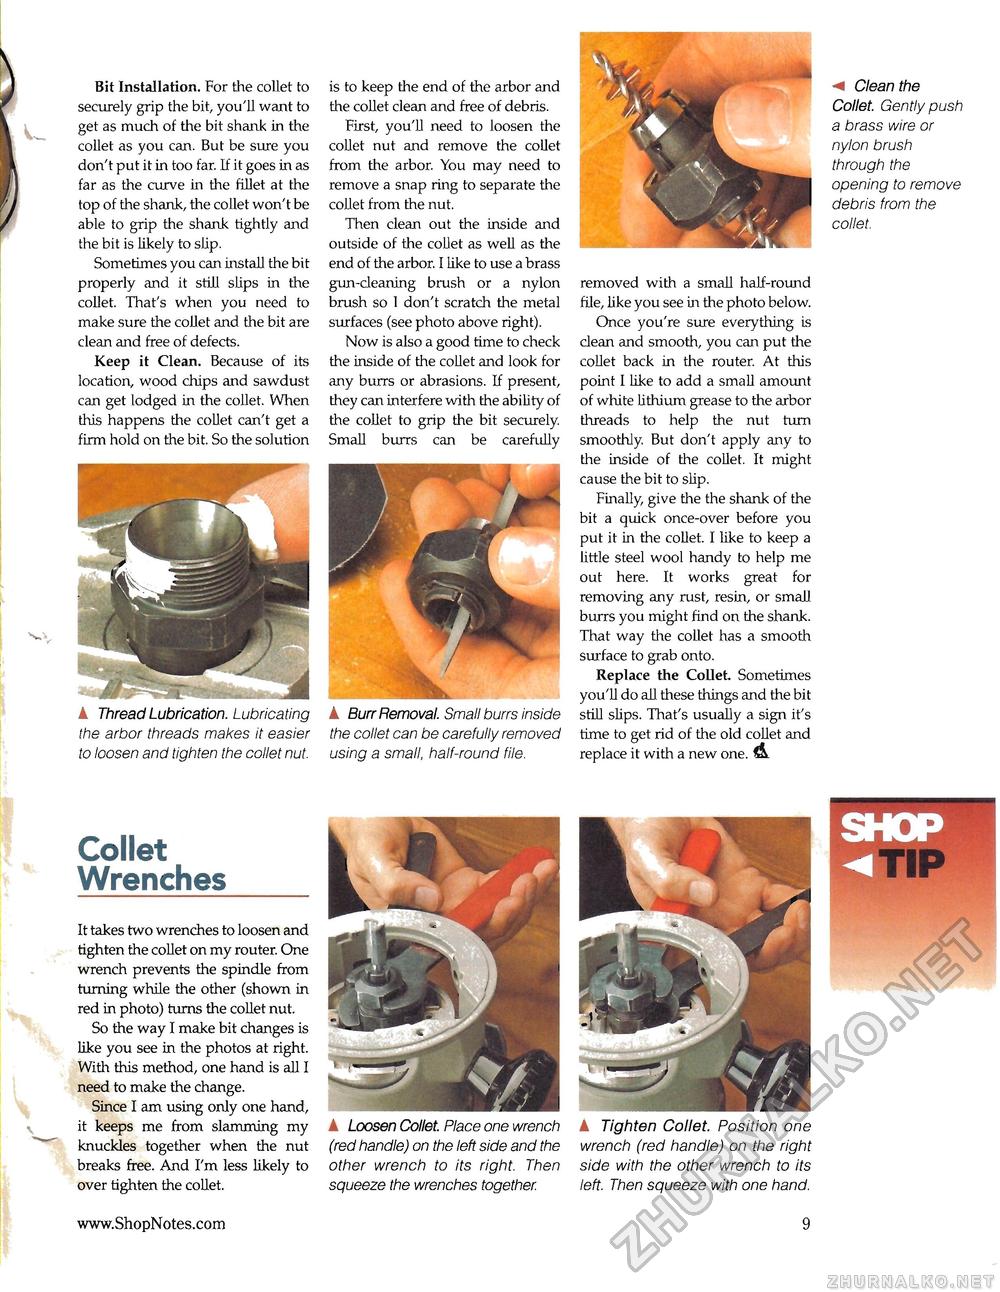
removed with a small half-round file, like you see in the photo below. Once you're sure everything is clean and smooth, you can put the collet back in the router. At this point I like to add a small amount of white lithium grease to the arbor threads to help the nut turn smoothly. But don't apply any to the inside of the collet. It might cause the bit to slip. Finally, give the the shank of the bit a quick once-over before you put it in the collet. I like to keep a little steel wool handy to help me out here. It works great for removing any rust, resin, or small burrs you might find on the shank. That way the collet has a smooth surface to grab onto. Replace the Collet Sometimes you'll do all these things and the bit still slips. That's usually a sign it's time to get rid of the old collet and replace it with a new one. < Clean the Collet. Gently push a brass wire or nylon brush through the opening to remove debris from the collet. Bit Installation. For the collet to securely grip the bit, you'll want to get as much of the bit shank in the collet as you can. But be sure you don't put it in too far. If it goes in as far as the curve in the fillet at the top of the shank, the collet won't be able to grip the shank tightly and the bit is likely to slip. Sometimes you can install the bit properly and it still slips in the collet. That's when you need to make sure the collet and the bit are clean and free of defects. Keep it Clean. Because of its location, wood chips and sawdust can get lodged in the collet. When this happens the collet can't get a firm hold on the bit. So the solution ▲ Thread Lubrication. Lubricating the arbor threads makes it easier to loosen and tighten the collet nut. is to keep the end of the arbor and the collet clean and free of debris. First, you'll need to loosen the collet nut and remove the collet from the arbor. You may need to remove a snap ring to separate the collet from the nut. Then clean out the inside and outside of the collet as well as the end of the arbor. I like to use a brass gun-cleaning brush or a nylon brush so 1 don't scratch the metal surfaces (see photo above right). Now is also a good time to check the inside of the collet and look for any burrs or abrasions. If present, they can interfere with the ability of the collet to grip the bit securely. Small burrs can be carefully k Burr Removal. Small burrs inside the collet can be carefully removed using a small, half-round file. Collet Wrenches It takes two wrenches to loosen and tighten the collet on my router. One wrench prevents the spindle from turning while the other (shown in red in photo) turns the collet nut. So the way I make bit changes is like you see in the photos at right. With this method, one hand is all I need to make the change. Since I am using only one hand, it keeps me from slamming my knuckles together when the nut breaks free. And I'm less likely to over tighten the collet. k Loosen Collet. Place one wrench (red handle) on the left side and the other wrench to its right. Then squeeze the wrenches together. k Tighten Collet. Position one wrench (red handle) on the right side with the other wrench to its left. Then squeeze with one hand. 9 |


