86, страница 11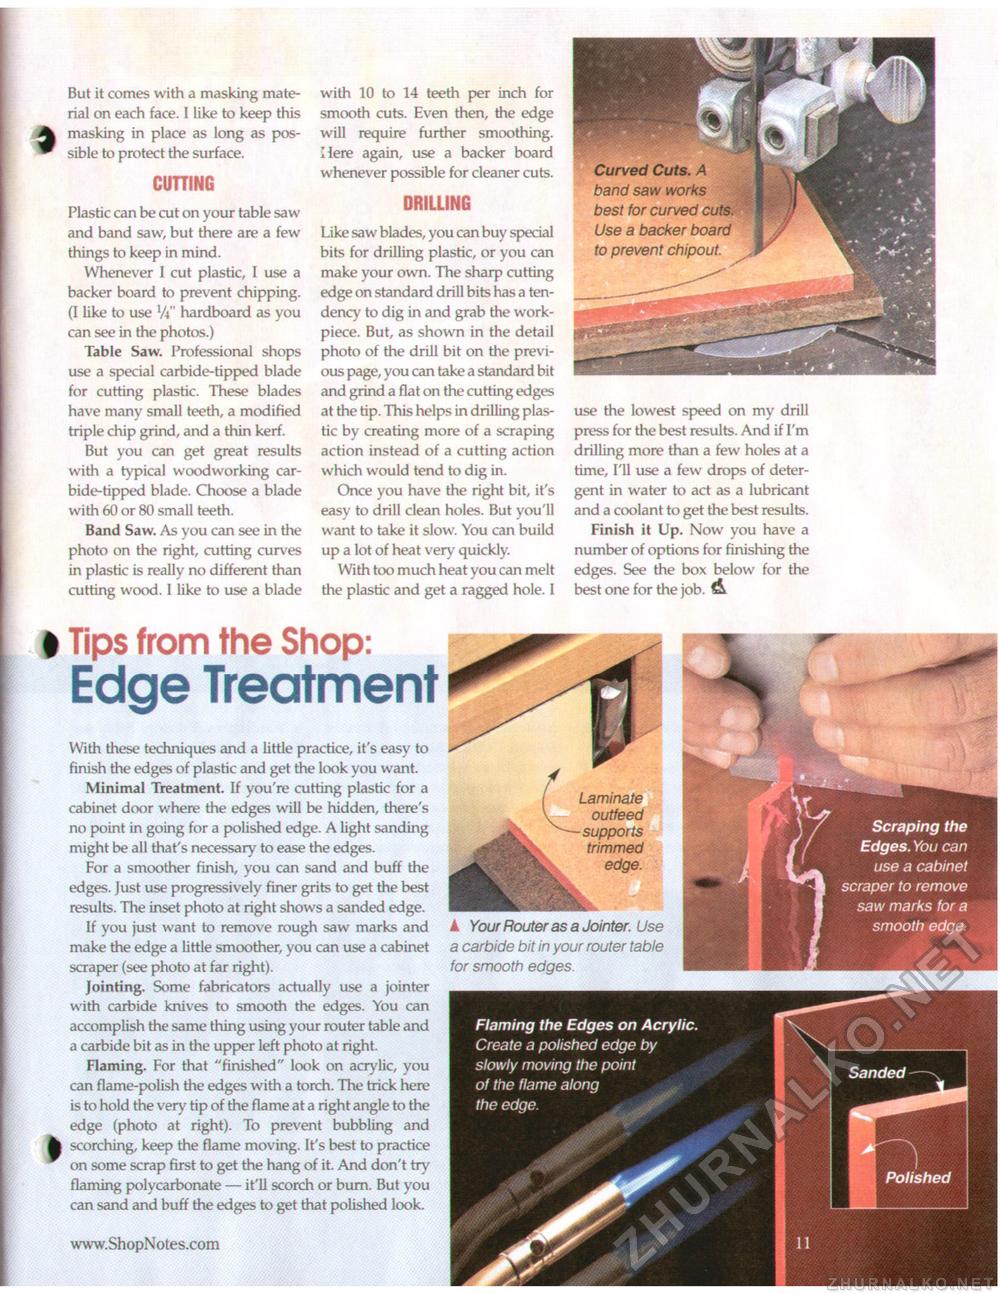
But it comes with a masking material on each face. I like to keep this A masking in place as long as pos-^ sible to protect the surface. CUTTING with 10 to 14 teeth per inch for smooth cuts. Even then, the edge will require further smoothing. Here again, use a backer board whenever possible for cleaner cuts. DRILLING Like saw blades, you can buy special bits for drilling plastic, or you can make your own. The sharp cutting edge on standard drill bits has a tendency to dig in and grab the work-piece. But, as shown in the detail photo of the drill bit on the previous page, you can take a standard bit and grind a flat on the cutting edges at the tip. This helps in drilling plastic by creating more of a scraping action instead of a cutting action which would tend to dig in. Once you have the right bit, it's easy to drill clean holes. But you'll want to take it slow. You can build up a lot of heat very quickly. With too much heat you can melt the plastic and get a ragged hole. I use the lowest speed on my drill press for the best results. And if I'm drilling more than a few holes at a time, I'll use a few drops of detergent in water to act as a lubricant and a coolant to get the best results. Finish it Up. Now you have a number of options for finishing the edges. See the box below for the best one for the job. A. Plastic can be cut on your table saw and band saw, but there are a few things to keep in mind. Whenever I cut plastic, I use a backer board to prevent chipping. (I like to use W hardboard as you can see in the photos.) Table Saw. Professional shops use a special carbide-tipped blade for cutting plastic. These blades have many small teeth, a modified triple chip grind, and a thin kerf. But you can get great results with a typical woodworking carbide-tipped blade. Choose a blade with 60 or 80 small teeth. Band Saw. As you can see in the photo on the right, cutting curves in plastic is really no different than cutting wood. I like to use a blade # Tips from the Shop:Edge TreatmentWith these techniques and a little practice, it's easy to finish the edges of plastic and get the look you want. Minimal Treatment. If you're cutting plastic for a cabinet door where the edges will be hidden, there's no point in going for a polished edge. A light sanding might be all that's necessary to ease the edges. For a smoother finish, you can sand and buff the edges. Just use progressively finer grits to get the best results. The inset photo at right shows a sanded edge. If you just want to remove rough saw marks and make the edge a little smoother, you can use a cabinet scraper (see photo at far right). Jointing, Some fabricators actually use a jointer with carbide knives to smooth the edges. You can accomplish the same thing using your router table and a carbide bit as in the upper left photo at right. Flaming. For that "finished" look on acrylic, you can flame-polish the edges with a torch. The trick here is to hold the very tip of the flame at a right angle to the edge (photo at right). To prevent bubbling and scorching, keep the flame moving. It's best to practice on some scrap first to get the hang of it. And don't try flaming polycarbonate — it'll scorch or bum. But you can sand and buff the edges to get that polished look. Laminate outfeed supports trimmed edge. ▲ Your Router as a Jointer. Use a carbide bit in your router table for smooth edges. Flaming the Edges on Acrylic. Create a polished edge by slowly moving the point of the flame along the edge. Scraping the Edges. You can use a cabinet scraper to remove saw marks for a smooth edge. % ■j^zaf* Curved Cuts. A band saw works best for curved cuts. Use a backer board to prevent chipout. |


