86, страница 13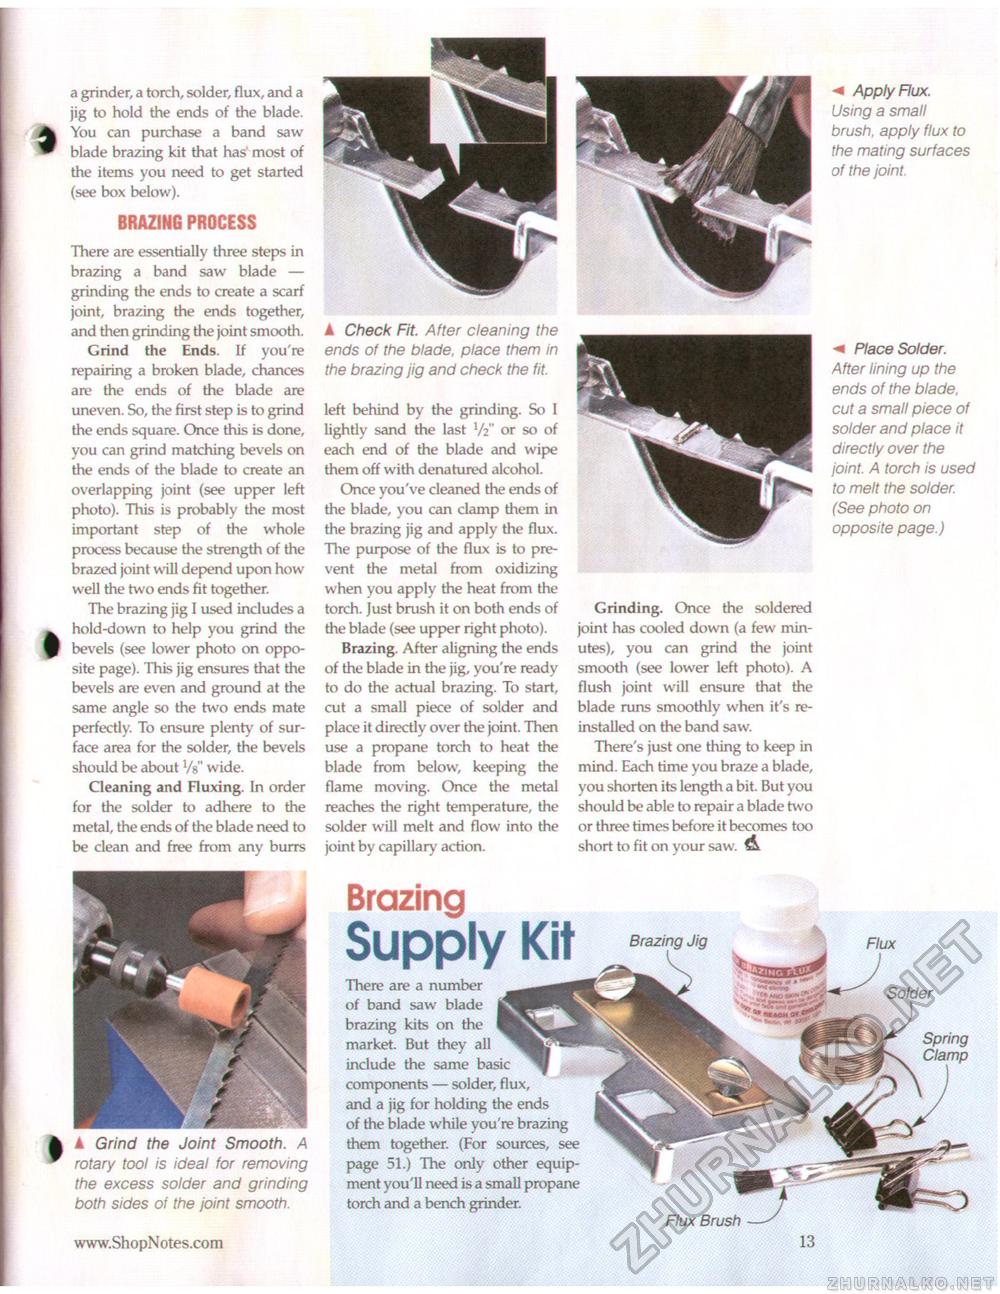
a grinder, a torch, solder, flux, and a jig to hold the ends of the blade. You can purchase a band saw blade brazing kit that has most of the items you need to get started (see box below). BRAZING PROCESS There are essentially three steps in brazing a band saw blade — grinding the ends to create a scarf joint, brazing the ends together, and then grinding the joint smooth. Grind the Ends. If you're repairing a broken blade, chances are the ends of the blade are uneven. So, the first step is to grind the ends square. Once this is done, you can grind matching bevels on the ends of the blade to create an overlapping joint (see upper left photo). This is probably the most important step of the whole process because the strength of the brazed joint will depend upon how well the two ends fit together. The brazing jig I used includes a hold-down to help you grind the bevels (see lower photo on opposite page). This jig ensures that the bevels are even and ground at the same angle so the two ends mate perfectly. To ensure plenty of surface area for the solder, the bevels should be about W wide. Cleaning and Fluxing. In order for the solder to adhere to the metal, the ends of the blade need to be clean and free from any burrs ▲ Check Fit. After cleaning the ends of the blade, place them in the brazing jig and check the fit. left behind by the grinding. So I lightly sand the last V2" or so of each end of the blade and wipe them off with denatured alcohol. Once you've cleaned the ends of the blade, you can clamp them in the brazing jig and apply the flux. The purpose of the flux is to prevent the metal from oxidizing when you apply the heat from the torch. Just brush it on both ends of the blade (see upper right photo). Brazing. After aligning the ends of the blade in the jig, you're ready to do the actual brazing. To start, cut a small piece of solder and place it directly over the joint. Then use a propane torch to heat the blade from below, keeping the flame moving. Once the metal reaches the right temperature, the solder will melt and flow into the joint by capillary action. < Apply Flux. Using a small brush, apply flux to the mating surfaces of the joint. Place Solder. After lining up the ends of the blade, cut a small piece of solder and place it directly over the joint. A torch is used to melt the solder. (See photo on opposite page.) Grinding. Once the soldered joint has cooled down (a few minutes), you can grind the joint smooth (see lower left photo). A flush joint will ensure that the blade runs smoothly when it's reinstalled on the band saw. There's just one thing to keep in mind. Each time you braze a blade, you shorten its length a bit. But you should be able to repair a blade two or three times before it becomes too short to fit on your saw. d A Grind the Joint Smooth. A rotary tool is ideal for removing the excess solder and grinding both sides of the joint smooth. BrazingSupply KitThere are a number of band saw blade brazing kits on the market. But they all include the same basic components — solder, flux, and a jig for holding the ends of the blade while you're brazing them together. (For sources, see page 51.) The only other equipment you'll need is a small propane torch and a bench grinder. Solder Spring |


