90 - Get the Most out of a Plunge Router, страница 27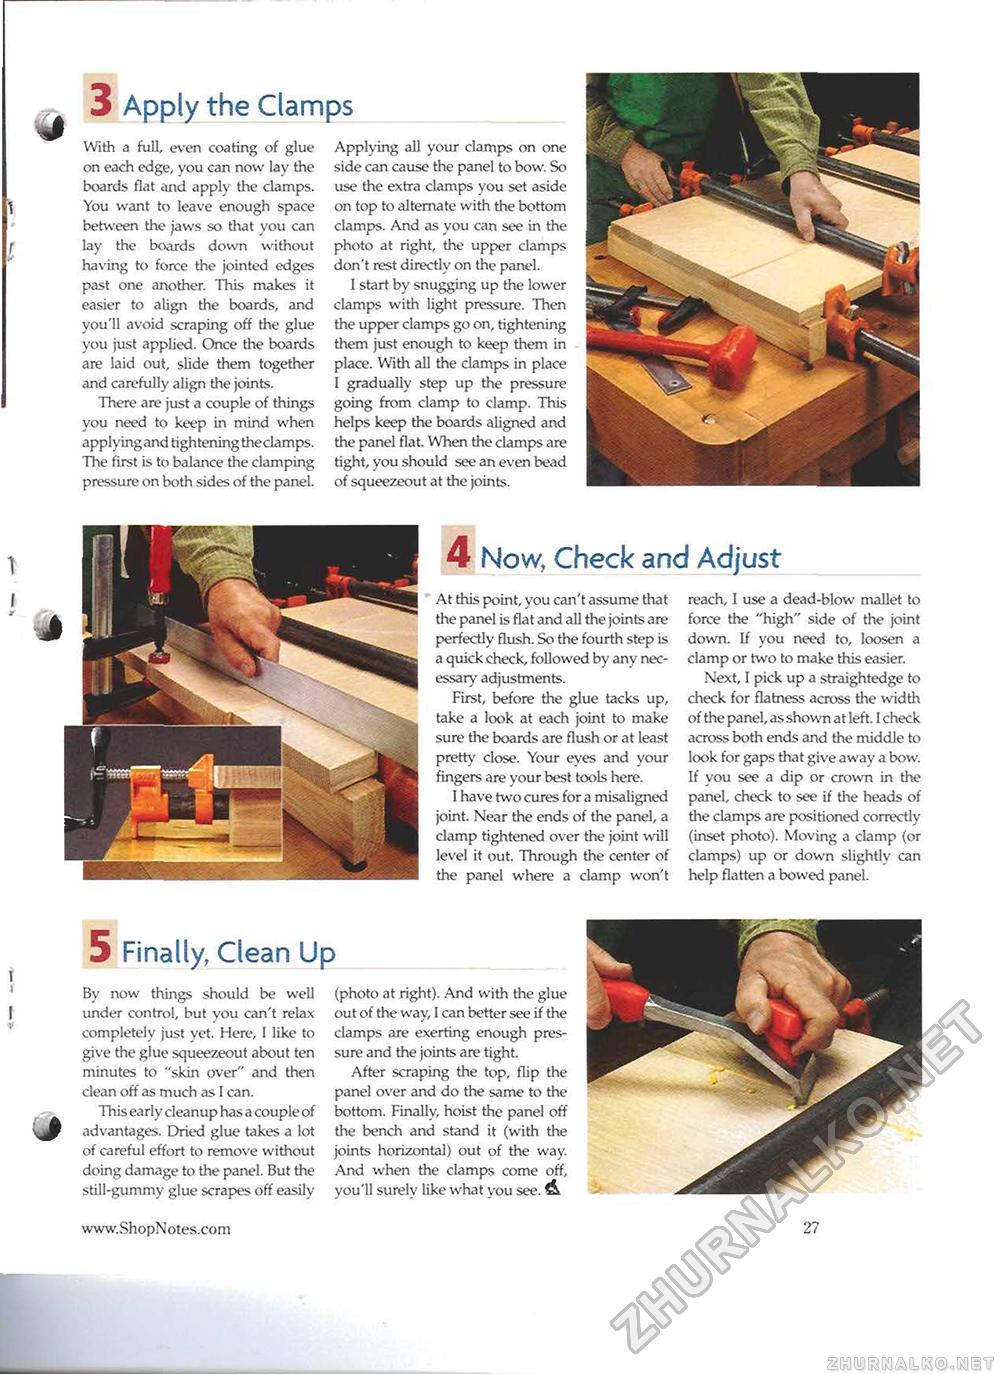
3 Apply the Clamps With a full, even coating of glue on each edge, you can now lay the boards flat and apply the clamps. You want to leave enough space between the jaws so that you can lay the boards down without having to force the jointed edges past one another. This makes it easier to align the boards, and you'll avoid scraping off the glue you just applied. Once the boards are laid out, slide them together and carefully align the joints. There are just a couple of things you need to keep in mind when applying and tightening theclamps. The first is to balance the clamping pressure on both sides of the panel. Applying all your clamps on one side can cause the panel to bow. So use the extra clamps you set aside on top to alternate with the bottom clamps. And as you can see in the photo at right, the upper clamps don't rest directly on the panel. I start by snugging up the lower clamps with light pressure. Then the upper clamps go on, tightening them just enough to keep them in place. With all the clamps in place I gradually step up the pressure going from clamp to clamp. This helps keep the boards aligned and the panel flat. When the clamps are tight, you should see an even bead of squeezeout at the joints. 4 Now, Check and Adjust At this point, you can't assume that the panel is flat and all the joints are perfectly flush. So the fourth step is a quick check, followed by any necessary adjustments. First, before the glue tacks up, take a look at each joint to make sure the boards are flush or at least pretty close. Your eyes and your fingers are your best tools here. 1 have two cures for a misaligned joint. Near the ends of the panel, a clamp tightened over the joint will level it out. Through the center of the panel where a clamp won't reach, I use a dead-blow mallet to force the "high" side of the joint down. If you need to, loosen a clamp or two to make this easier. Next, I pick up a straightedge to check for flatness across the width of the panel, as shown at left. I check across both ends and the middle to look for gaps that give away a bow. If you see a dip or crown in the panel, check to see if the heads of the clamps are positioned correctly (inset photo). Moving a clamp (or clamps) up or down slightly can help flatten a bowed panel. 5 Finally, Clean Up By now things should be well under control, but you can't relax completely just yet. Here, I like to give the glue squeezeout about ten minutes to "skin over" and then clean off as much as I can. This early cleanup has a couple of advantages. Dried glue takes a lot of careful effort to remove without doing damage to the panel. But the still-gummy glue scrapes off easily (photo at right). And with the glue out of the way, I can better see if the clamps are exerting enough pressure and the joints are tight. After scraping the top, flip the panel over and do the same to the bottom. Finally, hoist the panel off the bench and stand it (with the joints horizontal) out of the way. And when the clamps come off, you'll surely like what you see. A 27 |


