94, страница 43
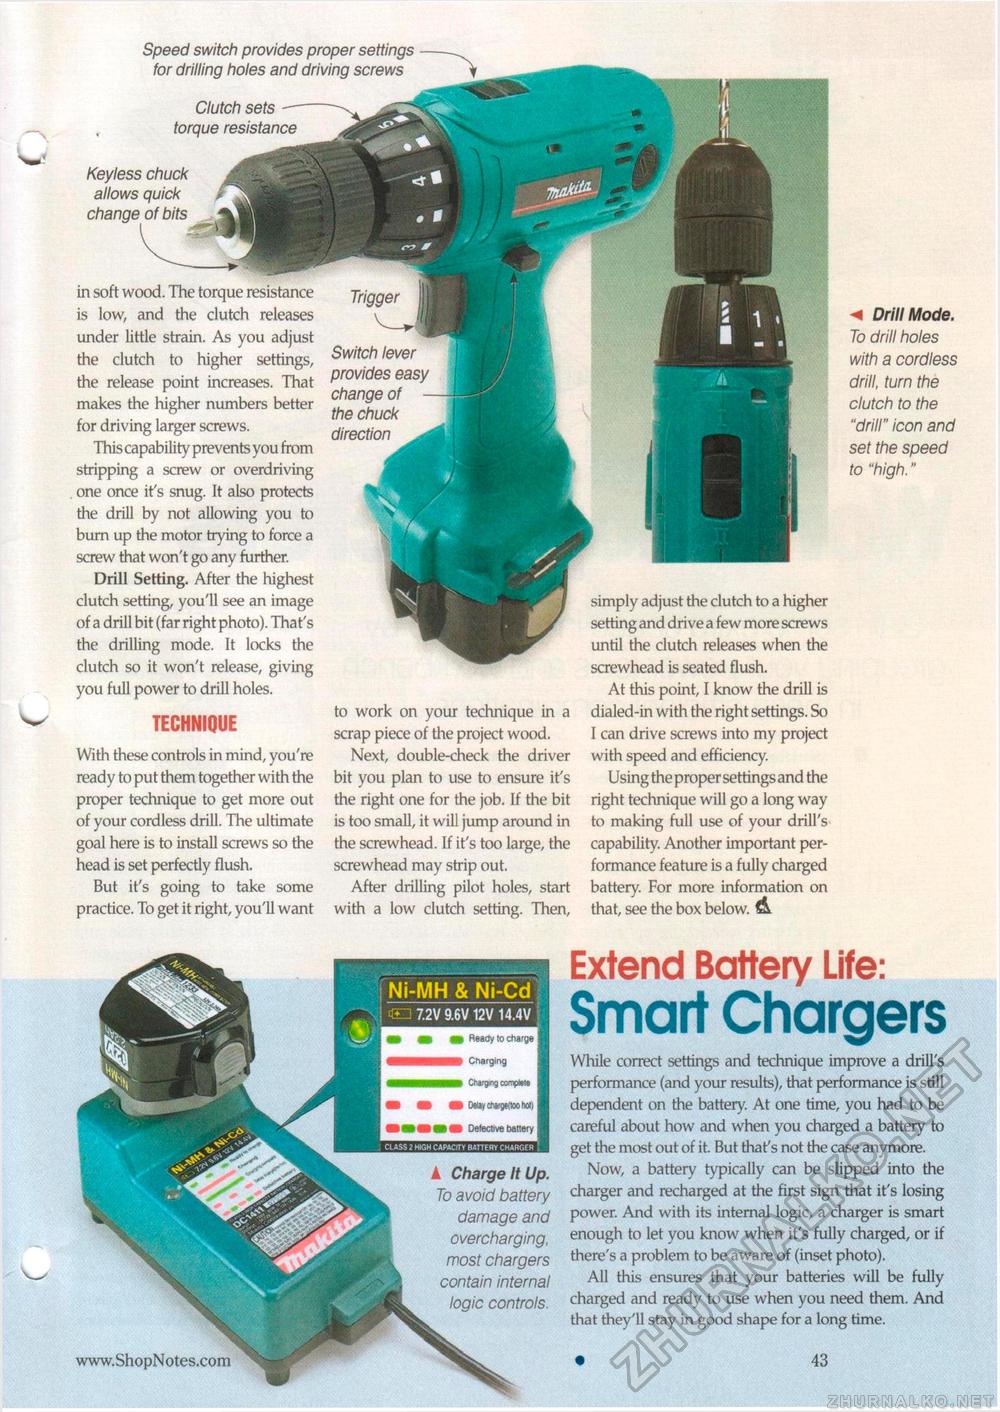
Ni-MH & Ni-Cd 7.2V 9.6V 12V 14.4V Ready to charge I Charging Charging complete Delay chaigeitoo hoi) I A Charge It Up. To avoid battery damage and overcharging, most chargers contain internal logic controls. Extend Battery Life: Smart ChargersWhile correct settings and technique improve a drill's performance (and your results), that performance is still dependent on the battery. At one time, you had to be careful about how and when you charged a battery to get the most out of it. But that's not the case anymore. Now, a battery typically can be slipped into the charger and recharged at the first sign that it's losing power. And with its internal logic, a charger is smart enough to let you know when it's fully charged, or if there's a problem to be aware of (inset photo). All this ensures that your batteries will be fully charged and ready to use when you need them. And that they'll stay in good shape for a long time. • 43 Speed switch provides proper settings for drilling holes and driving screws Clutch sets torque resistance Keyless chuck allows quick change of bits in soft wood. The torque resistance is low, and the clutch releases under little strain. As you adjust the clutch to higher settings, the release point increases. That makes the higher numbers better for driving larger screws. This capability prevents you from stripping a screw or overdriving one once it's snug. It also protects the drill by not allowing you to burn up the motor trying to force a screw that won't go any further. Drill Setting. After the highest clutch setting, you'll see an image of a drill bit (far right photo). That's the drilling mode. It locks the clutch so it won't release, giving you full power to drill holes. TECHNIQUE With these controls in mind, you're ready to put them together with the proper technique to get more out of your cordless drill. The ultimate goal here is to install screws so the head is set perfectly flush. But it's going to take some practice. To get it right, you'll want Trigger Switch lever provides easy change of the chuck direction to work on your technique in a scrap piece of the project wood. Next, double-check the driver bit you plan to use to ensure it's the right one for the job. If the bit is too small, it will jump around in the screwhead. If it's too large, the screwhead may strip out. After drilling pilot holes, start with a low clutch setting. Then, simply adjust the clutch to a higher setting and drive a few more screws until the clutch releases when the screwhead is seated flush. At this point, I know the drill is dialed-in with the right settings. So I can drive screws into my project with speed and efficiency. Using the proper settings and the right technique will go a long way to making full use of your drill's capability. Another important performance feature is a fully charged battery. For more information on that, see the box below. A. M Drill Mode. To drill holes with a cordless drill, turn the clutch to the "drill" icon and set the speed to "high." |


