94, страница 42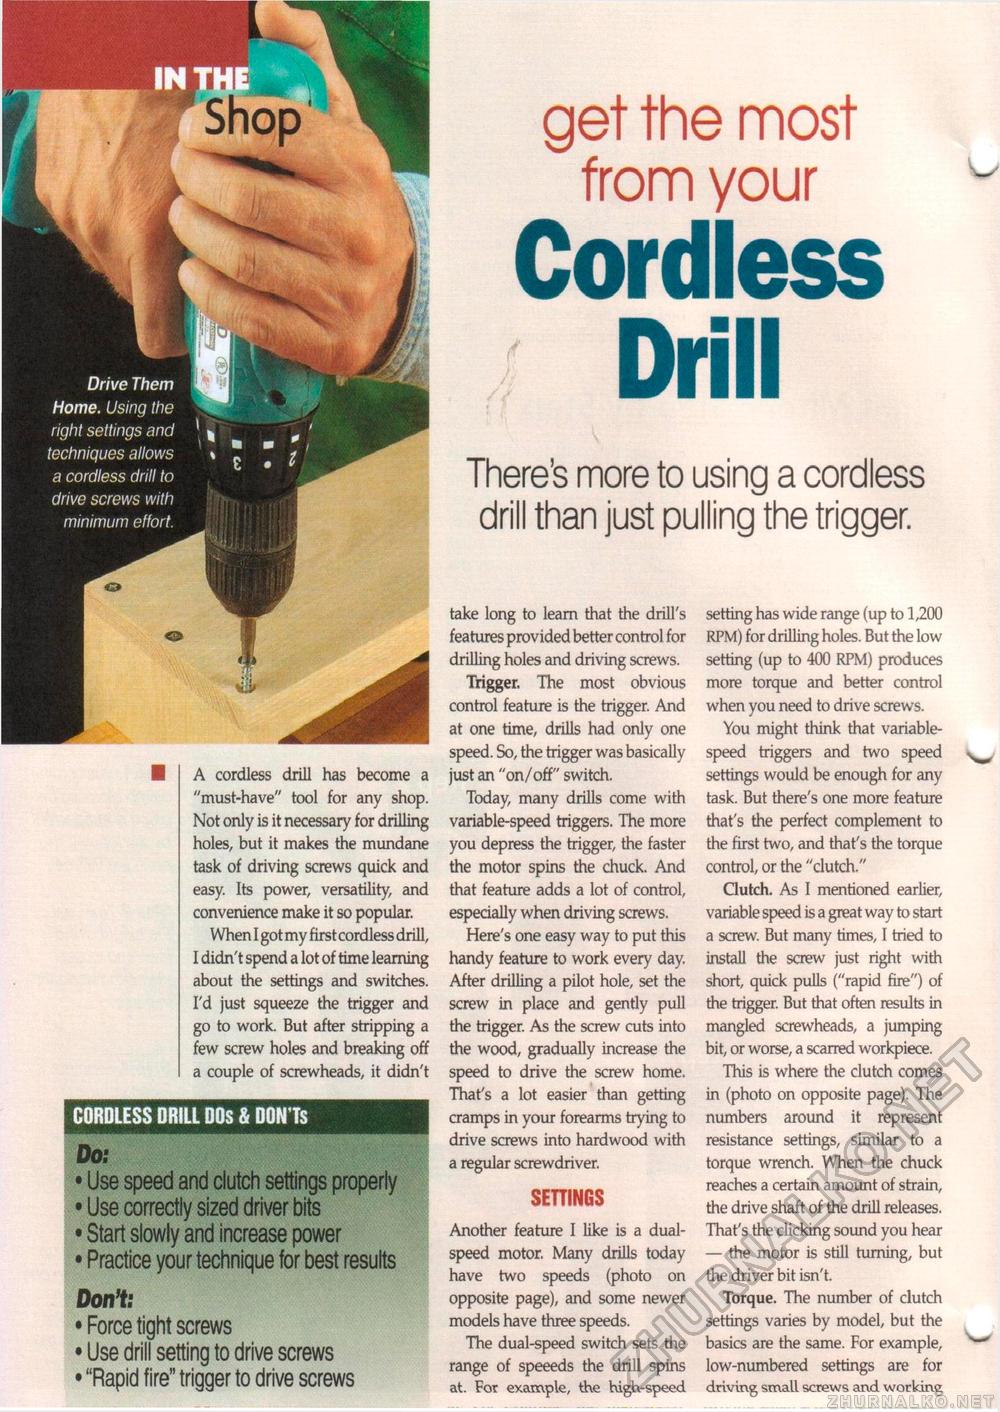
Drive Them Home. Using the right settings and techniques allows a cordless drill to drive screws with minimum effort. get the most from your Cordless DrillThere's more to using a cordless drill than just pulling the trigger. A cordless drill has become a "must-have" tool for any shop. Not only is it necessary for drilling holes, but it makes the mundane task of driving screws quick and easy. Its power, versatility, and convenience make it so popular. When I got my first cordless drill, I didn't spend a lot of time learning about the settings and switches. I'd just squeeze the trigger and go to work. But after stripping a few screw holes and breaking off a couple of screwheads, it didn't CORDLESS DRILL DOs&DON Ts • Use speed and clutch settings properly • Use correctly sized driver bits • Start slowly and increase power • Practice your technique for best results Don't: •Force tight screws • Use drill setting to drive screws • "Rapid fire" trigger to drive screws take long to learn that the drill's features provided better control for drilling holes and driving screws. Trigger. The most obvious control feature is the trigger. And at one time, drills had only one speed. So, the trigger was basically just an "on/off" switch. Today, many drills come with variable-speed triggers. The more you depress the trigger, the faster the motor spins the chuck. And that feature adds a lot of control, especially when driving screws. Here's one easy way to put this handy feature to work every day. After drilling a pilot hole, set the screw in place and gently pull the trigger. As the screw cuts into the wood, gradually increase the speed to drive the screw home. That's a lot easier than getting cramps in your forearms trying to drive screws into hardwood with a regular screwdriver. SETTINGS Another feature I like is a dual-speed motor. Many drills today have two speeds (photo on opposite page), and some newer models have three speeds. The dual-speed switch sets the range of speeeds the drill spins at. For example, the high-speed setting has wide range (up to 1,200 RPM) for drilling holes. But the low setting (up to 400 RPM) produces more torque and better control when you need to drive screws. You might think that variable-speed triggers and two speed settings would be enough for any task. But there's one more feature that's the perfect complement to the first two, and that's the torque control, or the "clutch," Gutch. As I mentioned earlier, variable speed is a great way to start a screw. But many times, I tried to install the screw just right with short, quick pulls ("rapid fire") of the trigger. But that often results in mangled screwheads, a jumping bit, or worse, a scarred workpiece. This is where the clutch comes in (photo on opposite page). The numbers around it represent resistance settings, similar to a torque wrench. When the chuck reaches a certain amount of strain, the drive shaft of the drill releases. That's the clicking sound you hear — the motor is still turning, but the driver bit isn't. Torque. The number of clutch settings varies by model, but the basics are the same. For example, low-numbered settings are for driving small screws and workine |


